Введение
The Sony SRS-XE200 is a popular Bluetooth speaker known for its portable design and impressive sound quality. However, like any electronic device, it may encounter issues with its built-in microphone over time. If you're facing problems with the microphone on your Sony SRS-XE200, such as poor audio quality or malfunction, you may need to replace it. Microphone replacement can be a technical process that requires careful handling and attention to detail.
Выберете то, что вам нужно
-
-
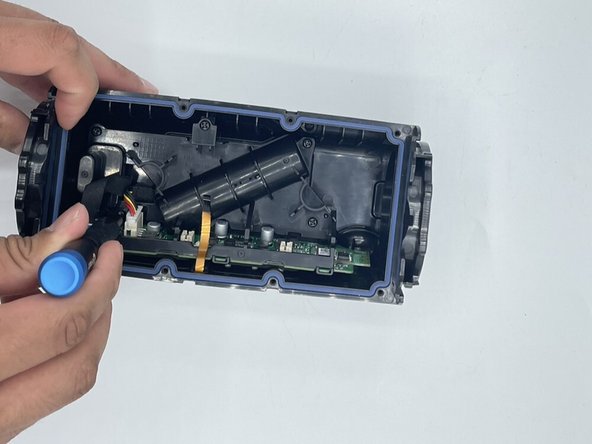
Pry the outer cover of the speaker from the body using a spudger.
-
-
-
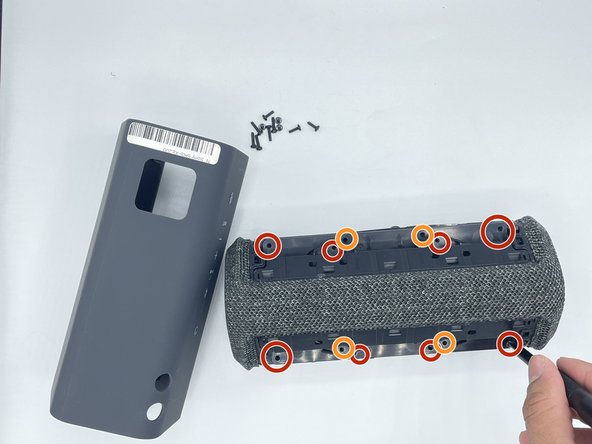
Remove the eight 1 mm screws that connect the motherboard case and the speaker case with a Phillips #1 screwdriver.
-
Remove the four 0.8 mm screws that connect the motherboard case and the speaker case with a Phillips #1 screwdriver.
-
-
-
-
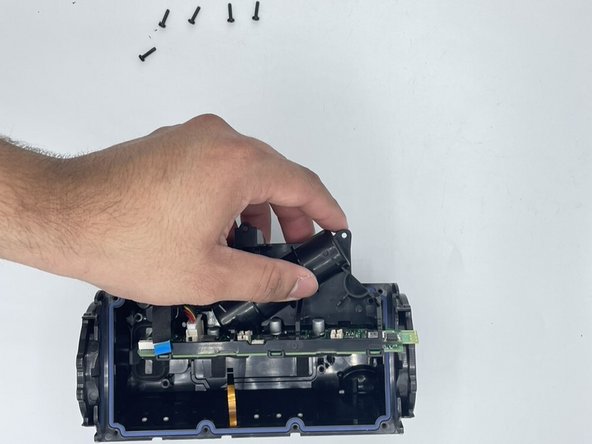
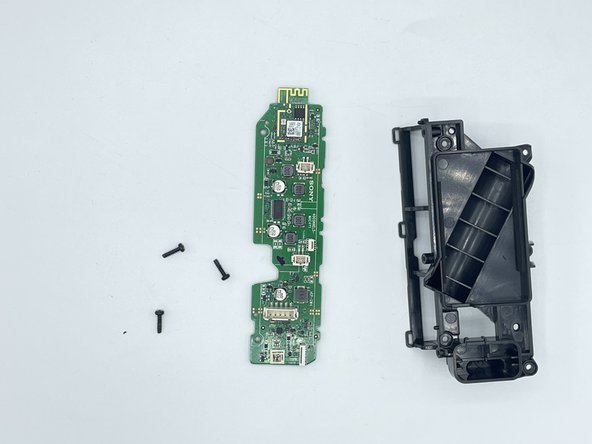
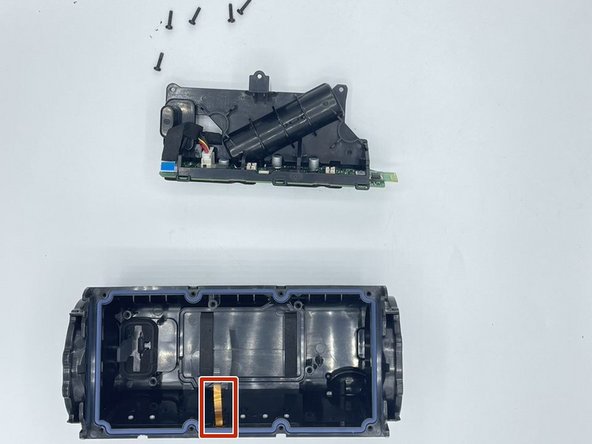
Remove the five 1 mm screws connecting the motherboard to the case with a Phillips #1 screwdriver.
-
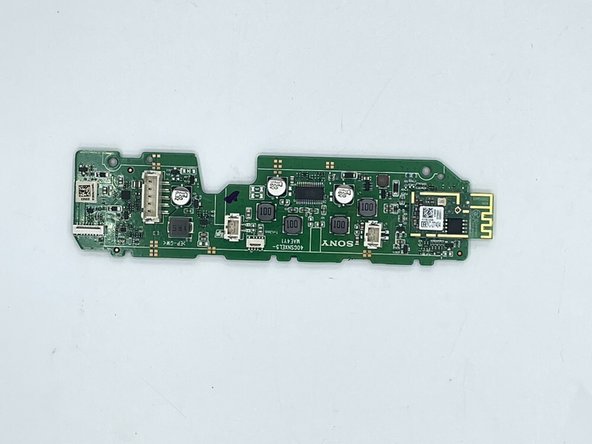
Separate the motherboard from the case.
-
-
-
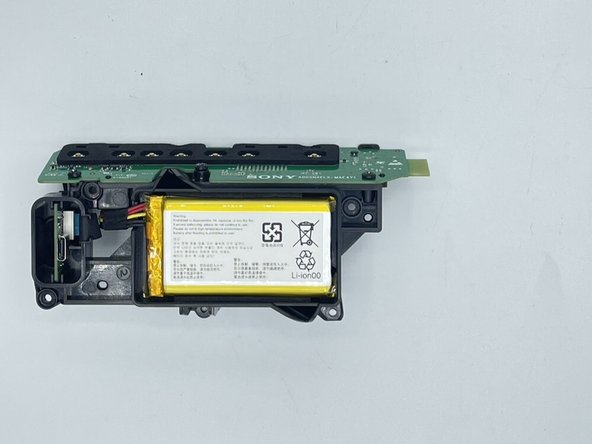
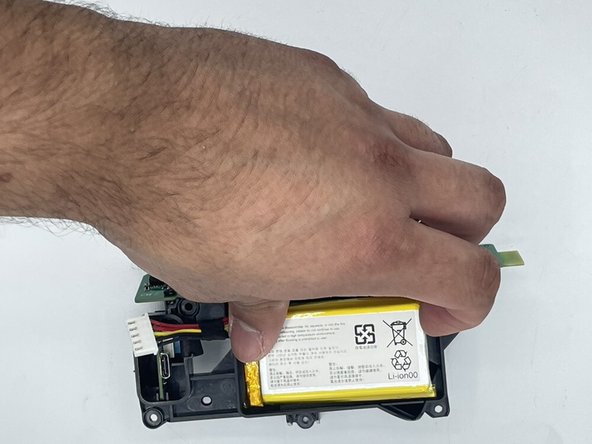
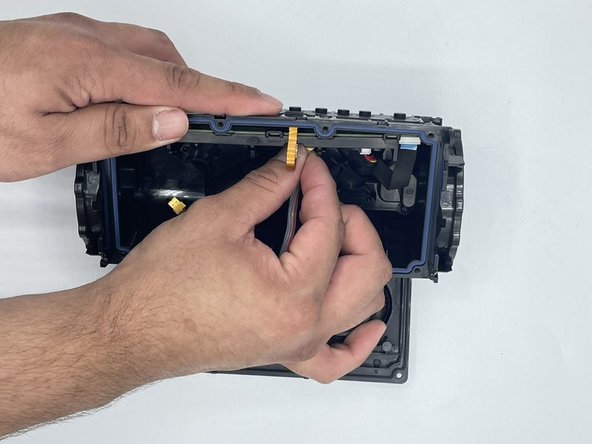
Remove the battery from the battery holder with a nylon spudger.
-
Unplug the battery from the motherboard.
-
-
-
Remove the two 0.8 mm screws connecting the motherboard to the microphone with a Phillips #1 screwdriver.
-
Remove the microphone.
-
-
-
Remove the eight 1 mm screws that connect the motherboard case and the speaker case with a Phillips #1 screwdriver.
-
Remove the four 0.8 mm screws that connect the motherboard case and the speaker case with a Phillips #1 screwdriver.
-


To reassemble your device, follow these instructions in reverse order.
To reassemble your device, follow these instructions in reverse order.
Команда

University of North Texas, Team 2-6, Saru Jimmy Spring 2023 Участник University of North Texas, Team 2-6, Saru Jimmy Spring 2023
UNT-SARU JIMMY-S23S2G6
4 членов
Автор 4 руководств