Введение
Replacement steps for a hard disk drive in a Sony VAIO SVE14AJ16L Laptop.
Выберете то, что вам нужно
-
-
Remove the two screws on the hard drive cover with a Phillips #0 screwdriver.
-
Remove the hard drive cover.
-
-
-
-
Remove the two screws holding the hard drive in place with a Phillips #0 screwdriver.
-
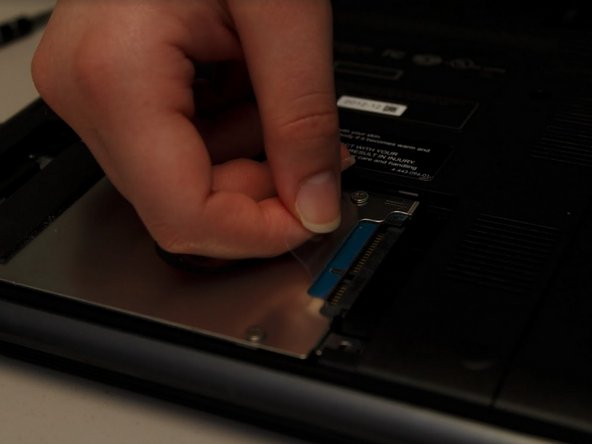
Using the plastic tab, slide the hard drive out away from the main portion of the laptop.
-
Lift the hard drive out of the laptop using the tab.
-
-
-
Remove the four screws holding the hard drive bracket to the hard drive using a Phillips #0 screwdriver.
-


To reassemble your device, follow these instructions in reverse order.
To reassemble your device, follow these instructions in reverse order.
Отменить: Я не выполнил это руководство.
Еще один человек закончил это руководство.
Команда

University of North Texas, Team S1-G6, Riccardelli Fall 2018 Участник University of North Texas, Team S1-G6, Riccardelli Fall 2018
UNT-RICCARDELLI-F18S1G6
4 членов
Автор 10 руководств