Введение
If you notice that what you input into a computer is not outputting correctly, it may be that your I/O card needs replacing. This guide will walk you through how to replace the Sony VAIO SVE14AJ16L I/O Card on your laptop.
Выберете то, что вам нужно
-
-
Remove the battery, hard drive cover, and RAM cover.
-
Unscrew the two Phillips screws to remove the hard drive from the computer
-
-
-
-
Remove the 13 Phillips #0 screws.
-
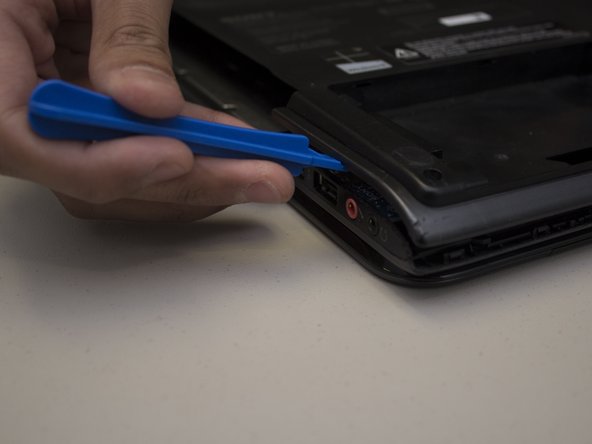
Carefully pry apart the clipped-on bottom panel of the laptop to expose the internals using the iFixit opening tool.
-
-
-
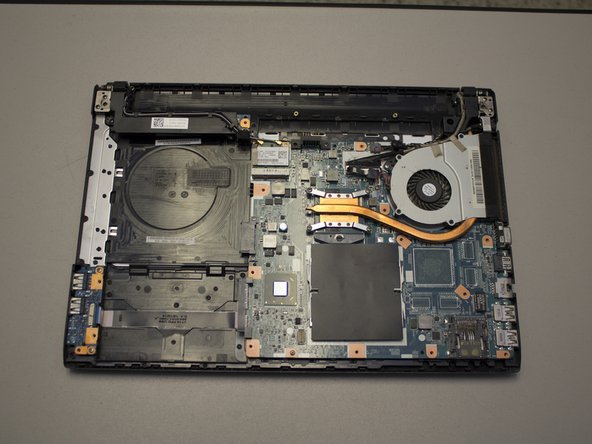
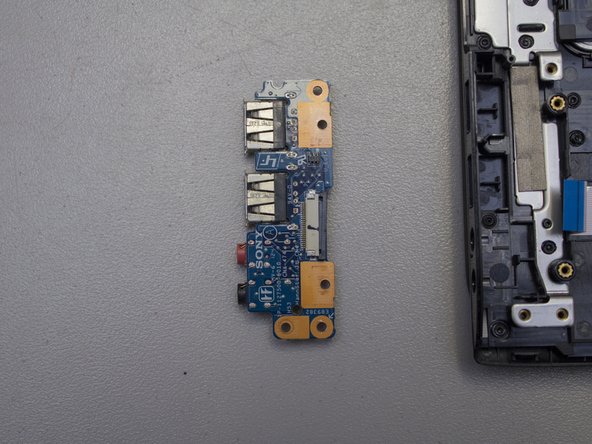
Locate the I/O card in the bottom left hand corner (or upper right hand corner depending on which direction you have the laptop) of the case.
-
-
-
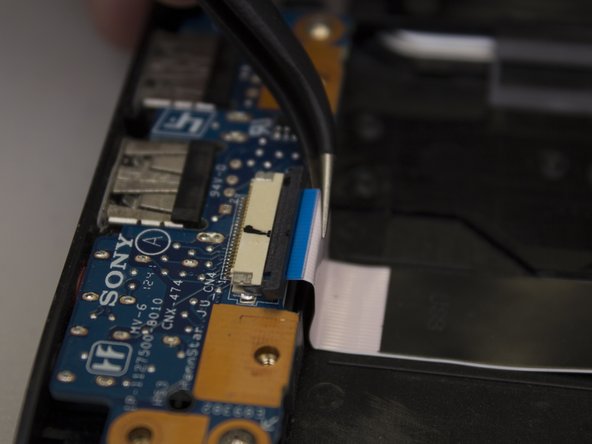
Carefully slide the black retainer bar towards the ribbon cable with a nylon supdger until parallel.
-
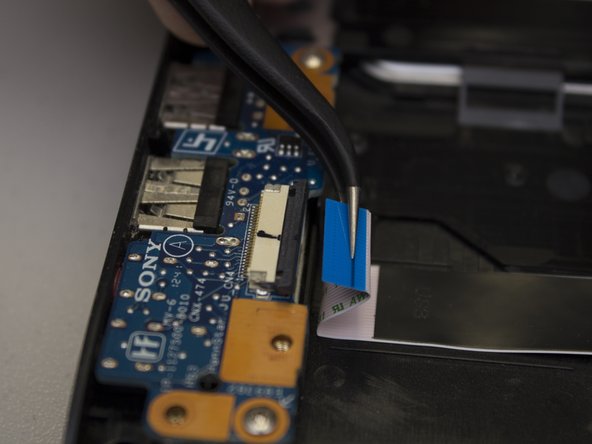
Carefully pull the ribbon cable out of its socket with a pair of tweezers.
-
-
-
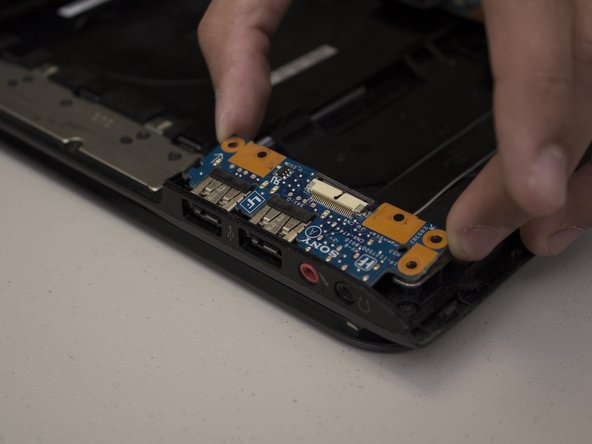
Remove the two screws on the corners of the I/O card using a Phillips #0 screwdriver.
-
Lift the edge of the card up and away from the laptop, then pull it away from the side ports.
-


To put Humpty Dumpty together again, follow these instructions in the reverse order.
To put Humpty Dumpty together again, follow these instructions in the reverse order.
Команда

University of North Texas, Team S1-G6, Riccardelli Fall 2018 Участник University of North Texas, Team S1-G6, Riccardelli Fall 2018
UNT-RICCARDELLI-F18S1G6
4 членов
Автор 10 руководств