Введение
If the laptop is indicating that there may be issues with the disc drive, is unable to operate the disk drive, or otherwise read an inserted disc, use this guide in order to replace the disk drive.
Выберете то, что вам нужно
-
-
-
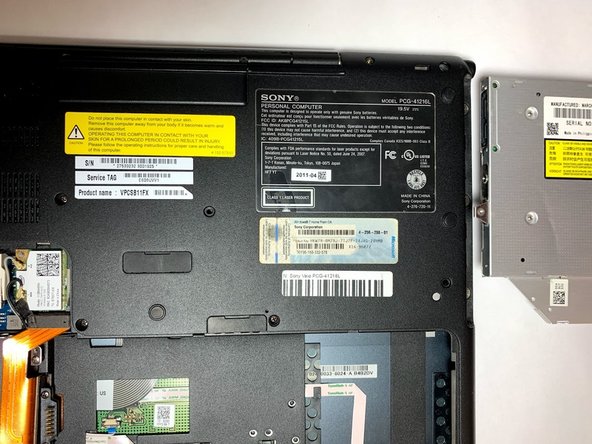
Carefully remove the disk drive by gripping the disk drive by the edges and pulling it out of the computer. Insert the replacement unit in the same orientation and reassemble the unit.
-


To reassemble your device, follow these instructions in reverse order.
To reassemble your device, follow these instructions in reverse order.

Команда

Oregon Institute of Technology, Team S1-G4, Lancaster Winter 2019 Участник Oregon Institute of Technology, Team S1-G4, Lancaster Winter 2019
OIT-LANCASTER-W19S1G4
3 членов
Автор 10 руководств