Введение
This guide provides users with a step-by-step process for accessing and replacing the fan component. This guide will be helpful to users who need to clean the fan or replace a damaged fan.
Выберете то, что вам нужно
-
-
Remove the battery by pinching the two lock tabs towards the center.
-
Next, lift up on the battery to remove it.
-
-
-
Using a Phillips #00 screwdriver, remove the twenty-two 5.6 mm screws from the back of the laptop.
-
-
-
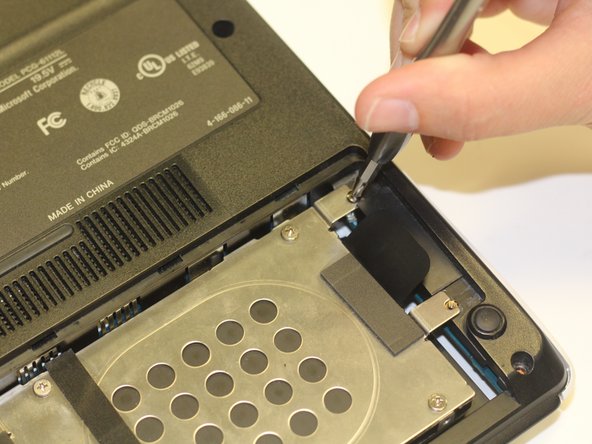
Now, remove the small covers from the back of the case.
-
Using a Phillips #00 screwdriver, unscrew the three 5.6 mm screws from the covers (one screw on the RAM cover [middle] and two screws on the Hard Drive cover [bottom right]).
-
Then, lift up on and remove these covers as shown in the third image.
-
-
-
-
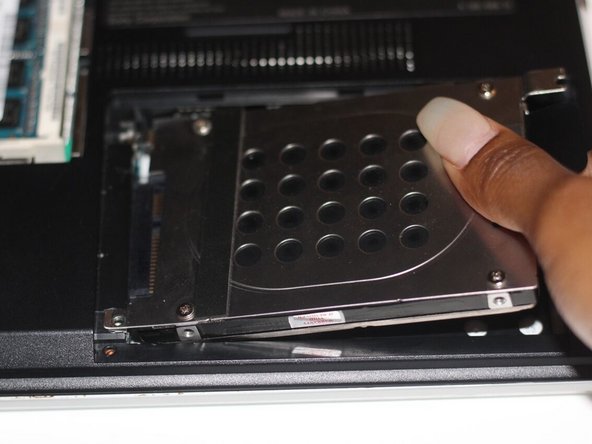
Remove the hard drive.
-
Using a Phillips #00 screwdriver, unscrew the two remaining 4.9 mm screws holding the hard drive into place.
-
Next, lift up and pull outwards to release the hard drive from its socket.
-
-
-
Using your fingers, grasp the black tab and lightly pull up on the ribbon cable to detach it from the motherboard.
-
-
-
After proper removal of all necessary screws, gently lift up on the back case to remove it.
-
-
-
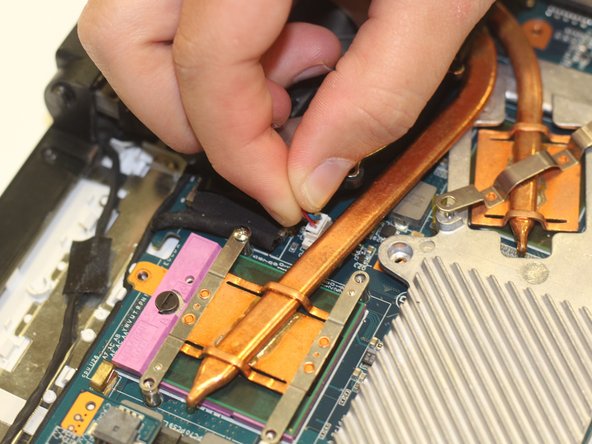
Locate the fan (top-right corner of the computer).
-
Using a Phillips #00 screwdriver, unscrew the six 2.7 mm screws that secure the fan to the motherboard.
-
-
-
Using a Japanese Industrial Standard #00 screwdriver, unscrew four 3.7 mm screws located on the casing of the fan.
-
-
-
Using your fingers, grasp the white tab and firmly, yet gently, pull up on the wire to disconnect it from the motherboard.
-


To reassemble your device, follow these instructions in reverse order.
To reassemble your device, follow these instructions in reverse order.
Команда

University of Alabama, Team S3-G9, Bedsole Spring 2018 Участник University of Alabama, Team S3-G9, Bedsole Spring 2018
UA-BEDSOLE-S18S3G9
3 членов
Автор 12 руководств