Перейти к основному содержанию

Sony Vaio PCG-61411L Optical Disc Drive Replacement

Выберете то, что вам нужно

  1. Sony Vaio PCG-61411L Optical Disc Drive Replacement, Battery: шаг 1, изображение 1 из 3 Sony Vaio PCG-61411L Optical Disc Drive Replacement, Battery: шаг 1, изображение 2 из 3 Sony Vaio PCG-61411L Optical Disc Drive Replacement, Battery: шаг 1, изображение 3 из 3
    • Be sure to disconnect the device charger and power down the device before beginning.

    • Turn the device over onto its back, where the battery is at the top of the device. Slide the "lock" switch to the right.

  2. Sony Vaio PCG-61411L Optical Disc Drive Replacement: шаг 2, изображение 1 из 3 Sony Vaio PCG-61411L Optical Disc Drive Replacement: шаг 2, изображение 2 из 3 Sony Vaio PCG-61411L Optical Disc Drive Replacement: шаг 2, изображение 3 из 3
    • Slide the "release" switch to the left and gently lift the battery up to remove it.

    • Completely remove the battery from the device.

  3. Sony Vaio PCG-61411L Optical Disc Drive Replacement, Hard Drive: шаг 3, изображение 1 из 1
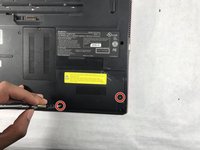
    • The hard drive panel is located in the bottom right corner of the device.

  4. Sony Vaio PCG-61411L Optical Disc Drive Replacement: шаг 4, изображение 1 из 2 Sony Vaio PCG-61411L Optical Disc Drive Replacement: шаг 4, изображение 2 из 2
    • Using the PH #0 screwdriver, unscrew the two 6.5mm screws located in the bottom left and middle right of the panel. The screws remain in the panels.

    • Remove the panel by pulling it up towards yourself.

  5. Sony Vaio PCG-61411L Optical Disc Drive Replacement: шаг 5, изображение 1 из 3 Sony Vaio PCG-61411L Optical Disc Drive Replacement: шаг 5, изображение 2 из 3 Sony Vaio PCG-61411L Optical Disc Drive Replacement: шаг 5, изображение 3 из 3
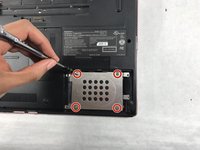
    • Using a PH0 screwdriver, remove the four 3mm silver screws located in the external hard drive cover.

    • Using a PH00 screwdriver, remove the final 3mm black screw located in the top right section of the hard drive cover.

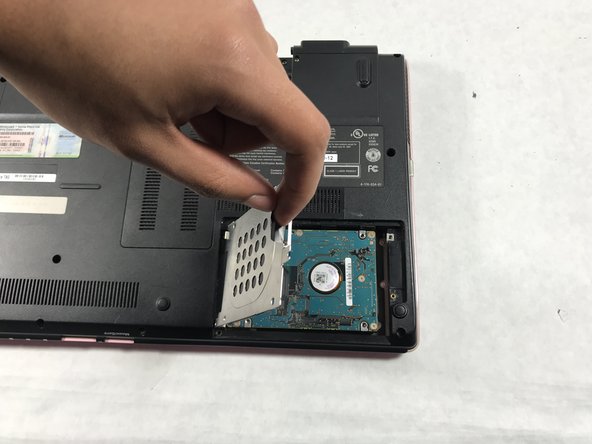
    • Carefully remove the silver hard drive cover.

  6. Sony Vaio PCG-61411L Optical Disc Drive Replacement: шаг 6, изображение 1 из 3 Sony Vaio PCG-61411L Optical Disc Drive Replacement: шаг 6, изображение 2 из 3 Sony Vaio PCG-61411L Optical Disc Drive Replacement: шаг 6, изображение 3 из 3
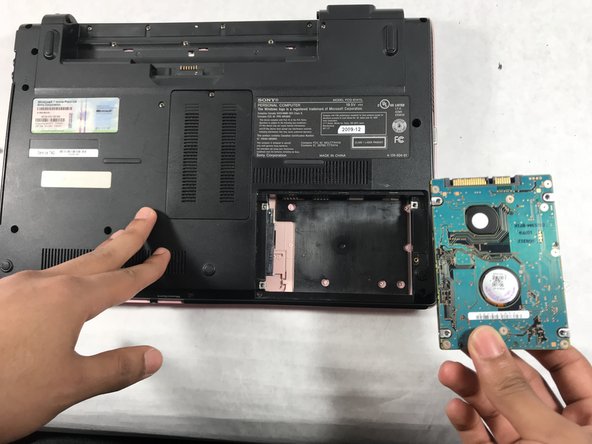
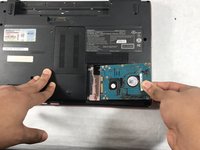
    • Detach the hard drive by disconnecting it from the motherboard, pulling it gently from left to right.

  7. Sony Vaio PCG-61411L Optical Disc Drive Replacement, Optical Disc Drive: шаг 7, изображение 1 из 2 Sony Vaio PCG-61411L Optical Disc Drive Replacement, Optical Disc Drive: шаг 7, изображение 2 из 2
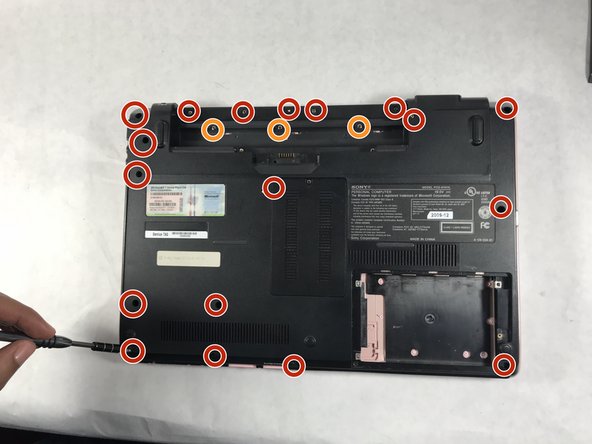
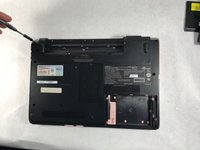
    • Remove the 5mm screws with the PH0 screwdriver.

    • Remove the 3mm screws with the PH0 screwdriver.

  8. Sony Vaio PCG-61411L Optical Disc Drive Replacement: шаг 8, изображение 1 из 2 Sony Vaio PCG-61411L Optical Disc Drive Replacement: шаг 8, изображение 2 из 2
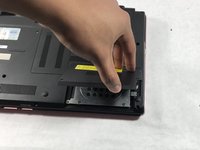
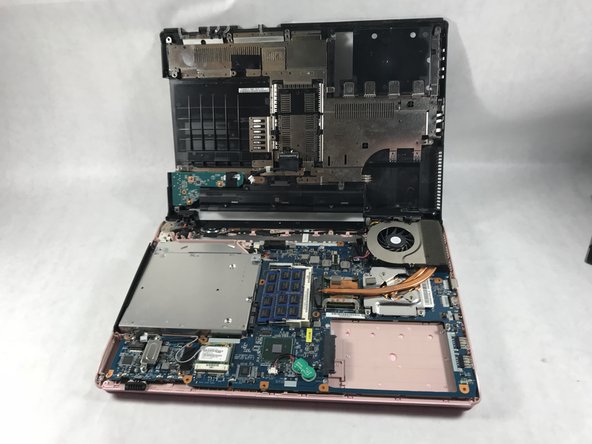
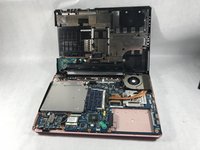
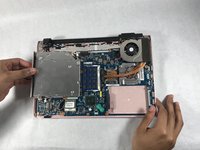
    • Lift the backplate from bottom right and left corner and remove it from the laptop.

  9. Sony Vaio PCG-61411L Optical Disc Drive Replacement: шаг 9, изображение 1 из 2 Sony Vaio PCG-61411L Optical Disc Drive Replacement: шаг 9, изображение 2 из 2
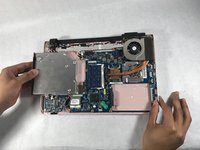
    • Slide your finger from the right of the optical disc and pull the optical disc from right to left.

Заключение

To reassemble your device, follow these instructions in reverse order.

Patrick Jean Baptiste

Участник с: 03/01/18

214 Репутация

Автор 2 руководств

Команда

UMass Dartmouth, Team S2-G1, Simcock Spring 2018 Участник UMass Dartmouth, Team S2-G1, Simcock Spring 2018

UMASSD-SIMCOCK-S18S2G1

3 членов

Автор 5 руководств

0 Комментариев

Добавить комментарий

Просмотр статистики:

За последние 24часов: 1

За последние 7 дней: 2

За последние 30 дней: 9

За всё время: 574