Перейти к основному содержанию

Sony Vaio PCG-981L Battery Replacement

  1. Sony Vaio PCG-981L Battery Replacement, Battery: шаг 1, изображение 1 из 1
    • Before starting, be sure the device is turned off and disconnected from any power cords.

    • Place the device on a flat surface.

  2. Sony Vaio PCG-981L Battery Replacement: шаг 2, изображение 1 из 1
    • Rotate the device 90° counterclockwise until the battery cover is in front of you.

    • The battery cover is located in the lower right side of the device in this new orientation.

  3. Sony Vaio PCG-981L Battery Replacement: шаг 3, изображение 1 из 1
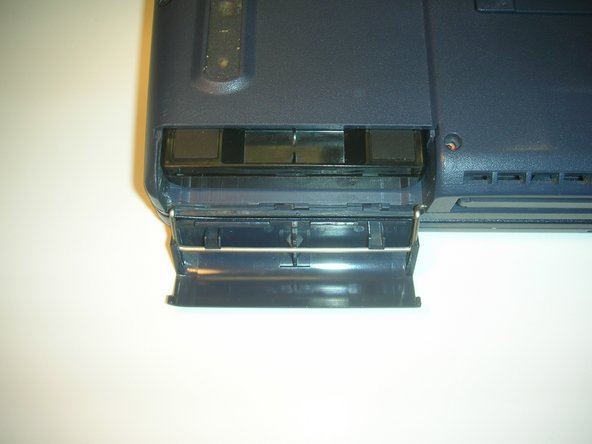
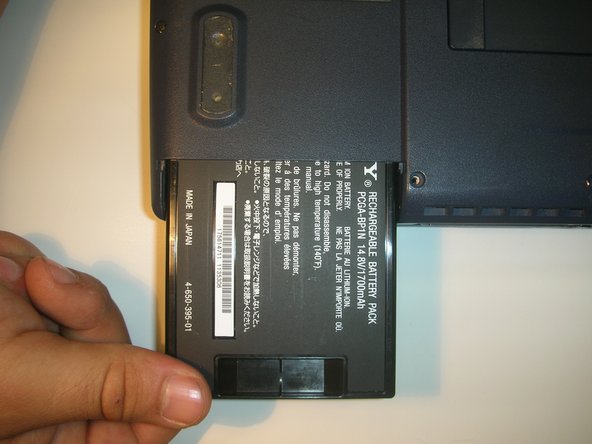
    • Flip the laptop over so that the bottom is facing up but the battery cover is still facing you.

    • In this new orientation, the battery cover is located on the left side.

  4. Sony Vaio PCG-981L Battery Replacement: шаг 4, изображение 1 из 1
    • To remove the battery cover, use your hands to slide it upwards.

  5. Sony Vaio PCG-981L Battery Replacement: шаг 5, изображение 1 из 3 Sony Vaio PCG-981L Battery Replacement: шаг 5, изображение 2 из 3 Sony Vaio PCG-981L Battery Replacement: шаг 5, изображение 3 из 3
    • Once lifted, the battery cover should flip open.

    • Now, carefully remove the battery from the device.

  6. Sony Vaio PCG-981L Battery Replacement: шаг 6, изображение 1 из 2 Sony Vaio PCG-981L Battery Replacement: шаг 6, изображение 2 из 2
    • Now, the battery should be completely removed from the device.

    • Be sure to dispose of the old battery properly and then you are finished.

Заключение

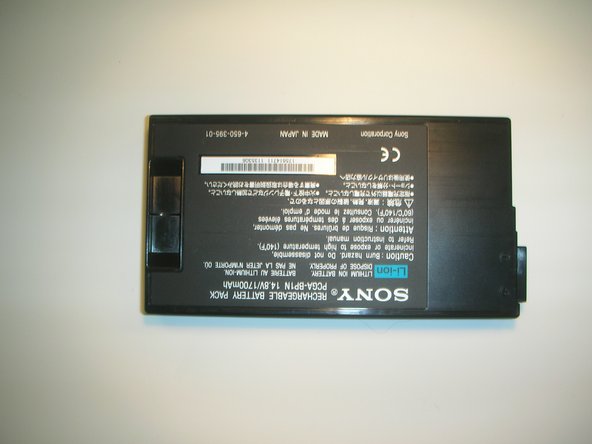
Enjoy your new battery.

Gabriel Camorlinga

Участник с: 04/20/10

43 Репутация

Автор 2 руководств

Команда

Cal Poly, Team 18-68, Johann Spring 2010 Участник Cal Poly, Team 18-68, Johann Spring 2010

CPSU-JOHANN-S10S18G68

4 членов

Автор 9 руководств

0 Комментариев

Добавить комментарий

Просмотр статистики:

За последние 24часов: 0

За последние 7 дней: 1

За последние 30 дней: 2

За всё время: 3,799