Введение
Trackpad replacement
Выберете то, что вам нужно
-
-
Remove cover for the extended battery connector. Use your finger nail or a plastic opening tool to remove it.
-
Remove the two rubber feet at the back of the computer, these can be removed in the same way.
-
-
-
Remove the four 5.6mm Philips #00 screws located at the top of the computer.
-
Remove the eight 3.6mm Philips #00 screws on the base of the computer.
-
-
-
Using a plastic opening tool, pry the plastic casing away from the base of the computer, the remaining clips around the edges can be released using your hands.
-
-
-
-
Once the bottom cover is removed, peel away the piece of tape located near the fan and heat sink assembly.
-
-
-
Remove the three 4.2mm Philips #0 screws located at the top of the battery.
-
Simply lift the battery away from the computer.
-
-
-
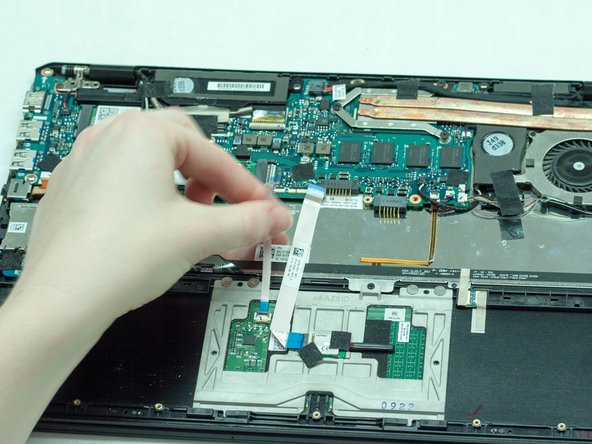
Use the nylon spudger to lift up on both of the white wire strips.
-
Then use your fingers to lift them up.
-
-
-
Using the Phillips head screwdriver, remove the four screws holding the track pad in.
-
Use the Phillips head again and remove the final black screw.
-


To reassemble your device, follow these instructions in reverse order.
To reassemble your device, follow these instructions in reverse order.
Отменить: Я не выполнил это руководство.
Еще один человек закончил это руководство.
Команда

Western Carolina University, Team 1-3, Virtue Spring 2016 Участник Western Carolina University, Team 1-3, Virtue Spring 2016
WCU-VIRTUE-S16S1G3
5 членов
Автор 12 руководств
Один комментарий
I still have my old Sony Vaio pro, the track pad has been sticky recently and I've used this guide to take it apart and clean it. Very very helpful!! Happy to put off buying a new laptop for a bit longer, thank you :)