Введение
Use this guide to replace the LCD panel and the screen on a Sony Vaio Tap 21 all-in-one desktop. The screen and LCD panel are attached together. It is moderately easy fix that will make your desktop look brand new.
Выберете то, что вам нужно
-
-
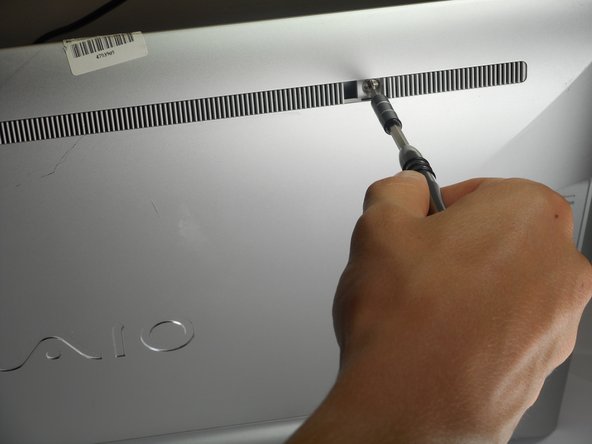
Insert the plastic opening tool at an angle into the grill and lift the tab by applying force down and to the left as you are lifting it out of place.
-
Use your plastic opening tool to remove the right plastic tab blocking the screw mounts behind the device.
-
The plastic tab is located on a plastic stretch of grill running along the upper half of the back of the device.
-
-
-
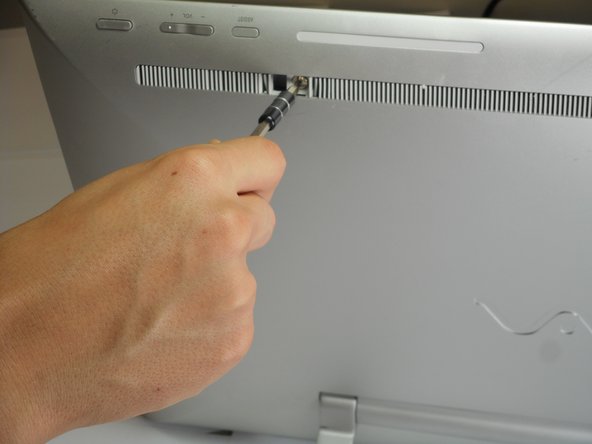
-
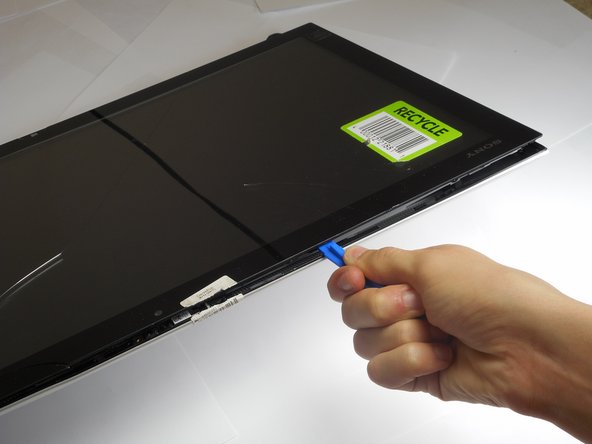
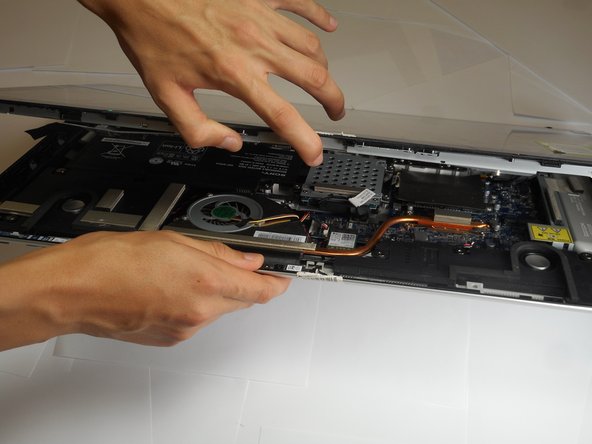
Face the screen of the device upwards.
-
Gently un-clip the screen around the four sides of the body with the plastic opening tool.
-
Use an up-down motion.
-


To reassemble your device, follow these instructions in reverse order.
To reassemble your device, follow these instructions in reverse order.
Отменить: Я не выполнил это руководство.
Еще один человек закончил это руководство.

Команда

Cal Poly, Team S4-G4, Livingston Fall 2017 Участник Cal Poly, Team S4-G4, Livingston Fall 2017
CPSU-LIVINGSTON-F17S4G4
4 членов
Автор 12 руководств
4 Комментариев
Where can I find a replacement screen for one of these Ive looked all over online
Bill have you found a replacement screen? I just cracker mine. It still works, but would like to replace. Love this computer.
The title should be how to open Sony Vaio Tap 21 SVT212A11L and not how to replace screen