Перейти к основному содержанию

Sony Vaio VGN-S260 Optical Drive Replacement

Выберете то, что вам нужно

  1. Sony Vaio VGN-S260 Optical Drive Replacement, Battery: шаг 1, изображение 1 из 3 Sony Vaio VGN-S260 Optical Drive Replacement, Battery: шаг 1, изображение 2 из 3 Sony Vaio VGN-S260 Optical Drive Replacement, Battery: шаг 1, изображение 3 из 3
    • Flip the laptop over so the Vaio logo is facing down.

    • Locate the battery at the top and Find the release and unlock slides on the battery.

    • Slide the unlock tab to the unlock position.

    • Slide the release tab in the direction of the arrow, i.e. towards the unlock tab.

  2. Sony Vaio VGN-S260 Optical Drive Replacement: шаг 2, изображение 1 из 2 Sony Vaio VGN-S260 Optical Drive Replacement: шаг 2, изображение 2 из 2
    • With the tabs still in the unlock position, slide the battery away from the main case.

  3. Sony Vaio VGN-S260 Optical Drive Replacement, Keyboard: шаг 3, изображение 1 из 2 Sony Vaio VGN-S260 Optical Drive Replacement, Keyboard: шаг 3, изображение 2 из 2
    • Flip the computer over so the Vaio logo is facedown.

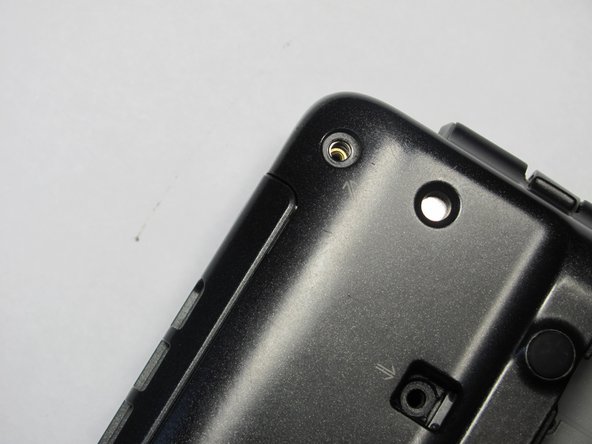
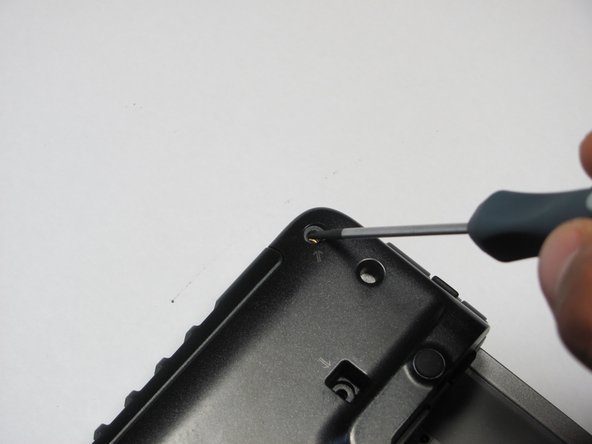
    • Unscrew the 2 screws next to the battery.

  4. Sony Vaio VGN-S260 Optical Drive Replacement: шаг 4, изображение 1 из 1
    • Flip the computer over again so the Vaio logo is face up.

    • Open the lid.

  5. Sony Vaio VGN-S260 Optical Drive Replacement: шаг 5, изображение 1 из 2 Sony Vaio VGN-S260 Optical Drive Replacement: шаг 5, изображение 2 из 2
    • Press down on the outer gray shell around the keyboard.

    • Use the spudger to gently lift keyboard.

    • Do not pull up the keyboard too far as it is attached to a ribbon underneath.

  6. Sony Vaio VGN-S260 Optical Drive Replacement: шаг 6, изображение 1 из 2 Sony Vaio VGN-S260 Optical Drive Replacement: шаг 6, изображение 2 из 2
    • Lift up lever underneath the ribbon to detach the keyboard.

  7. Sony Vaio VGN-S260 Optical Drive Replacement, Upper Casing: шаг 7, изображение 1 из 1
    • Remove memory/wireless compartment cover.

  8. Sony Vaio VGN-S260 Optical Drive Replacement: шаг 8, изображение 1 из 3 Sony Vaio VGN-S260 Optical Drive Replacement: шаг 8, изображение 2 из 3 Sony Vaio VGN-S260 Optical Drive Replacement: шаг 8, изображение 3 из 3
    • Flip so the Vaio Logo is face down.

    • Locate and remove a total of 8 screws on the bottom.

  9. Sony Vaio VGN-S260 Optical Drive Replacement: шаг 9, изображение 1 из 1
    • Find and remove 5 screws (they all have arrows next to them) from cover.

  10. Sony Vaio VGN-S260 Optical Drive Replacement: шаг 10, изображение 1 из 3 Sony Vaio VGN-S260 Optical Drive Replacement: шаг 10, изображение 2 из 3 Sony Vaio VGN-S260 Optical Drive Replacement: шаг 10, изображение 3 из 3
    • Flip the laptop over so the Vaio logo is face up.

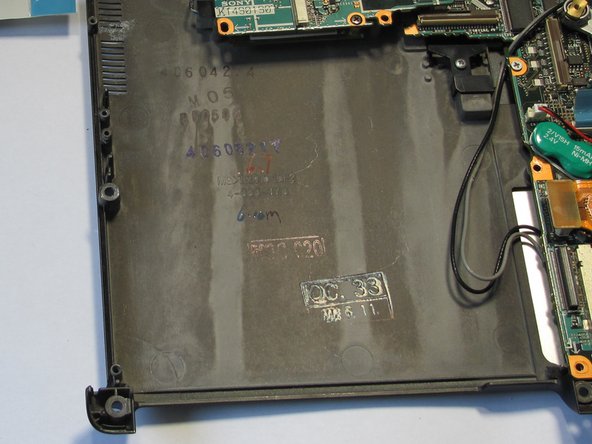
    • Use the spudger to pop up the upper casing.

    • Do not lift too much as the upper casing is attached to wires underneath.

    • Remove the wires that are attaching the upper casing to the motherboard.

  11. Sony Vaio VGN-S260 Optical Drive Replacement: шаг 11, изображение 1 из 1
    • Remove the upper casing.

  12. Sony Vaio VGN-S260 Optical Drive Replacement, Optical Drive: шаг 12, изображение 1 из 1
    • Remove the screw holding the optical drive casing to the logic board.

  13. Sony Vaio VGN-S260 Optical Drive Replacement: шаг 13, изображение 1 из 1
    • Locate ribbon connecting optical drive case to logic board.

    • Pop off the ribbon.

    • Remove the metal PC-Card cage.

  14. Sony Vaio VGN-S260 Optical Drive Replacement: шаг 14, изображение 1 из 1
    • Remove the four screws holding the optical drive to the logic board.

  15. Sony Vaio VGN-S260 Optical Drive Replacement: шаг 15, изображение 1 из 2 Sony Vaio VGN-S260 Optical Drive Replacement: шаг 15, изображение 2 из 2
    • Locate brown locking tab above optical drive.

    • Lift up on brown locking tab until ribbon is loose.

    • Gently slide out and remove the optical drive from the computer.

Заключение

To reassemble your device, follow these instructions in reverse order.

Еще один человек закончил это руководство.

Jeffrey Bryan

Участник с: 04/20/10

570 Репутация

Автор 11 руководств

Команда

Cal Poly, Team 16-4, Maness Spring 2010 Участник Cal Poly, Team 16-4, Maness Spring 2010

CPSU-MANESS-S10S16G4

4 членов

Автор 30 руководств

0 Комментариев

Добавить комментарий

Просмотр статистики:

За последние 24часов: 0

За последние 7 дней: 0

За последние 30 дней: 6

За всё время: 4,617