Перейти к основному содержанию

Sony Xperia Z2 Logic Board Replacement

Выберете то, что вам нужно

Видео обзор

  1. Sony Xperia Z2 Logic Board Replacement, Rear / Battery Cover: шаг 1, изображение 1 из 3 Sony Xperia Z2 Logic Board Replacement, Rear / Battery Cover: шаг 1, изображение 2 из 3 Sony Xperia Z2 Logic Board Replacement, Rear / Battery Cover: шаг 1, изображение 3 из 3
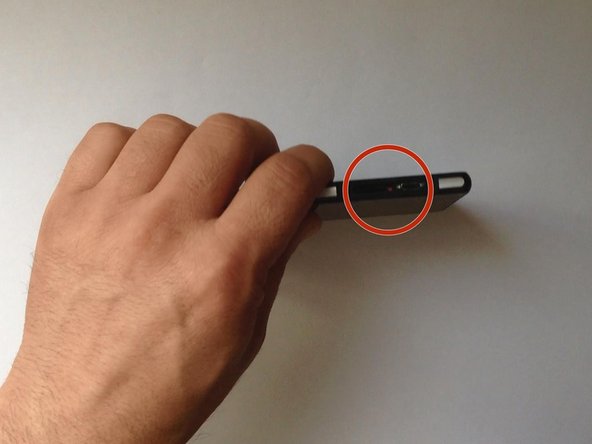
    • Switch off the phone.

    • If you can't switch it off, you can use the OFF button near to the SIM card Tray.

    • Warm the Back Cover. You can use a hairdryer.

    • Be careful, the Back Cover is plastic.

  2. Sony Xperia Z2 Logic Board Replacement: шаг 2, изображение 1 из 3 Sony Xperia Z2 Logic Board Replacement: шаг 2, изображение 2 из 3 Sony Xperia Z2 Logic Board Replacement: шаг 2, изображение 3 из 3
    • Use a small suction cup and plastic tools for separating the Rear panel.

    • There is Adhesive tape on the edges of the phone and some between the Battery and the Back Cover, as well. I found a small tab to pull just inside the top of the cover that removed the adhesive and released the back panel from the battery. Its that same style adhesive strip as used in the Iphone 5/5c/5s.

  3. Sony Xperia Z2 Logic Board Replacement: шаг 3, изображение 1 из 2 Sony Xperia Z2 Logic Board Replacement: шаг 3, изображение 2 из 2
    • Before installing the new cover, you must clean the phone from the old adhesive tape and install a new one (if your spare part has come without double sided adhesive tape).

    Should include the information about the NFC antenna.

    Sounds like a dealbreaker for some people.

    Diogo Pinheiro - Ответить

  4. Sony Xperia Z2 Logic Board Replacement, Battery: шаг 4, изображение 1 из 3 Sony Xperia Z2 Logic Board Replacement, Battery: шаг 4, изображение 2 из 3 Sony Xperia Z2 Logic Board Replacement, Battery: шаг 4, изображение 3 из 3

    Did you use the custom adhesive or the 3M double sided tape?

    kelvinteohbc - Ответить

  5. Sony Xperia Z2 Logic Board Replacement, Wi-Fi Antenna: шаг 5, изображение 1 из 3 Sony Xperia Z2 Logic Board Replacement, Wi-Fi Antenna: шаг 5, изображение 2 из 3 Sony Xperia Z2 Logic Board Replacement, Wi-Fi Antenna: шаг 5, изображение 3 из 3
    • Unscrew the screw and remove the Wi-Fi Antenna.

    wifi pages not loading ???

    GANESH RATHOD - Ответить

  6. Sony Xperia Z2 Logic Board Replacement, Logic Board: шаг 6, изображение 1 из 2 Sony Xperia Z2 Logic Board Replacement, Logic Board: шаг 6, изображение 2 из 2
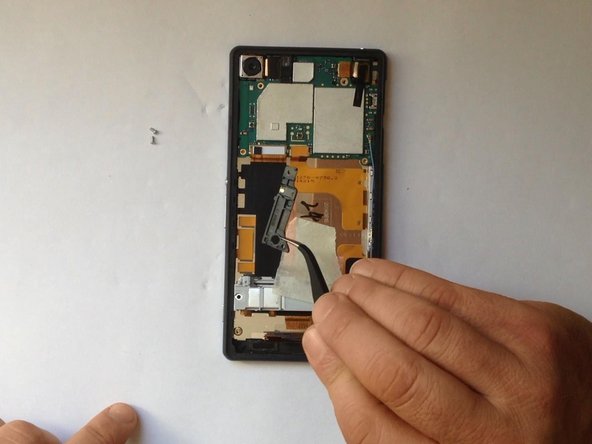
    • Disconnect one by one:

    • Magnetic Charging Dock Flex Cable

    • Volume / Power Button and Microphone Flex Cable

    • Main Camera

    • Audio Jack and Light Sensor Flex cable

    • Coaxial Antenna Cable

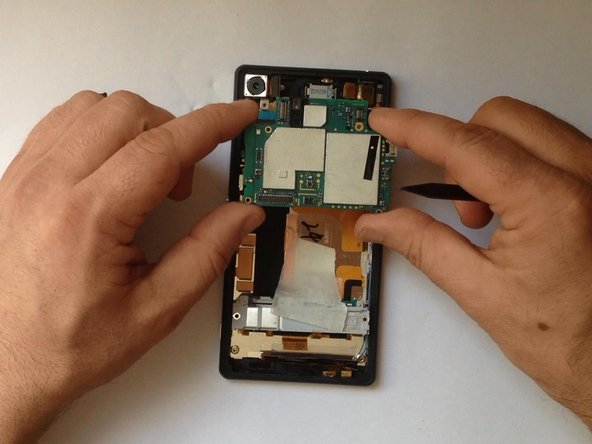
    I know it should probably be obvious, but just make sure you’ve removed any MicroSD card and the SIM card tray before trying to lift out the board, as otherwise they’ll prevent it from lifting :)

    Also, I had to peel off one side of the strip of black tape at the top right (visible in the photos, but not mentioned)

    Edward Millen - Ответить

  7. Sony Xperia Z2 Logic Board Replacement: шаг 7, изображение 1 из 3 Sony Xperia Z2 Logic Board Replacement: шаг 7, изображение 2 из 3 Sony Xperia Z2 Logic Board Replacement: шаг 7, изображение 3 из 3
Заключение

To reassemble your device, follow these instructions in reverse order.

19 участников успешно повторили данное руководство.

ZFix

Участник с: 12/09/13

191 182 Репутация

Автор 330 руководств

Команда

Master Techs Участник Master Techs

Community

322 членов

Автор 2 521 руководств

3 Комментариев

Hi

Do anyone knows where I can buy a logic board for Xperia Z2?

Johannes Stockinger - Ответить

https://www.ebay.com/sch/i.html?_from=R4...

or I bought there

https://ru.aliexpress.com/wholesale?catI...

be careful to find cheaper price and for your model D6503 or D6563…

Alexander -

Are you sure Phillips #00 is the correct size of screwdriver? I had difficulty getting one of the screws to turn (the screwdriver kept slipping), so I tried the other sizes in my iOpener Kit and found that the PH#000 seemed to fit them better, and that screw came straight out with it.

Edward Millen - Ответить

Добавить комментарий

Просмотр статистики:

За последние 24часов: 0

За последние 7 дней: 3

За последние 30 дней: 14

За всё время: 18,522