Введение
Use this guide to replace the seals on your device to prevent damages to the internal components.
Выберете то, что вам нужно
-
-
Place the lamp LED side down on a clean workspace.
-
Remove the screws holding the casing together using a Phillips #1 Screwdriver.
-
-
-
-
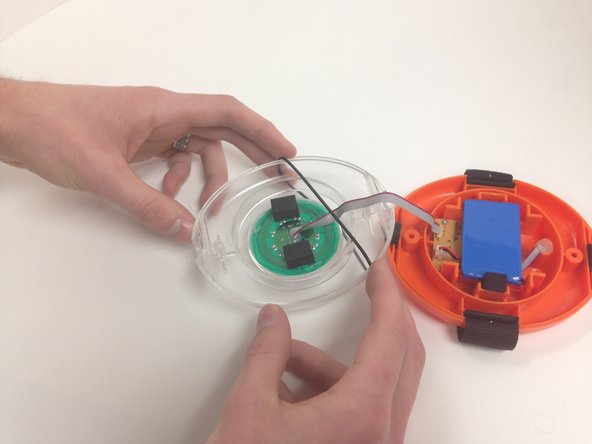
On the clear upper half, remove the black O-ring
-
Place the new O-ring, making sure it is smooth all the way around
-
-
-
Remove the rubber stand holders.
-
Place the new stand holders, making sure the wings of the holder are in the second opening
-


To reassemble your device, follow these instructions in reverse order.
To reassemble your device, follow these instructions in reverse order.
Команда

Michigan Tech, Team 1-3, Lauer Fall 2014 Участник Michigan Tech, Team 1-3, Lauer Fall 2014
MTU-LAUER-F14S1G3
3 членов
Автор 5 руководств