Введение
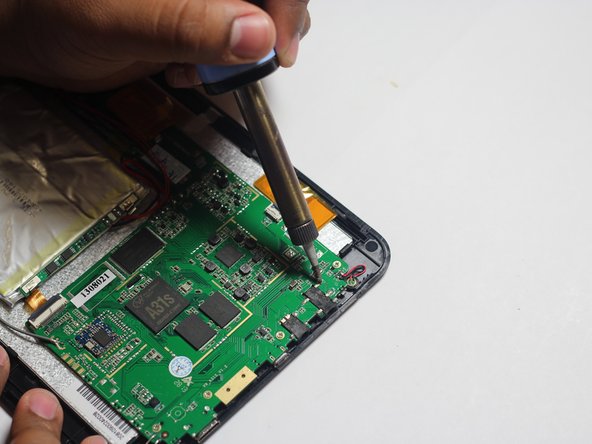
In this guide you will open up the back of the device and locate the 3.5mm headphone jack on the mother board. Once it is found you must remove it with a soldering iron and replace it.
Because this task requires the use of a soldering iron, prior experience with soldering/desoldering will be beneficial.
Выберете то, что вам нужно
-
-
Wedge the plastic opening tool between the back cover of the device and the front panel.
-
You will hear a snapping sound as the cover is separated from the body of the device.
-
-
-
Slide the opening tool along the seam between the front panel and the back cover to un-clip the remaining connections around the device.
-
Again, you will hear a snapping sound as the cover is separated from the body of the device.
-
-
-
-
Lift the back cover from the body of the device to expose the internal components.
-
-
-
Desolder the 5 soldered connections (marked in red) that connect the headphone jack to the device.
-
To reassemble your device, follow these instructions in reverse order.
To reassemble your device, follow these instructions in reverse order.


