Выберете то, что вам нужно
-
Этот шаг не переведен. Помогите перевести
-
There's no rage against this machine.
-
Looks great, except it doesn't run.
-
Its 50 cc engine lets me go downhill at almost 28 MPH when it does run. Uphills, not so much. Depending on the hill (and my head start), I may or may not have to walk it up.
-
-
Этот шаг не переведен. Помогите перевести
-
In retrospect I figured out i that I didn't need to remove the exhaust cover, but what the heck... When in Rome, right?
-
-
Этот шаг не переведен. Помогите перевести
-
Took off the air intake box.
-
That's contractor-grade 3M packing tape holding the airbox together. Only the best for my moped.
-
-
Этот шаг не переведен. Помогите перевести
-
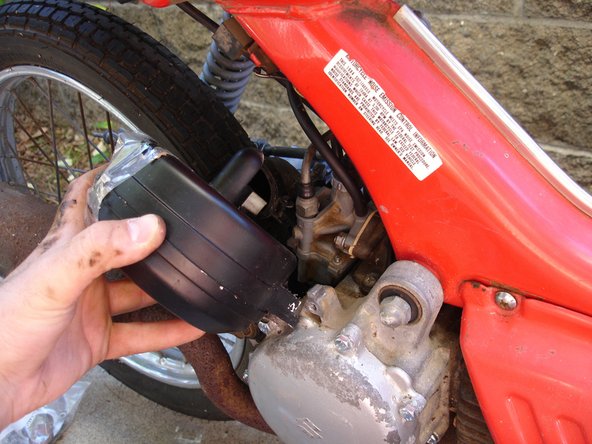
I went to the other side of the bike and removed the carb/oil pump protective cover.
-
-
Этот шаг не переведен. Помогите перевести
-
The foot rest came off next, in order to gain access to the engine and spark plug.
-
-
Этот шаг не переведен. Помогите перевести
-
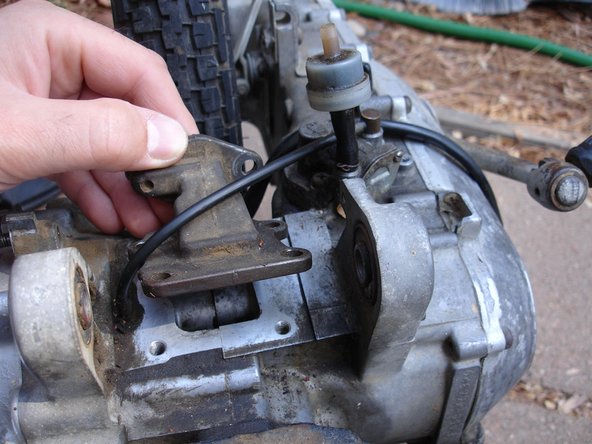
I then proceeded to access the wiring underneath the gas tank.
-
First I removed the protective brace on top of the oil/gas tanks using a 10 mm socket wrench.
-
-
Этот шаг не переведен. Помогите перевести
-
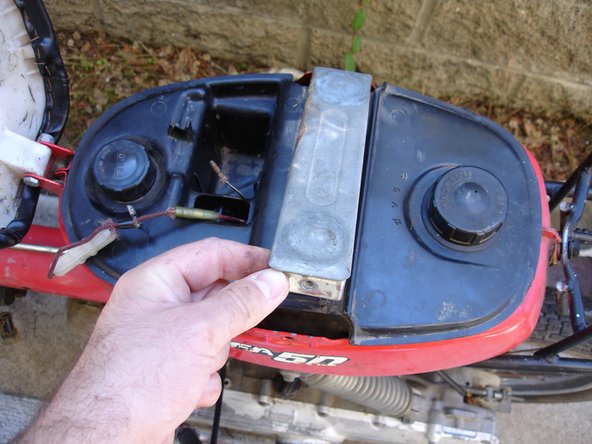
I had to take off both oil and gas caps in order to remove the plastic protective cover.
-
-
-
Этот шаг не переведен. Помогите перевести
-
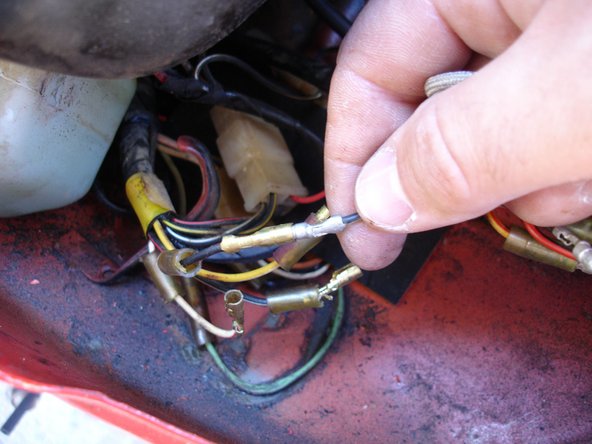
I set aside the fuel tank and bam! -- the wires were ready to be disconnected.
-
The wires must have been minding their own business since '84... Separating them was quite a challenge. Thankfully they had those round connectors on them, so I didn't have to solder or crimp anything when reassembling the moped.
-
-
Этот шаг не переведен. Помогите перевести
-
I paused for a minute to enjoy a cold cup of Diet Coke, and to drain all the 2-cycle oil...
-
I got the Goliath "freezer" mug in Six Flags Magic Mountain about 6-7 years ago. Best investment I ever made, aside from marrying the wife. It's the gift that keeps on giving!
-
Ikea bowls come in quite handy. Turns out there was enough 2-cycle oil to fill the entire bowl to the brim!
-
-
Этот шаг не переведен. Помогите перевести
-
I had a difficult time figuring out what I was doing in these pictures. According to the manual, I was removing the oil pump cover and oil hose.
-
-
Этот шаг не переведен. Помогите перевести
-
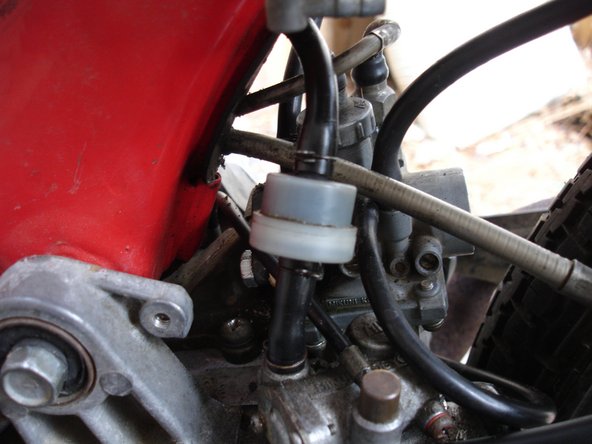
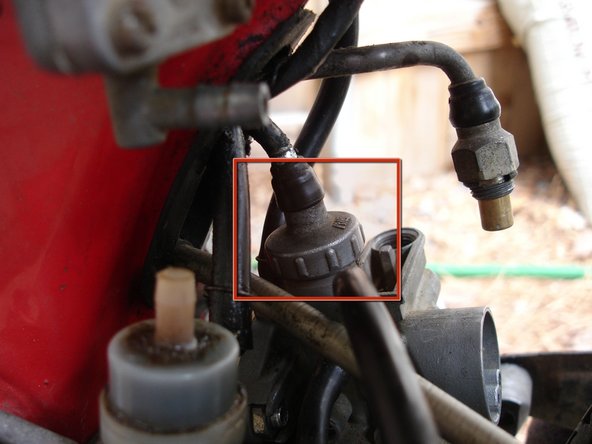
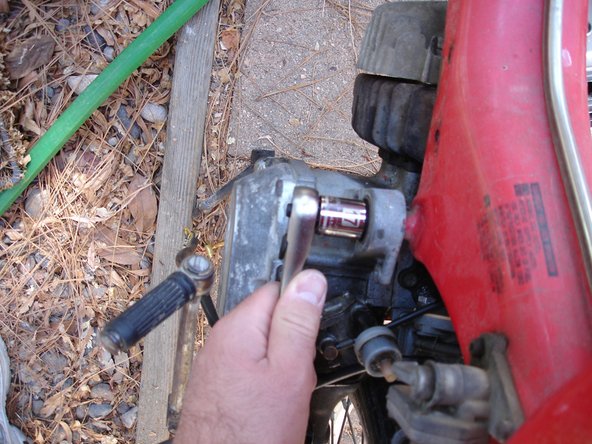
Unscrewing the smaller valve, which I believe to be the carburetor choke cable.
-
My culprit resides beneath the carburetor top cover. Even though I reassembled the moped, I'll have to investigate the throttle cable going into the carburetor.
-
-
Этот шаг не переведен. Помогите перевести
-
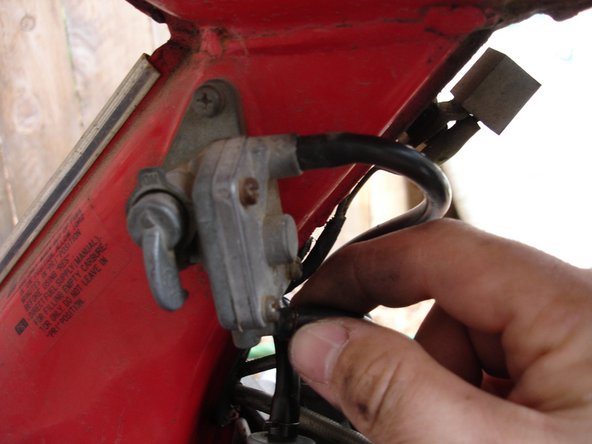
Rear brake gets disconnected next. The cable needs to be free since the brake lever will come off with the rest of the frame.
-
-
Этот шаг не переведен. Помогите перевести
-
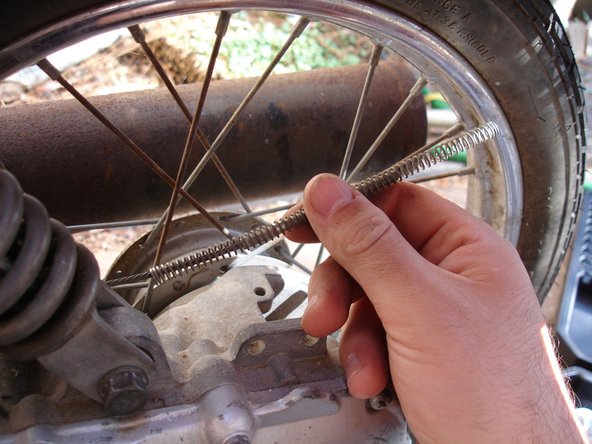
The rear spring gets unsprung using a 14 mm socket wrench.
-
Nothing crazy happened when I disconnected it, however.
-
-
Этот шаг не переведен. Помогите перевести
-
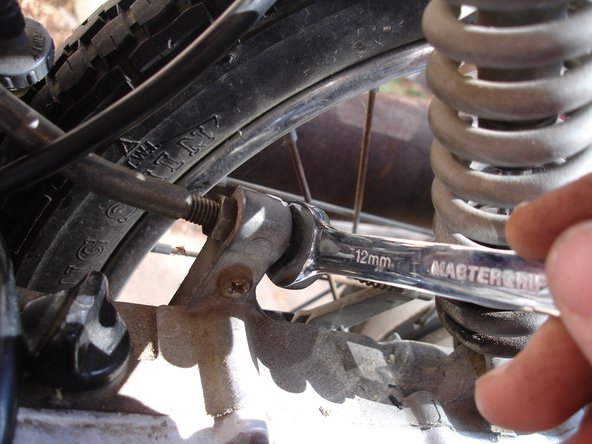
Finally, the large frame screw can be removed. This is the last piece of hardware holding the frame to the rear wheel / engine.
-
I had to use two 17 mm wrenches -- a socket on one side, and a ratcheting wrench on the other.
-
-
Этот шаг не переведен. Помогите перевести
-
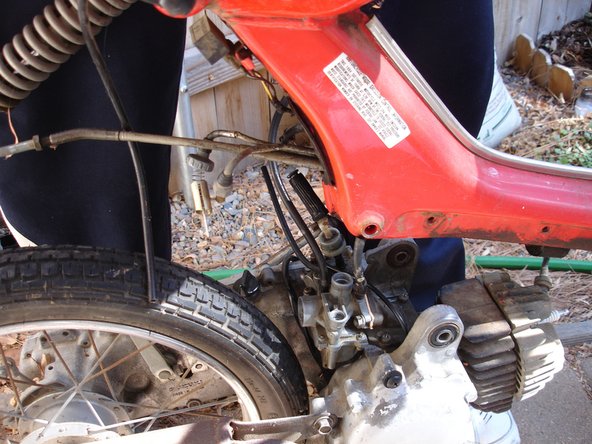
Now on to the engine.
-
Spark plug comes out with a strong flick of the wrist.
-
The plug looked like it was the original one that came with the moped. Dirty dirty!
-
-
Этот шаг не переведен. Помогите перевести
-
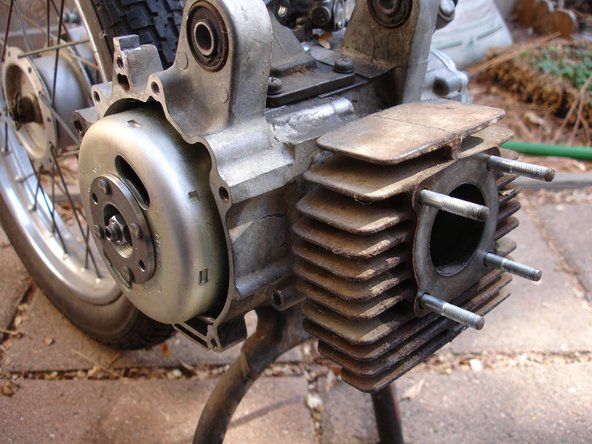
I continued by removing the front part of the engine using a 10 mm socket wrench. I found plenty of buildup inside.
-
-
Этот шаг не переведен. Помогите перевести
-
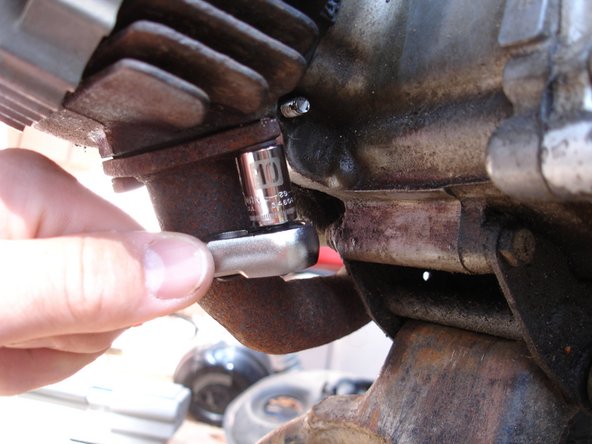
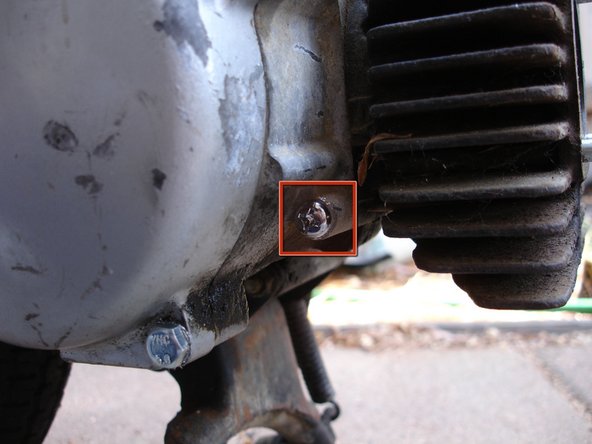
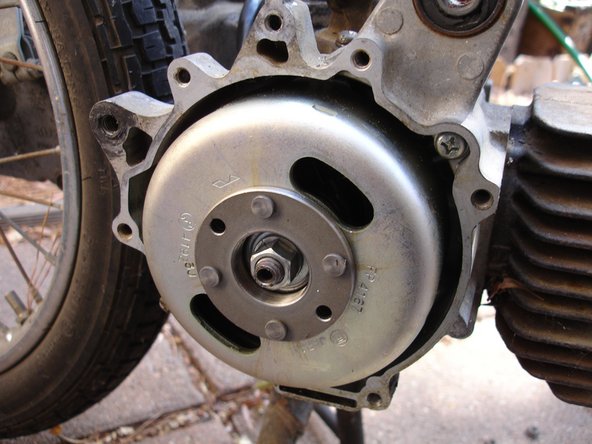
I wanted to see what a "flywheel magneto" looked like, so I decided to remove this cover. I figured anything named after an X-Man is worth a look...
-
I stripped the Phillips originals while taking the cover off. I replaced them with appropriately-sized 20 mm hex-head screws.
-
This is a 65 mm replacement I ordered online, along with news seals and stuff.
-
-
Этот шаг не переведен. Помогите перевести
-
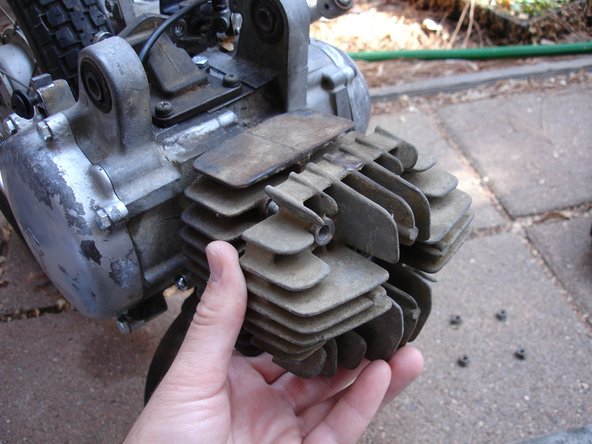
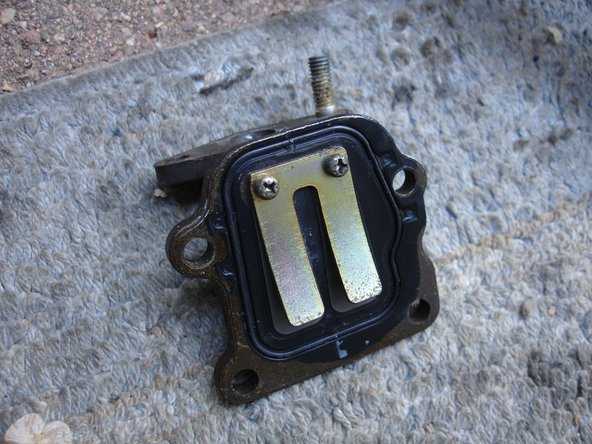
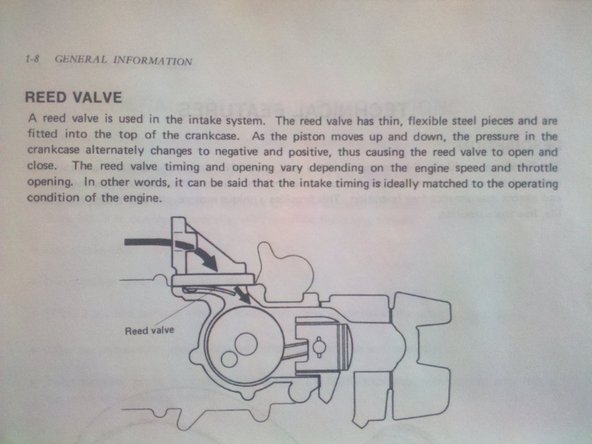
The reed valve comes right off. You can see the engine internals from the hole -- cool!
-
-
Этот шаг не переведен. Помогите перевести
-
The reed valve is a very important part of the moped, according to the service manual. The metal bars have to be bent a certain way, and other stuff.
-
-
Этот шаг не переведен. Помогите перевести
-
I had quite a difficult time shooting a "final layout" shot. I gave up after 5-10 pictures; this one was the best of the bunch.
-
That's it! Hope you enjoyed my teardown!
-


8 Комментариев
I am looking for a manual how to replace my spark plug of my Suzuki FA50. Can you help me?
Do you know if the crank case would be the same for a 84 as it would be for a 83 im purchasing a new crank case for my 83 but found a 84 crank case for cheap