Введение
Over time, table lamps can experience issues such as flickering bulbs, faulty wiring, or complete power failure. If your lamp is no longer functioning properly, replacing the bulb or rewiring the internal components can restore its usability. This step-by-step guide will walk you through the process of safely replacing a table lamp's bulb and wiring, ensuring your lamp is both functional and safe to use. Whether you're troubleshooting a non-working lamp or upgrading its components, this guide will help you complete the repair with confidence.
Выберете то, что вам нужно
-
-
Switch off the lamp to ensure no electricity is flowing.
-
Unplug the lamp from the power outlet to prevent the risk of electric shock.
-
Wait a few minutes to allow any remaining electrical charge to dissipate.
-
-
-
Locate the screw at the base of the lamp that secures the light fixture to the structure.
-
Use the correct screwdriver/wrench (or if it the screw is loose enough, your hands) to carefully unscrew it while applying steady pressure.
-
Keep the screw in a secure place to avoid losing it during reassembly.
-
-
-
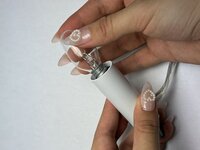
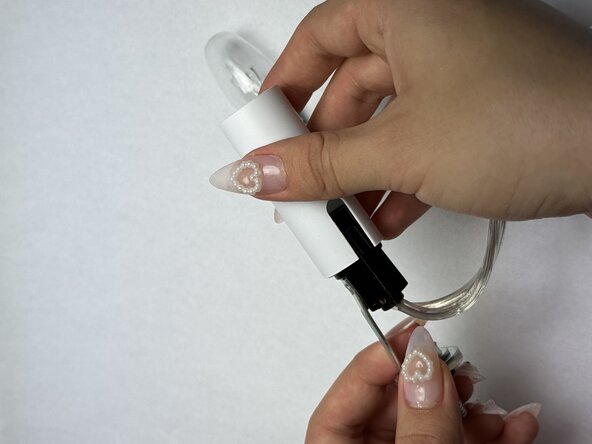
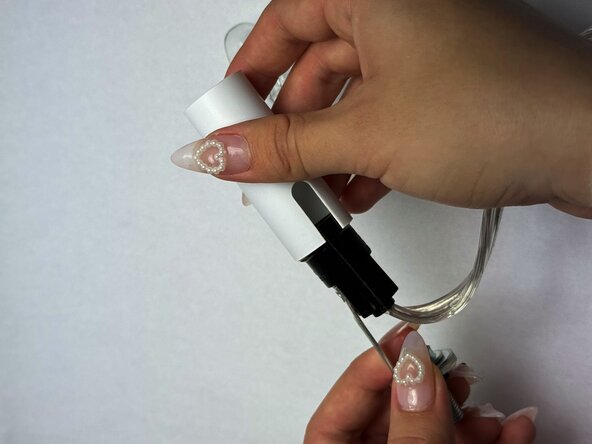
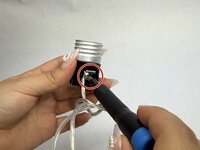
Hold the socket (the component that holds the bulb) firmly and check if it is attached with additional screws or clips.
-
Slowly pull the socket out of the fixture while being mindful of the connected wiring.
-
-
-
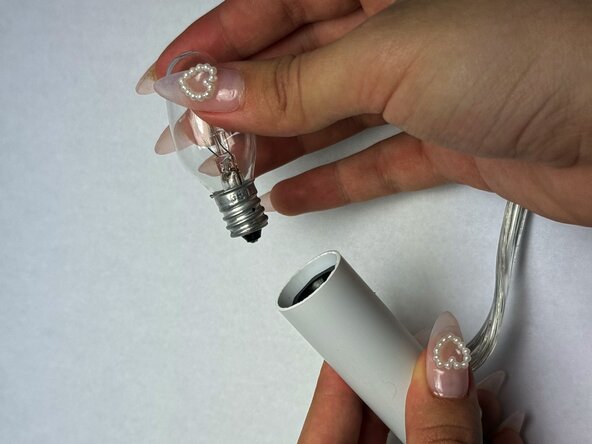
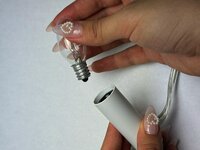
Grip the bulb securely and rotate it counterclockwise to loosen it from the socket.
-
Once removed, inspect the bulb for any visible damage and set it aside if it needs replacement.
-
-
-
-
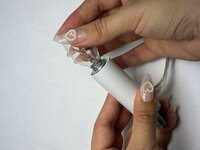
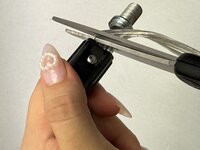
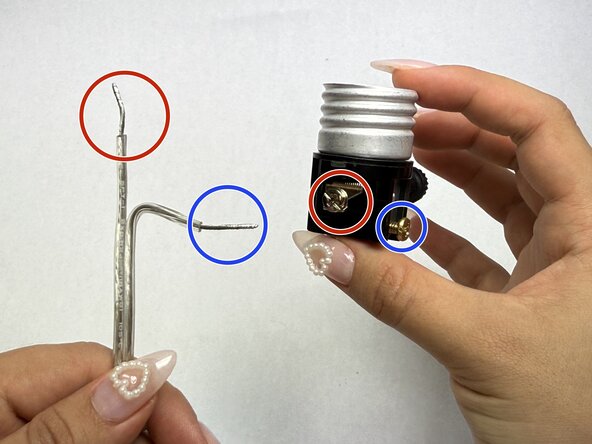
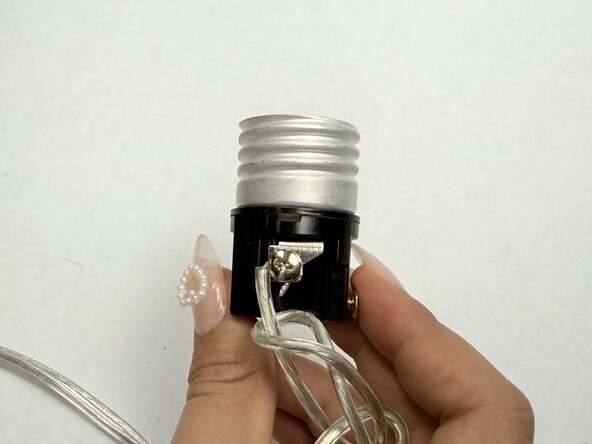
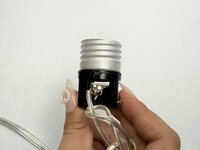
Secure the wires to the screws using a Phillips screwdriver.
-
Tighten the screws so that the wires are secured under the screws.
-


Команда

UC Davis, Team 3-3, Andersen Winter 2025 Участник UC Davis, Team 3-3, Andersen Winter 2025
UCD-ANDERSEN-W25S3G3
3 членов
Автор 1 руководств