Перейти к основному содержанию

Эта версия возможно содержит некорректные исправления. Переключить на последнюю проверенную версию.

Выберете то, что вам нужно

  1. Этот шаг не переведен. Помогите перевести

    : шаг 1, изображение 1 из 1
    • Before performing any repairs, perform a water test on the pump by raising and lowering the handle a full 40 strokes. A properly performing pump will yield greater than 10 liters.

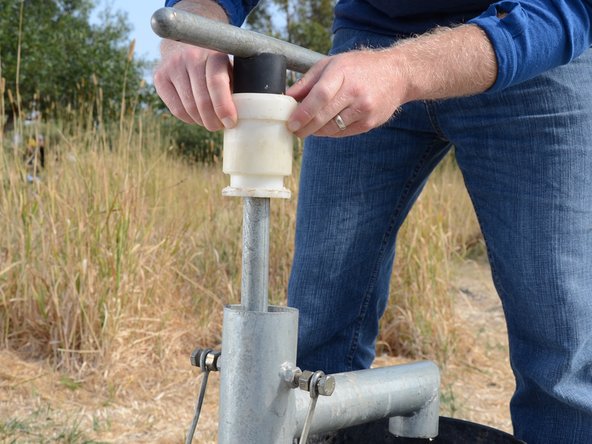
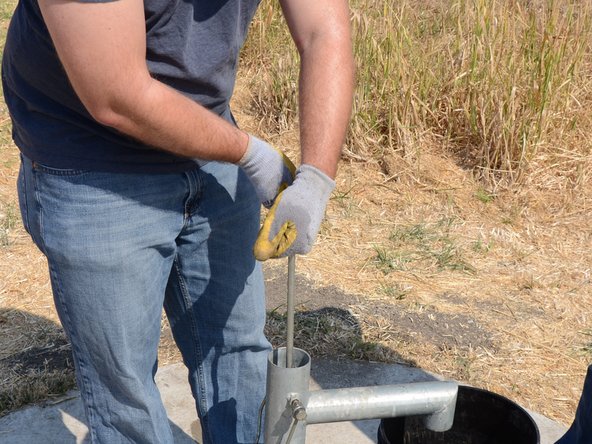
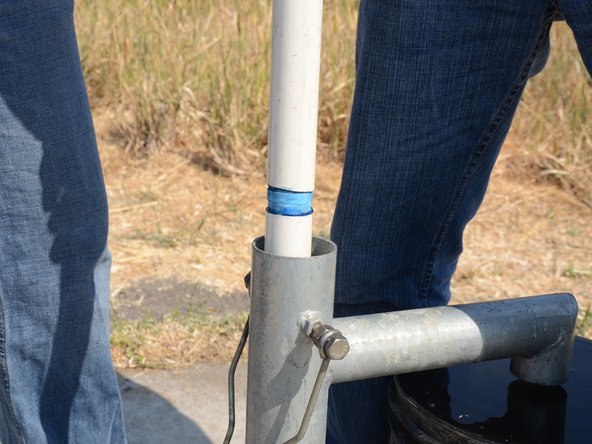
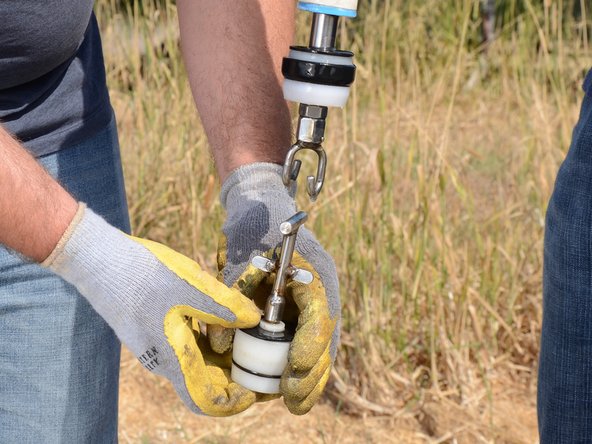
    • Use a Tara tool to loosen the jam nuts on either side of the pump.

    • The bolts do not need to be loosened or removed, only the nuts need to be loosened.

  2. Этот шаг не переведен. Помогите перевести

    : шаг 2, изображение 1 из 3 : шаг 2, изображение 2 из 3 : шаг 2, изображение 3 из 3
    • Unscrew the lock bolts about half an inch.

    • The bolts do not need to be removed from the base.

  3. Этот шаг не переведен. Помогите перевести

    : шаг 3, изображение 1 из 2 : шаг 3, изображение 2 из 2
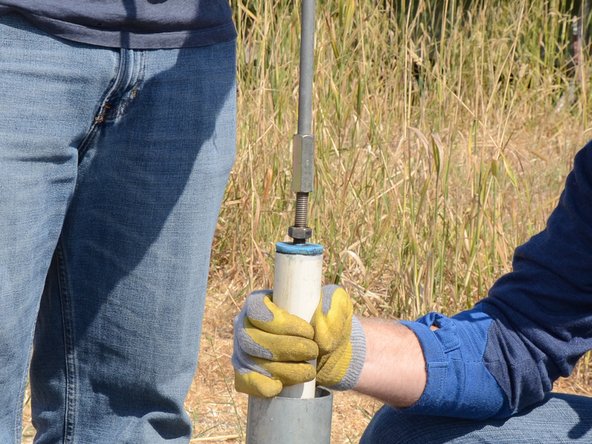
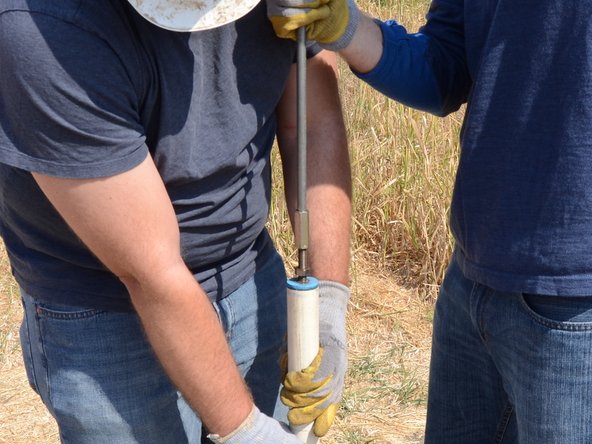
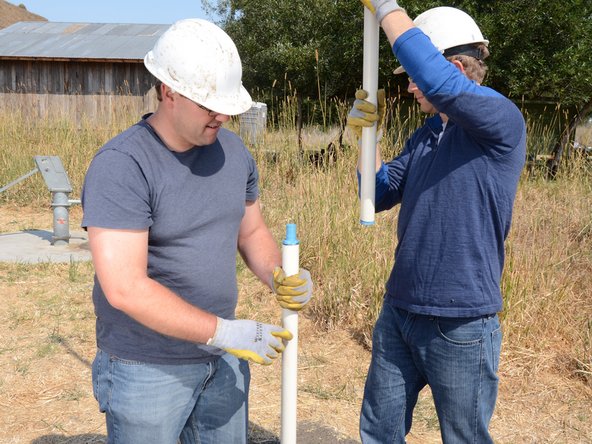
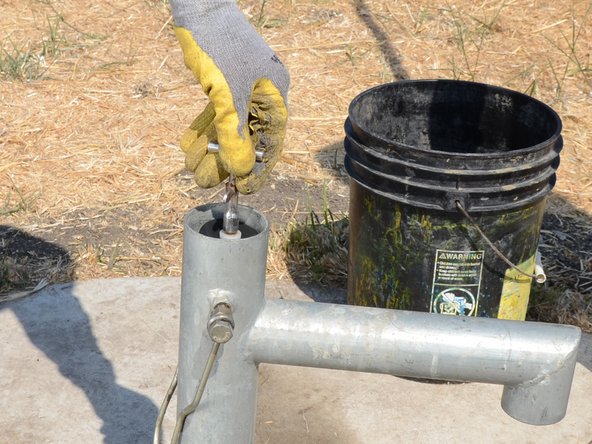
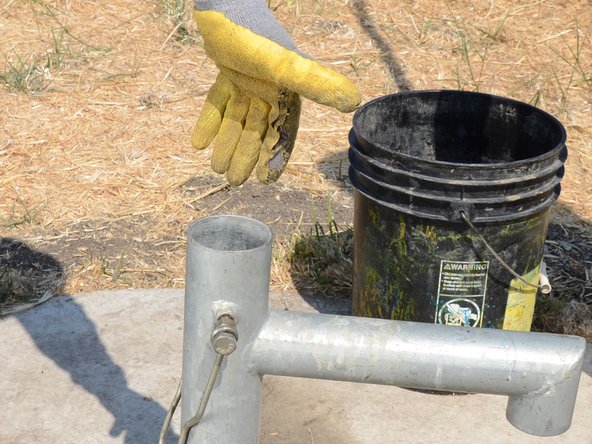
    • Pull the plastic bushing and handle straight up out of the pump.

    • If the bushing doesn't come up, loosen the lock bolts further.

  4. Этот шаг не переведен. Помогите перевести

    : шаг 4, изображение 1 из 2 : шаг 4, изображение 2 из 2
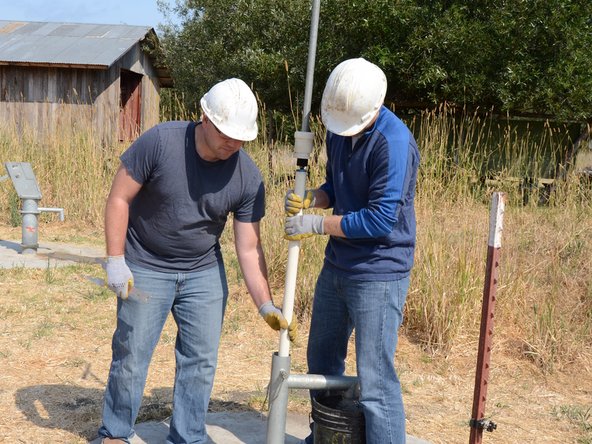
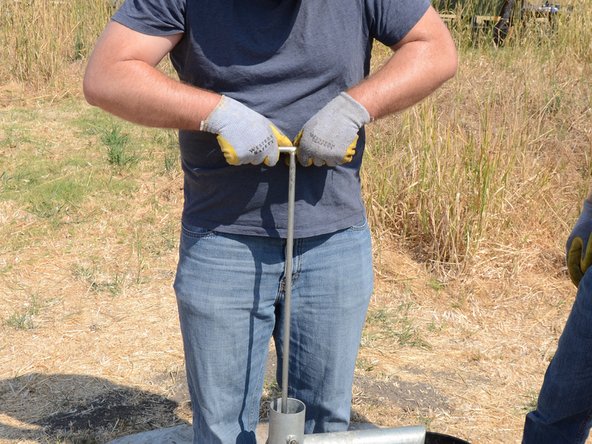
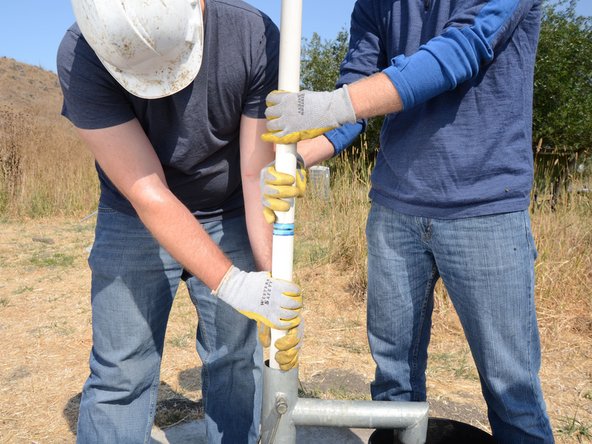
    • Lift up the handle and riser main until the joint between the two is at a comfortable height to work on.

  5. Этот шаг не переведен. Помогите перевести

    : шаг 5, изображение 1 из 3 : шаг 5, изображение 2 из 3 : шаг 5, изображение 3 из 3
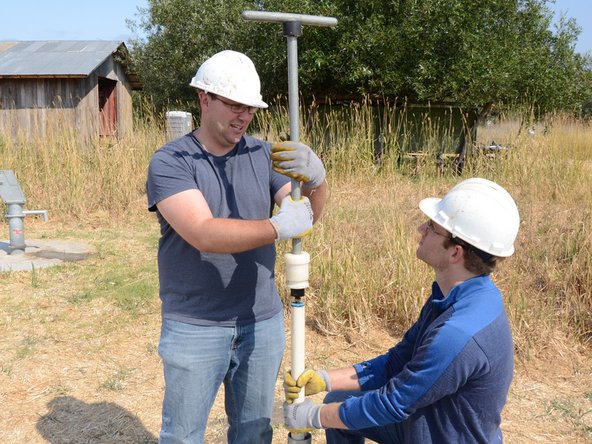
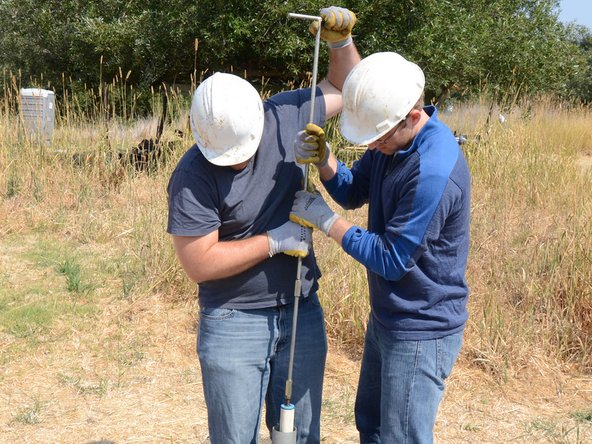
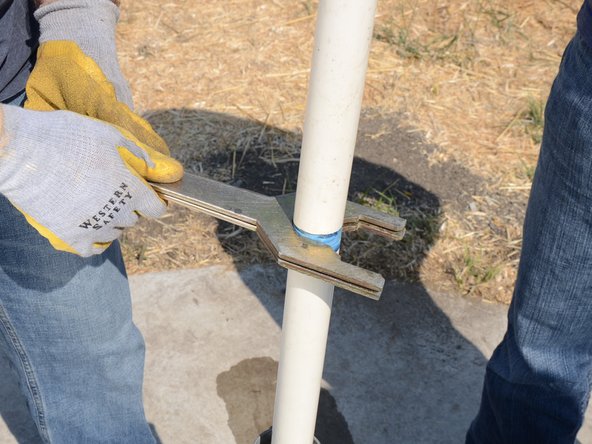
    • Loosen the jam nut beneath the pump handle using the Tara tool.

  6. Этот шаг не переведен. Помогите перевести

    : шаг 6, изображение 1 из 2 : шаг 6, изображение 2 из 2
    • Unscrew the pump handle from the top of the riser main.

    • Make sure someone is tightly holding the lower portion of the riser main to prevent losing it down the well.

  7. Этот шаг не переведен. Помогите перевести

    : шаг 7, изображение 1 из 2 : шаг 7, изображение 2 из 2
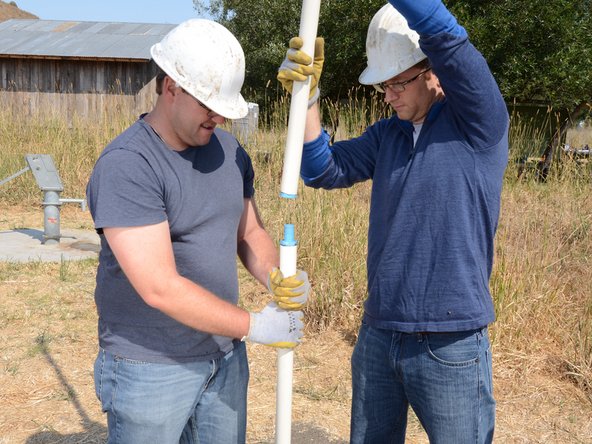
    • Lift and remove the handle from the pump. Store the handle in a sanitary place to prevent contamination.

  8. Этот шаг не переведен. Помогите перевести

    : шаг 8, изображение 1 из 3 : шаг 8, изображение 2 из 3 : шаг 8, изображение 3 из 3
    • Screw the T-handle onto the top of the riser main.

  9. Этот шаг не переведен. Помогите перевести

    : шаг 9, изображение 1 из 2 : шаг 9, изображение 2 из 2
    • Tighten the jam nut up against the base of the T-handle.

  10. Этот шаг не переведен. Помогите перевести

    : шаг 10, изображение 1 из 3 : шаг 10, изображение 2 из 3 : шаг 10, изображение 3 из 3
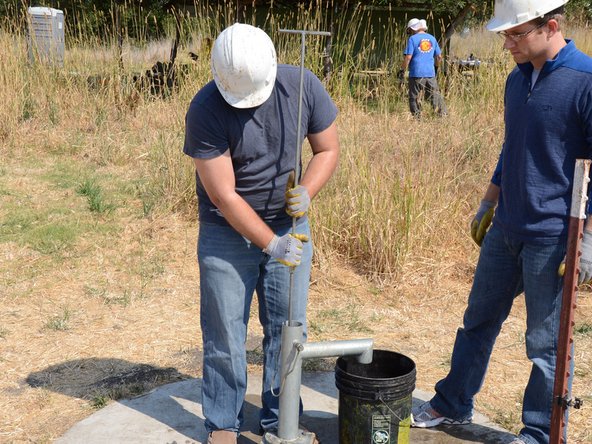
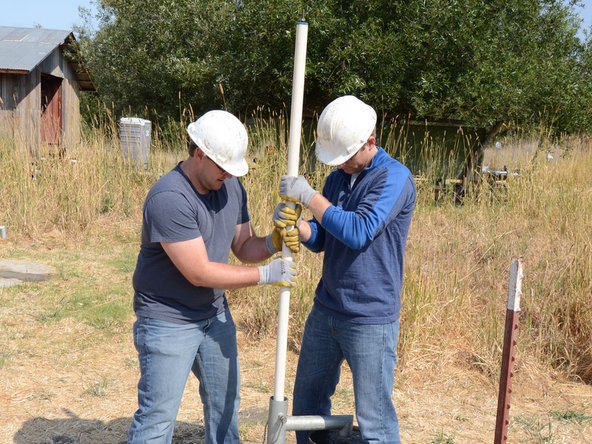
    • Use the T-handle to push the riser main back down into the well.

  11. Этот шаг не переведен. Помогите перевести

    : шаг 11, изображение 1 из 3 : шаг 11, изображение 2 из 3 : шаг 11, изображение 3 из 3
    • Once the riser main hits the bottom, turn the T-handle while pushing down.

    • This will hook the foot valve onto the traveling valve, allowing you to pull the two out of the well together.

    • You should feel some resistance if the foot valve is successfully attached.

  12. Этот шаг не переведен. Помогите перевести

    : шаг 12, изображение 1 из 2 : шаг 12, изображение 2 из 2
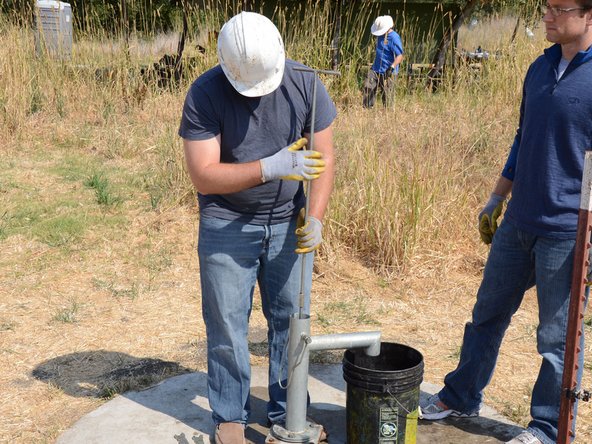
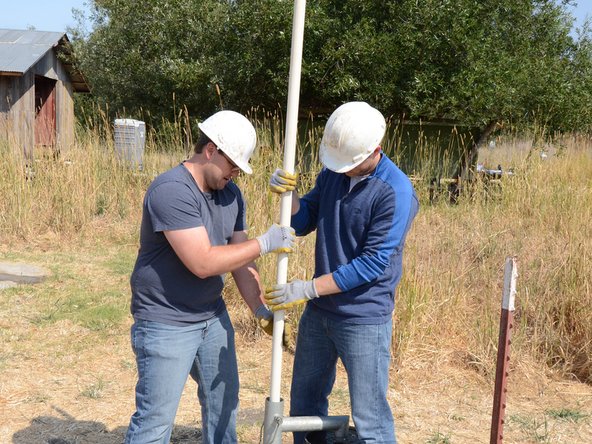
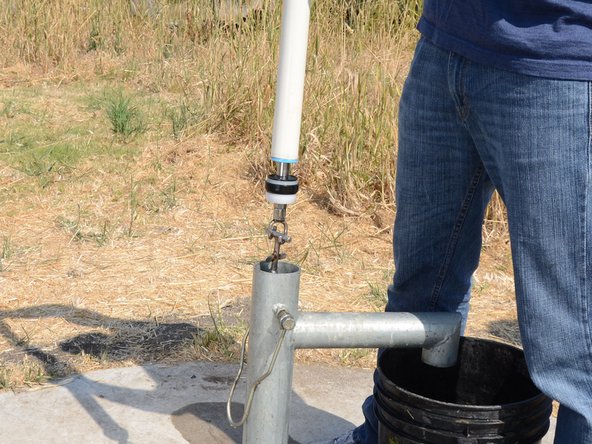
    • Use the T-handle to pull the riser main straight up out of the well.

    • Take care to pull up slowly to ensure the foot valve does not get released from the hook at the end of the riser main.

  13. Этот шаг не переведен. Помогите перевести

    : шаг 13, изображение 1 из 2 : шаг 13, изображение 2 из 2
    • Continue pulling the riser main up from the well.

    • Pull the riser main until the base of the T-handle is at a comfortable height to work on.

  14. Этот шаг не переведен. Помогите перевести

    : шаг 14, изображение 1 из 3 : шаг 14, изображение 2 из 3 : шаг 14, изображение 3 из 3
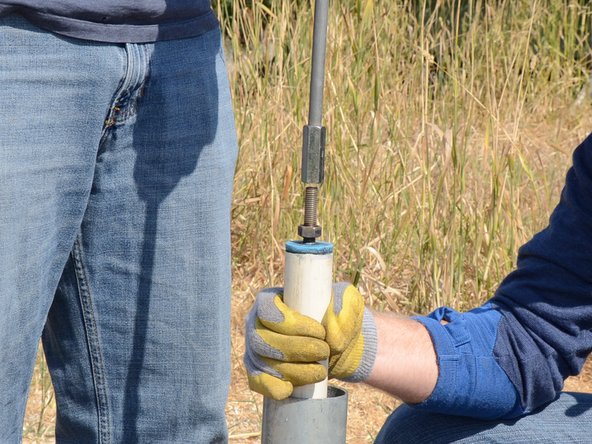
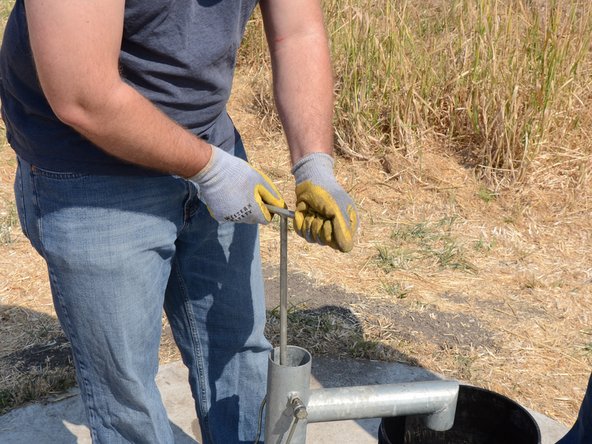
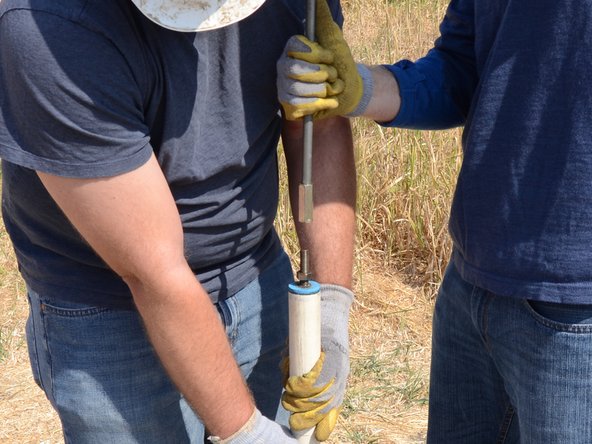
    • Loosen the jam nut from the base of the T-handle.

    • Unscrew the T-handle from the top of the riser main.

    • Remove the T-handle, making sure to hold the remaining end of the riser main to prevent dropping it down the well.

  15. Этот шаг не переведен. Помогите перевести

    : шаг 15, изображение 1 из 3 : шаг 15, изображение 2 из 3 : шаг 15, изображение 3 из 3
    • Continue to pull the riser main out of the well.

  16. Этот шаг не переведен. Помогите перевести

    : шаг 16, изображение 1 из 3 : шаг 16, изображение 2 из 3 : шаг 16, изображение 3 из 3
    • Keep pulling until the first joint is exposed.

    • Lift the joint up to a comfortable working height.

  17. Этот шаг не переведен. Помогите перевести

    : шаг 17, изображение 1 из 3 : шаг 17, изображение 2 из 3 : шаг 17, изображение 3 из 3
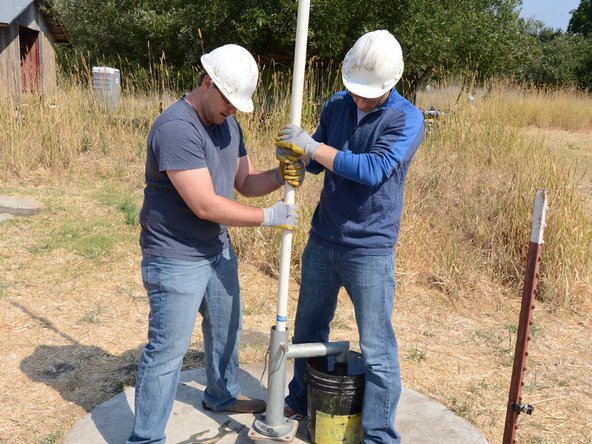
    • Use two wrenches to loosen the top section of riser main from the lower section.

    • Unscrew the top section of the riser main.

    • Make sure someone is holding the remaining section of the riser main.

  18. Этот шаг не переведен. Помогите перевести

    : шаг 18, изображение 1 из 3 : шаг 18, изображение 2 из 3 : шаг 18, изображение 3 из 3
    • Remove the top section of the riser main.

  19. Этот шаг не переведен. Помогите перевести

    : шаг 19, изображение 1 из 1
    • Lay the first section of riser main in a sanitary place to prevent contamination.

    • Repeat the previous procedure to remove the remaining sections of the riser main from the well.

    • Lay each new piece in the order it was removed to aid in reassembly.

  20. Этот шаг не переведен. Помогите перевести

    : шаг 20, изображение 1 из 3 : шаг 20, изображение 2 из 3 : шаг 20, изображение 3 из 3
    • The last section of riser main will have the traveling valve screwed on to the end, and the foot valve hooked onto the traveling valve.

    • Be careful not to allow the foot valve to release from the hook by pulling slowly on the riser main.

  21. Этот шаг не переведен. Помогите перевести

    : шаг 21, изображение 1 из 3 : шаг 21, изображение 2 из 3 : шаг 21, изображение 3 из 3
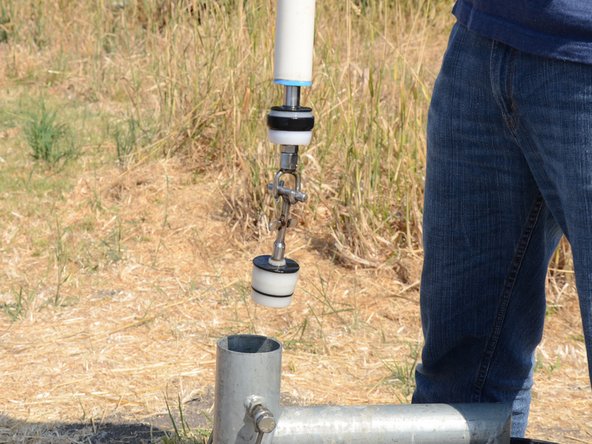
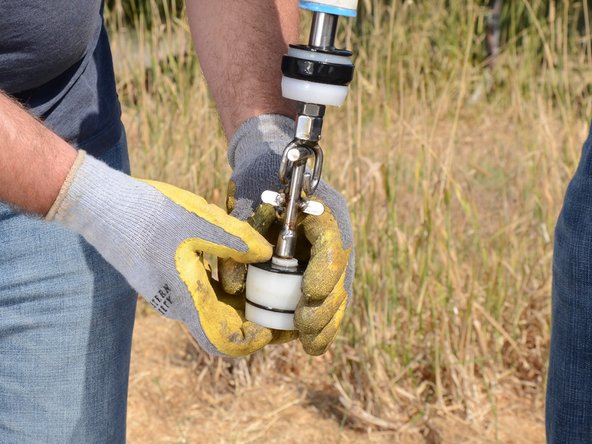
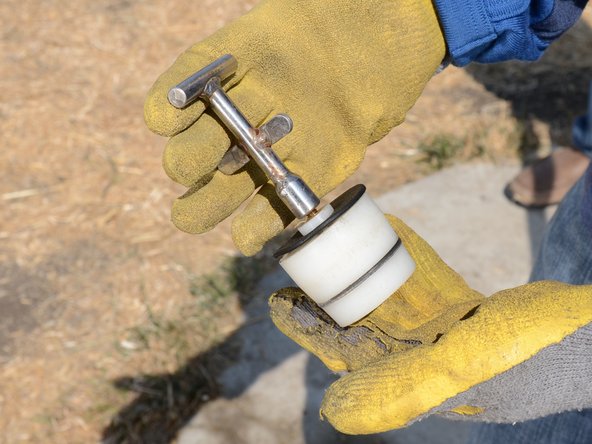
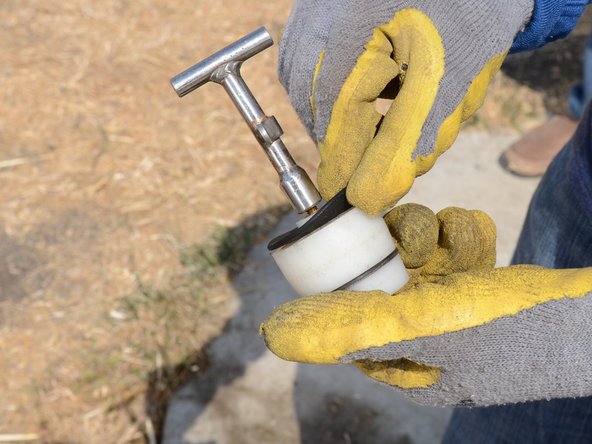
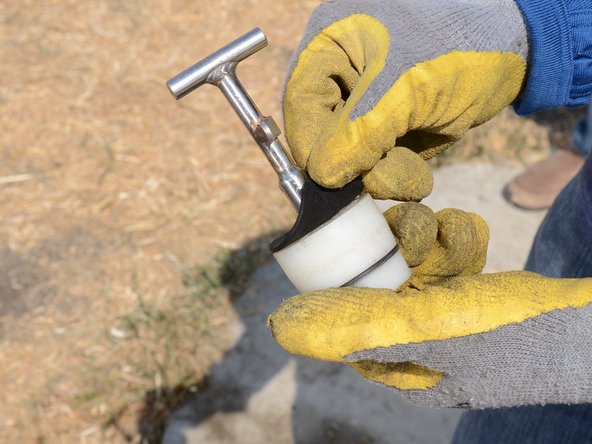
    • Lift and twist the foot valve to unhook it from the traveling valve.

  22. Этот шаг не переведен. Помогите перевести

    : шаг 22, изображение 1 из 1
    • Once the riser main and valves have been removed from the well, place a rag over the top to prevent accidentally dropping anything down the well.

  23. Этот шаг не переведен. Помогите перевести

    : шаг 23, изображение 1 из 3 : шаг 23, изображение 2 из 3 : шаг 23, изображение 3 из 3
    • Inspect the foot valve for signs of wear or damage.

  24. Этот шаг не переведен. Помогите перевести

    : шаг 24, изображение 1 из 3 : шаг 24, изображение 2 из 3 : шаг 24, изображение 3 из 3
    • When reassembling the pump, drop the foot valve down the well in the proper orientation, and follow the directions in reverse.

Финишная черта

Sam Goldheart

Участник с: 10/18/12

465 869 Репутация

Автор 538 руководств

Команда

iFixit Участник iFixit

Staff

135 членов

Автор 17 214 руководств

0 Комментариев

Добавить комментарий

Просмотр статистики:

За последние 24часов: 2

За последние 7 дней: 10

За последние 30 дней: 22

За всё время: 542