Введение
Please note this guide was written the day after on memory only so may be inconsistent or not the fastest way but it worked for me.
Выберете то, что вам нужно
-
-
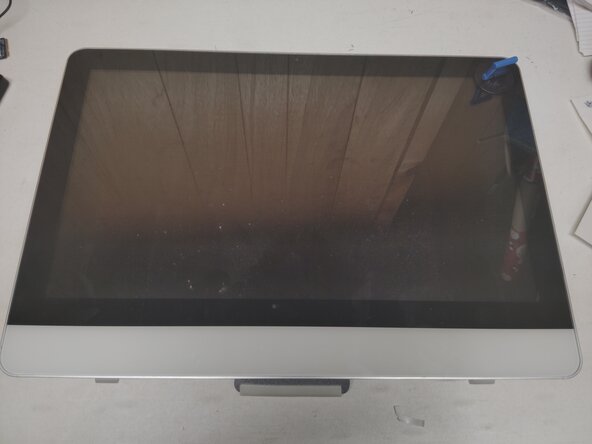
Lay the computer down on a flat surface
-
Put your suction cups on the top corners of the screen
-
Pull upwards in an arching motion trying to pull the front glass towards yourself. It's held in place with magnets, some force may be required.
-
-
-
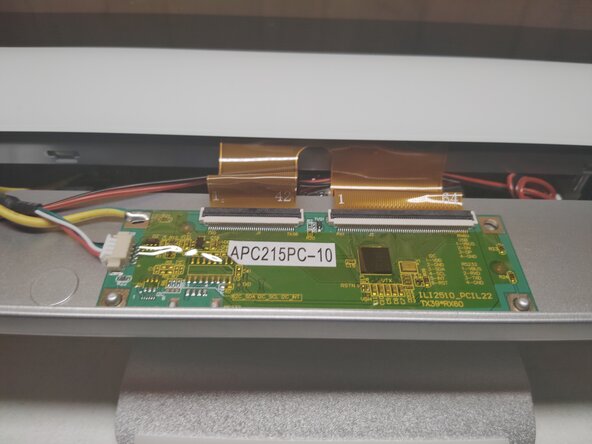
Disconnect the ribbon cables.
-
While wearing gloves remove the front glass and place it to the side
-
-
-
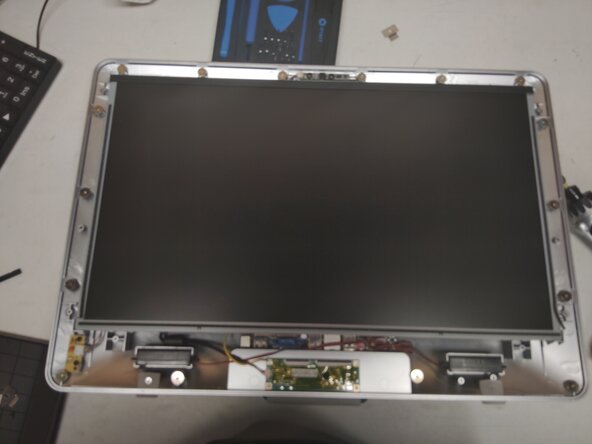
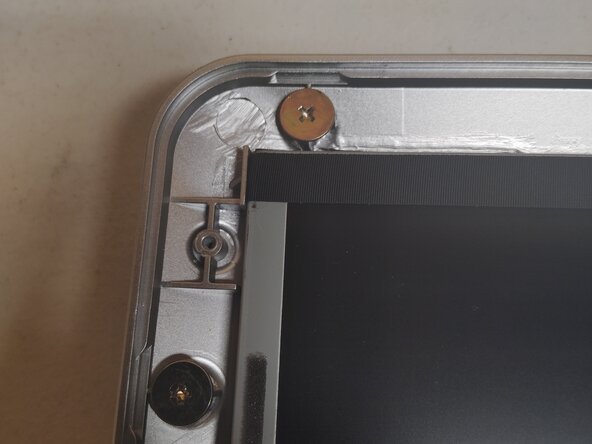
Remove the brackets on the top corners of the screen using a Phillips head screwdriver, put aside for reassembly.
-
-
-
Once the screen is unscrewed pull in a similar arching motion as you did the front glass.
-
-
-
-
When reassembling, ensure that the screen is flush with all four corners. Otherwise it will not seat back into the chassis properly.
-
-
-
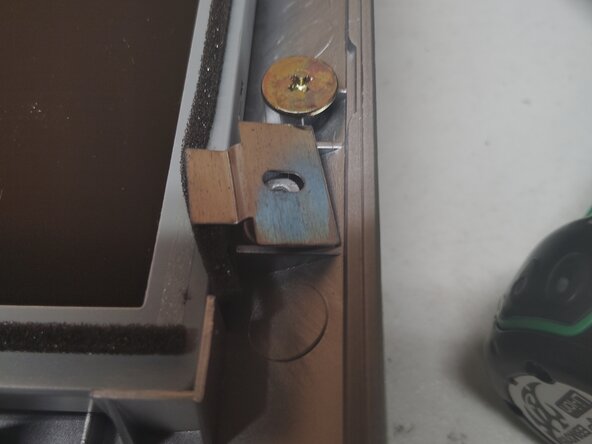
This is the INCORRECT way to put the brackets back on, the bend point should be facing upwards
-
As some of the screws are next to the magnets, you may want to use a pair of pliers or tweezers to get them started in the holes
-
-
-
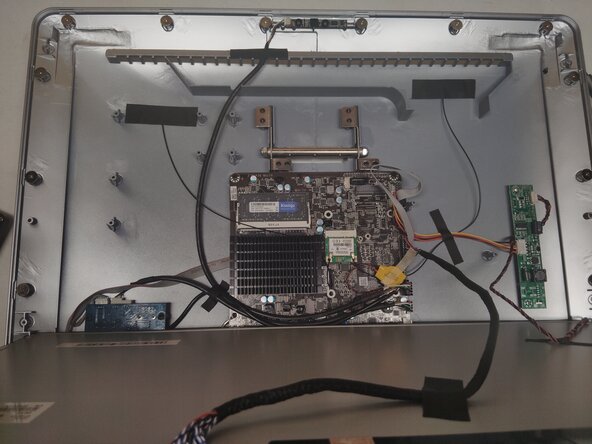
With the drive removed power the computer back on
-
Mash the ESC key to get into bios
-
Once you are in bios, power the computer back off after making any wanted modifications
-
-
-
With the drive out, re-partition the drive to be empty, deleting everything that is currently on it
-
-
-
Put the MSata Drive back into the computer and power back on, once again mash ESC to enter bios
-
From this point you can now treat this like any traditional OS installation setting a external drive as the boot device
-
-
-
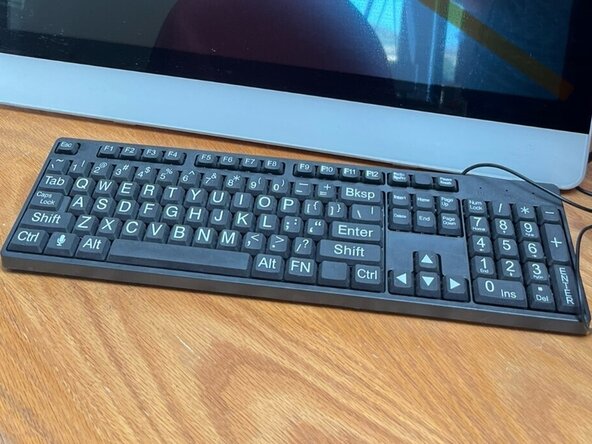
Do not use the included Telikin keyboard, when I did it I had to plug in a third party keyboard which is why its a required tool
-
To reassemble your device, follow these instructions in reverse order.
Отменить: Я не выполнил это руководство.
Еще один человек закончил это руководство.
5 Комментарии к руководству
Thanks for your but I am having an awful time with the install.
I can't get into the bios except for two occasions so I'm unable to reinstall Mate. All ESC, F2, F8 and F10 multiple entries on start are ignored other than twice. I've tried the reset button on the back of the monitor as well. Ubuntu is broken and I can't even reinstall it at this point since it won't recognize external USB bootable devices. I've tried this with and without the SSD mounted. I have it back together now.
Searching for American Mega Trends or AMI firmware updates, which I didn't locate, I found that AMI uses the DEL key to enter the BIOS.
From here I changed the boot order to the USB install for Mint which I did booted and which I installed successfully.
However, now the display blinks on and off every second!
I updated the Mint software, checked the refresh rate which is 60Mhz with no other option. Changing the display resolution also made no difference.
I need help with this please.
I also tried disabling LVDS, "LVDS (Low-Voltage Differential Signaling) in BIOS refers to a setting that controls the output for displays connected via LVDS. It can typically be enabled or disabled in the BIOS settings under the graphics configuration options."
On reboot I had a blank screen and couldn't open the BIOS settings. I removed the CMOS battery, waited a few minutes, then re-enabled LVDS. BIOS is now accessible but the blinking persists. This is not flickering, the blink cycle is about one second on and off.
Hope someone can help me to reesolve.