Введение
This replacement guide will demonstrate step-by-step how to replace the water supply line for your toilet.
Leaks or faulty water lines can cause costly damage to your home. It is best to replace any hardware concerns before they disrupt the functionality of your household. Most manufactures suggest to replace hardware every four to five years or earlier if needed.
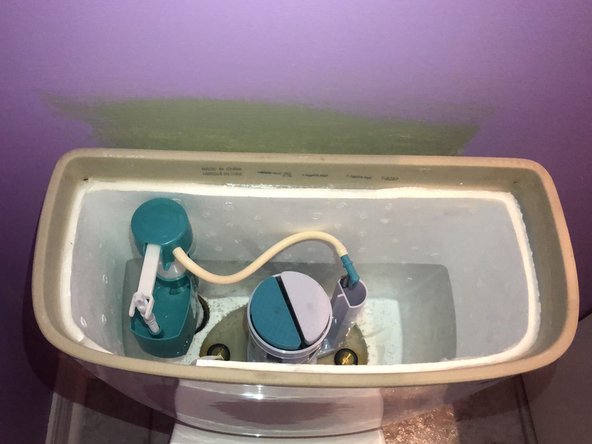
Before using this guide, inspect the toilet and turn the water shut off valve to restrict the flow of water as shown in step 1.
Выберете то, что вам нужно
-
-
Before any work is done, inspect the hardware carefully and note any concerns. Locate the shut off valve underneath the toilet and turn it clockwise until it cannot turn any further. Do not turn past the stop point as this could damage the hardware completely.
-
-
-
If water is active in the line when the turn action is complete the, a complete shut off of water from the main value of the home might be necessary.
-
-
-
Next, hold down the flush lever/button until all the water in the tank is drained from the tank.
-
-
-
-
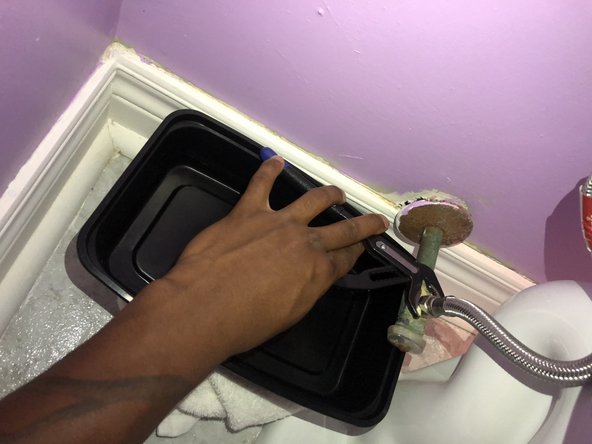
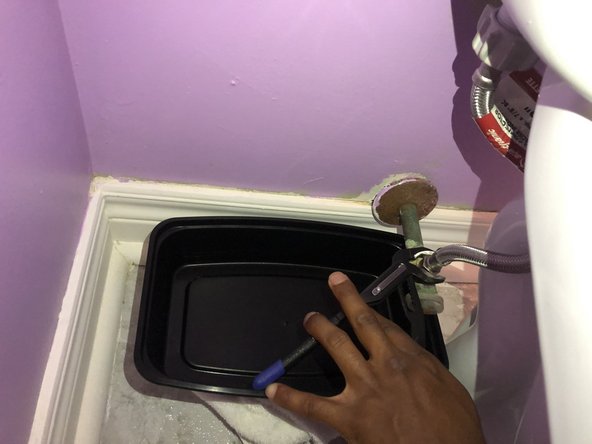
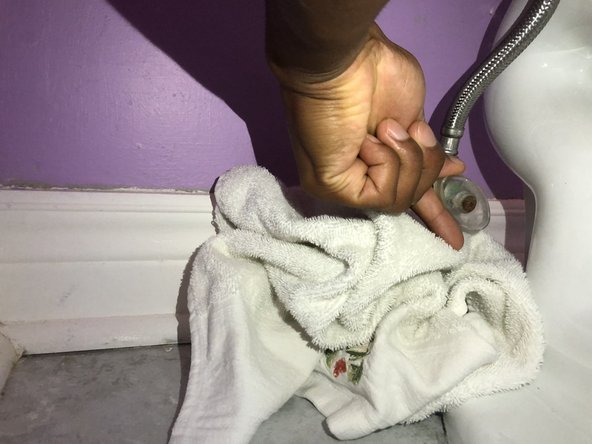
To remove any excess water from the tank. Place a container to catch the water that might drain by placing a bucket with a towel underneath the toilet to catch any water.
-
-
-
Use a vice grip to loosen the nut attached to the main waterline.
-
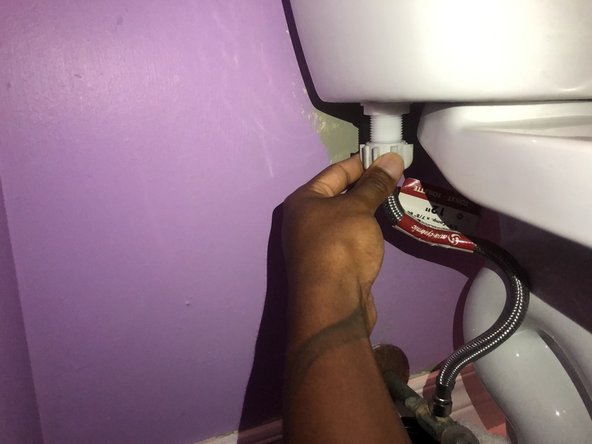
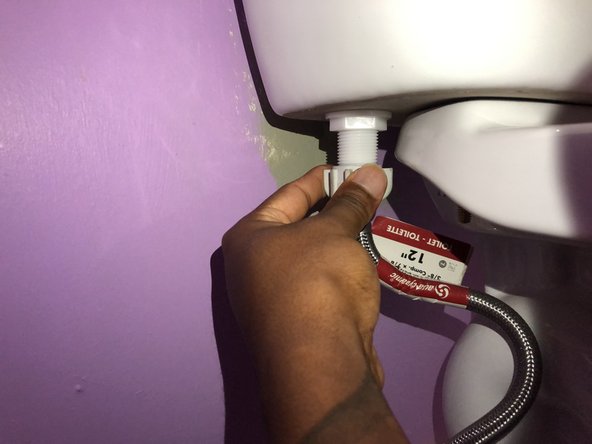
Use your hand to loosen the Bullock Nut attached to the toilet tank.
-
-
-
Attach the nut of the new flex water supply line to the main water line.
-
Using your vice grips, tighten the nut counter-clockwise.
-
-
-
Attach the Bullock Nut to the threads on the bottom of the toilet tank and hand tighten the nut counter-clockwise.
-
-
-
Turn the knob attached to the main water line on, counter-clockwise.
-
Once the water is restored be sure to check for any leaks.
-


To reassemble your device, follow these instructions in reverse order.
To reassemble your device, follow these instructions in reverse order.
Отменить: Я не выполнил это руководство.
Еще один человек закончил это руководство.
Команда

York University, Team S3-G58, Melo-Thaiss Fall 2020 Участник York University, Team S3-G58, Melo-Thaiss Fall 2020
YORK-MELO-THAISS-F20S3G58
1 член
Автор 1 руководств
Один комментарий
I have a rigid supply line and afraid of damaging faucet because when I use an open end wrench it shakesi used steel wool on supply line to clean up - I used a metal brush on top of nut to clean it up I sprayed lubricating oil on suppply line going into nut and top of nut. Any suggestions?