Этот документ имеет более свежие изменения. Перейти к последней непроверенной версии.
Введение
The front cover can get chipped or scratched. In this case it should be replaced.
Выберете то, что вам нужно
-
-
Using the spudger, gently pry apart the back case from the front case. It is easier to start on a side and work your way around the device.
-
-
-
-
Once the two covers are separated, use the tweezers, or even your fingers, to gently disconnect the two sets of wires that are connected to the motherboard from the back cover. You may have to wiggle the wires a little bit to get them to disconnect.
-
-
-
Next, you must remove the motherboard from the front screen.
-
Use a Torx T-7 screwdriver to unscrew the two screws.
-
-
-
Before you can seperate the motherboard from the front cover, you must disconnect the wire connecting the two.
-
To do so, you must use the back end of the spudger to push out the two white tabs connected to the wire, that holds the motherboard and front cover together.
-
-
-
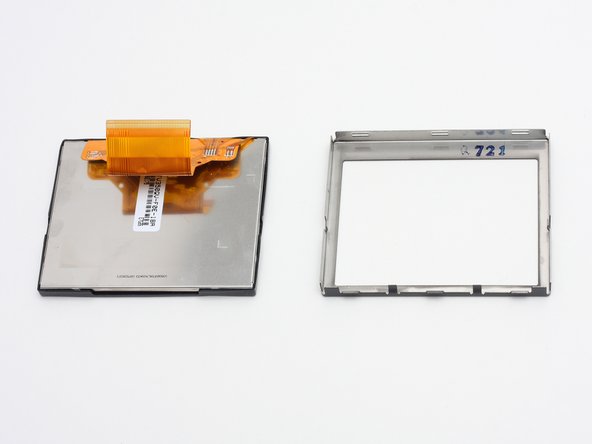
Apply pressure with thumbs to remove screen from inner casing.
-
The screen and front cover are now disconnected.
-


To reassemble your device, follow these instructions in reverse order.
To reassemble your device, follow these instructions in reverse order.
Отменить: Я не выполнил это руководство.
Еще один человек закончил это руководство.
Команда

Cal Poly, Team 7-7, Maness Spring 2010 Участник Cal Poly, Team 7-7, Maness Spring 2010
CPSU-MANESS-S10S7G7
4 членов
Автор 6 руководств