Эта версия возможно содержит некорректные исправления. Переключить на последнюю проверенную версию.
Выберете то, что вам нужно
-
Этот шаг не переведен. Помогите перевести
-
Using a thumb-tack, push-pin, or similar pin, remove the four plastic stoppers located on the back panel.
-
-
Этот шаг не переведен. Помогите перевести
-
With the T8 Torx Security Bit Screwdriver, remove the four screws in the designated locations.
-
-
-
Этот шаг не переведен. Помогите перевести
-
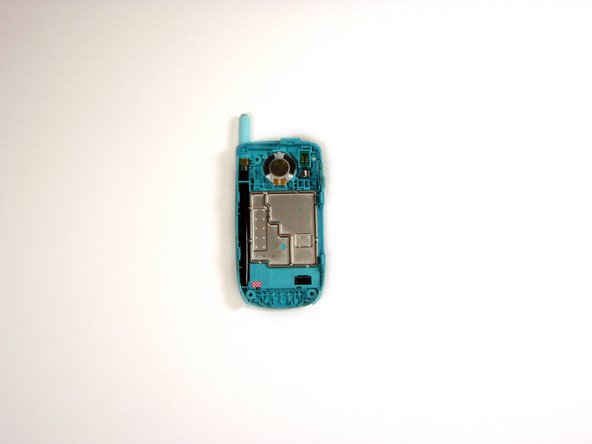
If needed, use the flathead screwdriver to gently pry the panel from the phone.
-
Using your fingers, lift the panel from the device.
-
-
Этот шаг не переведен. Помогите перевести
-
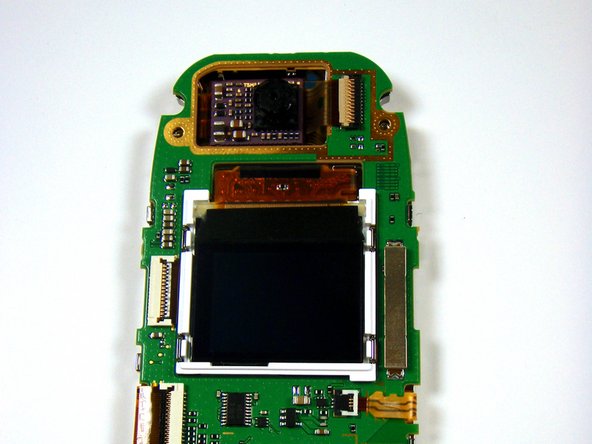
Using a small Phillips screwdriver, remove the two black screws from the positions indicated.
-
Gently pull the silver plate from the phone using your fingers.
-
-
Этот шаг не переведен. Помогите перевести
-
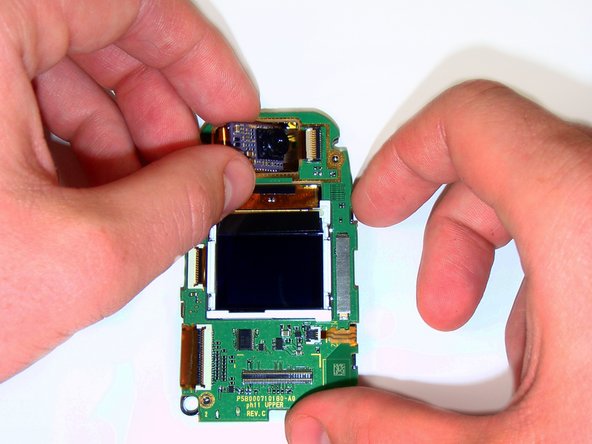
Using the head of a flathead screwdriver, flip the white segment of the socket that the camera's ribbon-wire runs into so that it is orientated vertically.
-
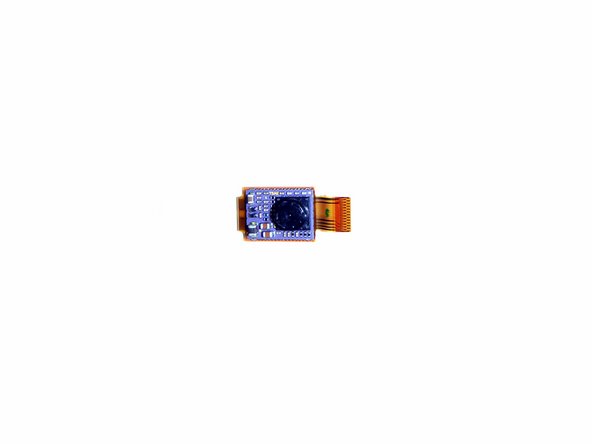
Gently lift the camera from its cavity and pull it away from the socket using your thumb and forefinger.
-


Команда

Cal Poly, Team 16-6, Maness Spring 2010 Участник Cal Poly, Team 16-6, Maness Spring 2010
CPSU-MANESS-S10S16G6
4 членов
Автор 16 руководств