Введение
This step-by-step guide outlines how to replace the keyboard on the Toshiba NB205 N330PK. The guide will help to restore the connection by removing the battery, reestablishing the electrical connection, and reattaching or replacing the keyboard.
An out-of-date computer program may cause keyboard failure. However, if updating or clearing unused data from the device does not work, the issue lies in the computer’s external hardware, a physical component of the device. After extended use, the keyboard’s electrical connection will falter, resulting in the laptop display registering some or no keyboard inputs.
Upon completing this repair, you can restore your keyboard’s electrical connection. Before starting the repair, power down the device and disconnect any external power sources to start battery removal.
Выберете то, что вам нужно
-
-
Start by first removing the battery.
-
Move the first release switch to the right position.
-
Move the second release switch to the right position while pulling the battery towards the top of the netbook.
-
-
-
Using the bit driver and a Phillips #0 bit, remove the three circled screws, 5 mm in length.
-
Using the bit driver and a Phillips #0 Bit, remove the two circled screws labelled F6. (These hold the keyboard) one screw may be under a rubber stopper
-
-
-
-
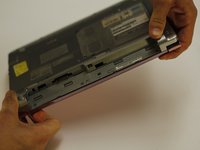
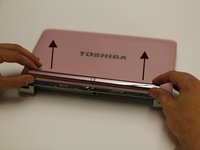
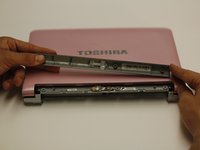
Carefully lift off the power bar assembly for access to the button and receiver.
-
-
-
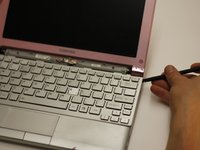
Use the spudger to gently pry around the keyboard. This will release the keyboard assembly from the body.
-
-
-
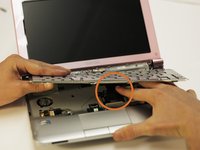
Reach under the keyboard and disconnect the electrical connection.
-
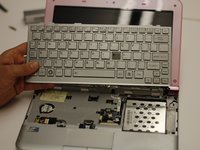
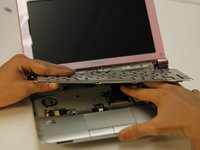
Lift the broken keyboard off.
-
-
-
Reattach the new electrical connection into the old connection location.
-
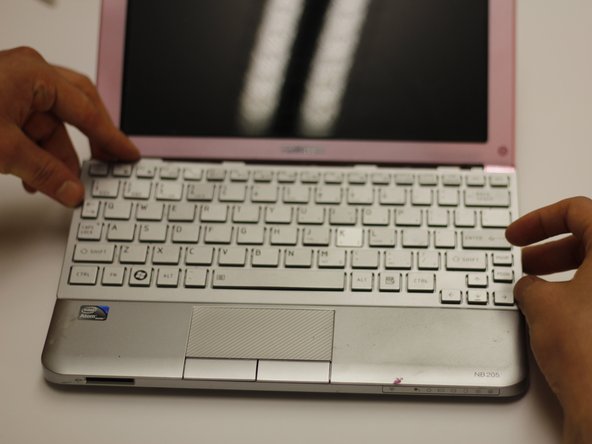
Place the keyboard into the original location starting with the bottom first.
-
Gently press the keyboard down to secure it into its original location.
-


Отменить: Я не выполнил это руководство.
Еще один человек закончил это руководство.
Команду

Clemson, Team 14-2, Benson Fall 2013 Участник Clemson, Team 14-2, Benson Fall 2013
CLEM-BENSON-F13S14G2
3 членов
Автор 27 руководств