Выберете то, что вам нужно
-
-
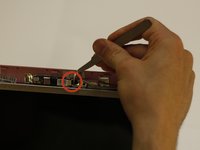
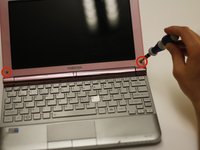
Use a spudger to remove the small rubber screw coverings above each retaining screw.
-
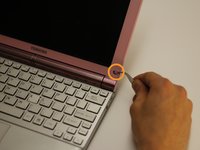
Use the bit driver with a Phillips #0 bit to remove the two 5 mm screws securing the screen bezel.
-
-
-
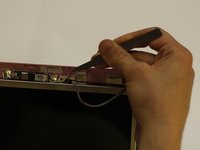
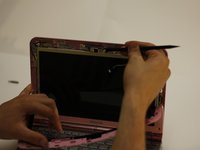
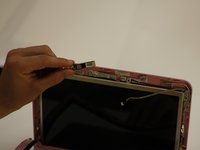
Using a spudger, gently pry the screen bezel to the condition of the photograph.
-
-
-
-
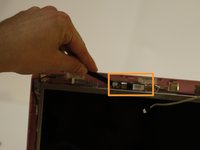
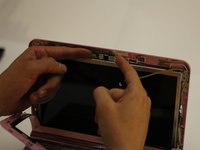
Use tweezers to gently remove the connector to the webcam by pulling the plug to the right (per orientation of the photo).
-
Allow the removed wire to hang in place but make note of alignment with respect to webcam.
-
-
-
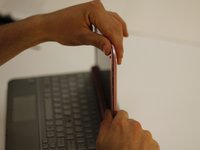
Use the spudger to pry each side of the webcam until it releases from its adhesive back.
-
-
-
Position the new webcam in the old webcam's position. The webcam must be carefully aligned in order to function properly with the bezel in place. Align the hole of the webcam assembly over the cylinder of the webcam stabilizer.
-
Reconnect the electrical connection.
-
-
Инструмент, используемый на этом этапе:Tweezers$4.99
-
Gently press the front bezel back into its original position.
-
Using the bit driver and Phillips #0 bit, drive the two bezel retaining screws in to place.
-
Cover the screws with the small covers with tweezers.
-


Команду

Clemson, Team 14-2, Benson Fall 2013 Участник Clemson, Team 14-2, Benson Fall 2013
CLEM-BENSON-F13S14G2
3 членов
Автор 27 руководств