Введение
This guide will go through the steps needed to install a new LCD panel. It's a fairly quick procedure, but it does require some care as it involves very delicate components and short wires that aren't immediately visible. This should be a fairly easy repair if you take it slowly and don't move anything around too roughly—displays are delicate components! Good luck!
Выберете то, что вам нужно
-
-
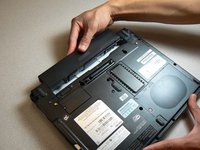
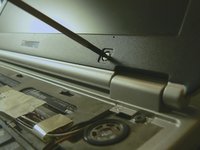
Slide the lock on the left side to the unlock position.
-
Slide the lock on the right side to the unlock position until there is a clicking sound.
-
-
-
-
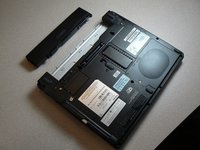
Remove the rest of the cover by sliding it to the right and lifting the right edge.
-
-
-
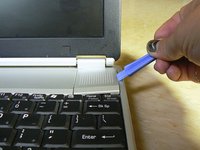
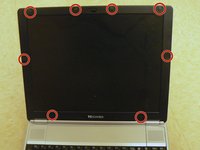
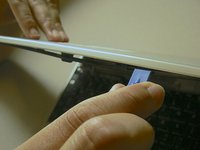
Remove all eight plastic circular covers on the plastic screen bezel.
-
Unscrew all seven screws with a Phillips head #000 screwdriver.
-
-
-
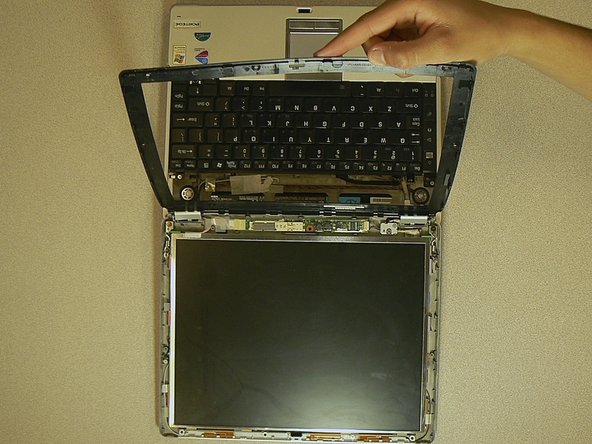
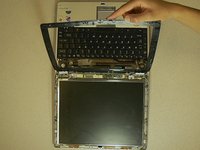
Use a plastic opening tool to separate the screen bezel from the rest of the case.
-
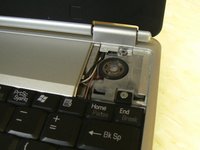
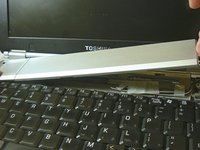
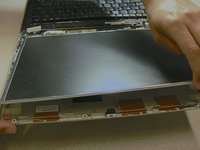
Pull at the top edge of the LCD to separate it from the top part of the case.
-
-
-
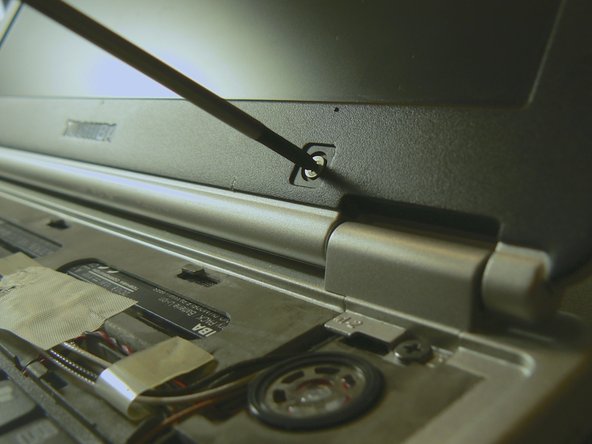
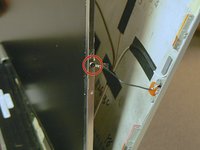
Use a Phillips #000 to unscrew the one 2.8 mm fine thread screw holding the wire connected to the right face of the LCD.
-
-
-
Flip the LCD over onto the back.
-
Gently pull the connection on the corner of the LCD to disconnect.
-
-
Инструмент, используемый на этом этапе:Tweezers$4.99
-
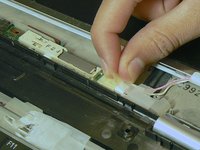
Remove the tape connecting LCD to the inverter.
-
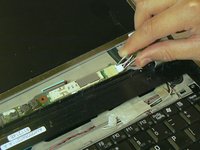
Use tweezers to remove the LCD cable from the inverter.
-


To reassemble your device, follow these instructions in reverse order.
To reassemble your device, follow these instructions in reverse order.
Отменить: Я не выполнил это руководство.
Еще один человек закончил это руководство.
Команду

Cal Poly, Team 21-51, Johann Spring 2013 Участник Cal Poly, Team 21-51, Johann Spring 2013
CPSU-JOHANN-S13S21G51
3 членов
Автор 18 руководств