Введение
This guide demonstrates how to remove a Toshiba Satellite L15W-B1208X hard drive. Reasons the hard drive might need replacing include the hard drive making noise, not running as fast as you would like, or not as much storage as you would like. Before removing the hard drive make sure that it has been backed up so information stored on it is not lost.
Выберете то, что вам нужно
-
-
Flip the laptop over so that the model number stickers face the ceiling.
-
-
-
Use a Phillips #1 screwdriver (PH1 bit) to remove the ten 5mm screws that secure the bottom cover.
-
-
-
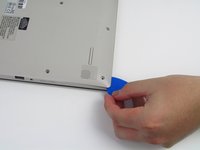
Use an opening pick by sliding it in the seam between the bottom casing and the main body of the laptop. Separate the bottom casing from the main body.
-
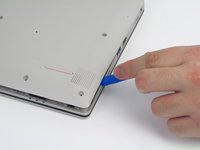
Use a plastic opening tool to separate the remainder of the back cover from the laptop.
-
-
-
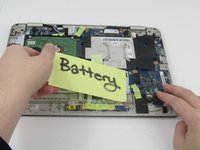
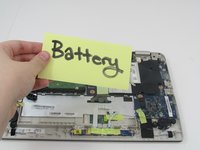
Disconnect the battery from the motherboard by gently pulling on wiring connecting to the motherboard.
-
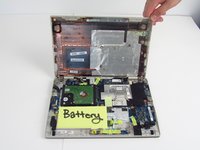
Carefully lift the battery out of the laptop.
-
-
-
-
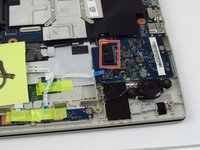
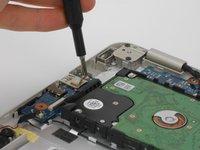
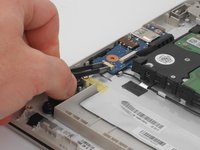
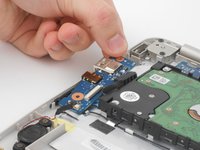
Use Phillips #1 screwdriver (PH1 bit) to remove the 2mm screw that secures the sound board.
-
-
Инструмент, используемый на этом этапе:Tweezers$4.99
-
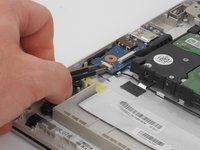
Using the ESD Safe Tweezers Blunt Nose gently pull on the plastic connector that attaches the speaker wiring to the soundboard to disconnect the soundboard from the laptop.
-
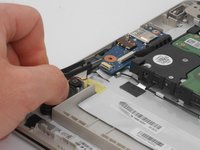
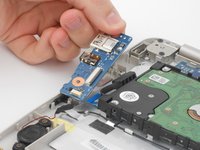
Gently pull the wire away from the soundboard using the ESD Safe Tweezers Blunt Nose.
-
-
-
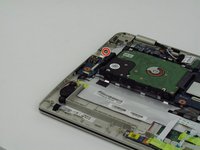
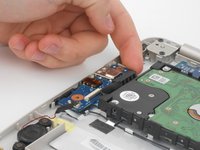
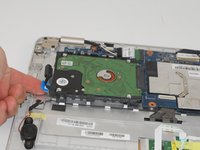
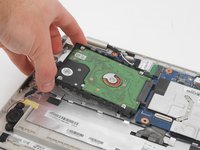
Pull up on the ribbon beneath the hard drive to lift the hard drive upwards.
-
-
-
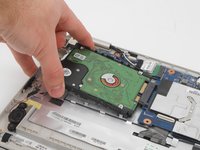
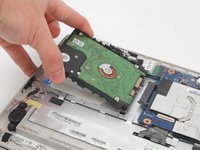
Gently pull the hard drive towards the edge of the laptop to disconnect the hard drive from the laptop circuitry.
-
-
-
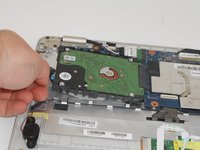
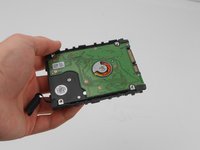
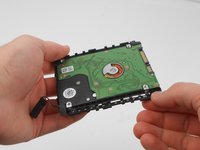
Remove the hard drive from black rubber mount by pulling the corner of the rubber mount away from the hard drive.
-
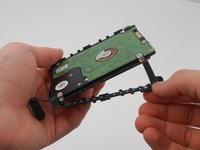
Continue pulling the rubber mount away from the hard drive until all four corners have been taken off.
-
Pull the remainder of the rubber mount away from the hard drive.
-


To reassemble your device, follow these instructions in reverse order.
To reassemble your device, follow these instructions in reverse order.
Отменить: Я не выполнил это руководство.
Еще один человек закончил это руководство.
Команду

Embry-Riddle Aeronautical University, Team S5-G2, Watkins Spring 2020 Участник Embry-Riddle Aeronautical University, Team S5-G2, Watkins Spring 2020
ERAU-WATKINS-S20S5G2
4 членов
Автор 10 руководств