Введение
Welcome to the Toshiba Satellite L305-S5875 CCFL Tube Replacement guide page. This guide uses both visual and written instructions in a step by step manner to help you replace the damaged CCFL tube in your screen with a brand new one.
Выберете то, что вам нужно
-
-
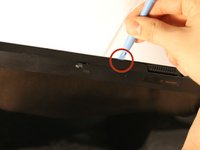
Remove the four rubber inserts from the four corners of the screen.
-
Once removed, unscrew and remove the four screws found beneath the four rubber inserts.
-
-
-
Use the plastic opening tool to separate the front panel of the laptop from the back panel, pulling the front panel off the laptop.
-
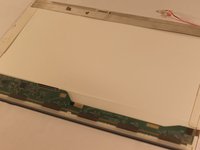
Gently pull the back panel approximately 1 inch away from the screen.
-
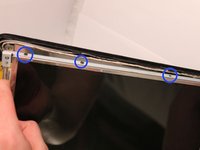
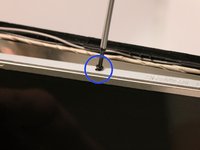
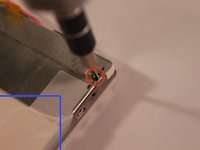
Unscrew and remove the 4 screws on the left and right side of the screen; 8 screws in total.
-
-
-
-
Lay screen down on keyboard.
-
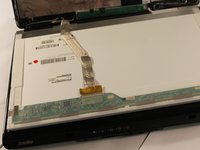
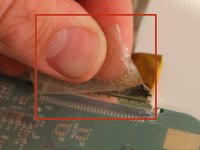
On the back of the screen, locate the ribbon cable that connects the screen to the computer. Remove the tape from the cable if it is present.
-
Carefully remove the ribbon cable by pulling it out of it's socket.
-
-
-
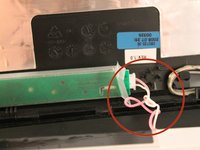
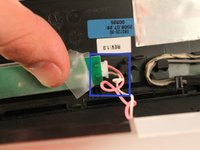
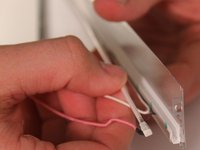
At the bottom of the screen, locate the pink and white wires.
-
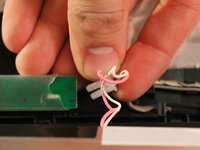
Unplug the connector from the circuit board by gently pulling it out.
-
-
-
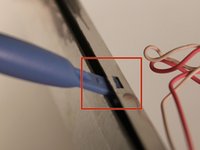
With the screen now removed from the computer, remove the two screws from the screen's metal enclosure.
-
In addition to removing the screws, remove the tape on the edge of the screen.
-
-
-
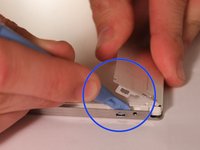
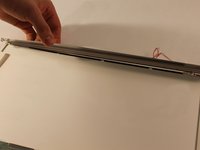
Using a plastic opening tool, unhook the latches on the side of the screen's metal enclosure.
-
Once all of the latches are unhooked, genitally pull the metal case up to expose the CCFL tube.
-
-
-
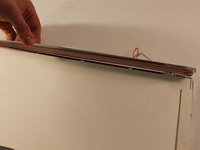
With the bad CCFL tube now accessible, very carefully remove it from the screen housing.
-
With the spent CCFL tube now removed, replace it with the new replacement tube in the appropriate slot.
-


To reassemble your device, follow these instructions in reverse order.
To reassemble your device, follow these instructions in reverse order.
Отменить: Я не выполнил это руководство.
Еще один человек закончил это руководство.
Команду

UMass Dartmouth, Team 3-1, Calaway Spring 2014 Участник UMass Dartmouth, Team 3-1, Calaway Spring 2014
UMASSD-CALAWAY-S14S3G1
4 членов
Автор 6 руководств