Введение
The Hard Drive replacement process involves flipping the laptop over and locating a screw on the right-hand side of the laptop. Once this screw is removed, the hard drive can be separated from the laptop.
While hard drives can be purchased from most online retailers, you may need to search for a hard drive that is compatible for the laptop's specific model. This is because most laptops use more compact and specifically designed hard drives to fit their smaller overall size.
Выберете то, что вам нужно
-
-
Locate the battery near the bottom left-hand side of the device.
-
Locate the two switches above the battery's top left corner.
-
Use any finger to move the smaller switch above the battery to the unlock position.
-
-
-
Use any finger to move the larger switch above the battery to the left and hold the switch.
-
-
-
-
Place your fingernail or fingertip into the groove near the top right of the battery.
-
Pull the battery out with your finger. Release the larger switch once the battery is out.
-
-
-
Locate the Hard Drive.
-
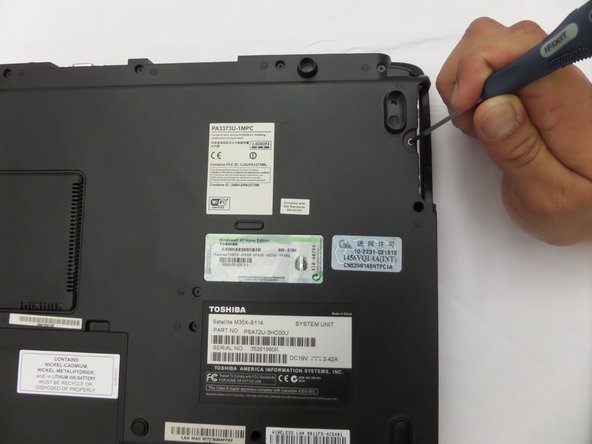
Locate the screw near the Hard Drive.
-
Use a Phillips 00 screwdriver to remove the 7.50mm screw.
-


To reassemble your device, follow these instructions in reverse order.
To reassemble your device, follow these instructions in reverse order.
Отменить: Я не выполнил это руководство.
Еще один человек закончил это руководство.
Команда

CSU Fullerton, Team 2-4, Bruce Fall 2014 Участник CSU Fullerton, Team 2-4, Bruce Fall 2014
CSUF-BRUCE-F14S2G4
4 членов
Автор 3 руководств