Перейти к основному содержанию

Uniden UTAB71 Camera Replacement

Выберете то, что вам нужно

  1. Uniden UTAB71 Camera Replacement, Camera: шаг 1, изображение 1 из 2 Uniden UTAB71 Camera Replacement, Camera: шаг 1, изображение 2 из 2
    • Use a plastic pry tool to separate the two halves of the tablet.

    • Make sure to be gentle with the pry tool and work your way around the edges of the tablet slowly.

    • Make sure the tablet is powered off before prying open.

    • There are two power ribbons connecting the screen to the back of the tablet. Make sure not to put too much stress on them.

  2. Uniden UTAB71 Camera Replacement: шаг 2, изображение 1 из 2 Uniden UTAB71 Camera Replacement: шаг 2, изображение 2 из 2
    • Use a credit card to lift the battery off the back of the tablet.

    • Do not put any pressure on the motherboard or any other internal components.

    • The battery is glued onto the back of the tablet so make sure to apply as much pressure as needed

  3. Uniden UTAB71 Camera Replacement: шаг 3, изображение 1 из 1
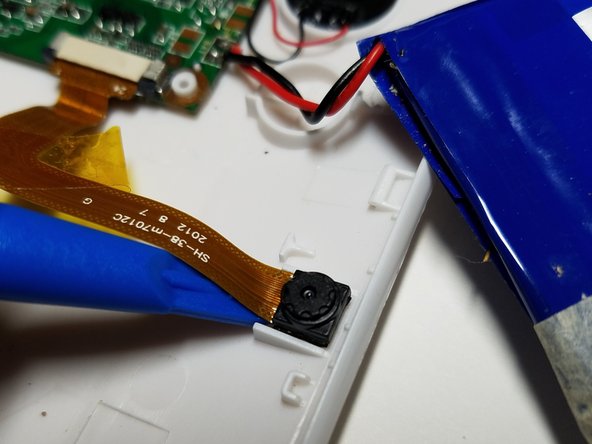
    • Undo the clips off the power ribbon connecting the camera to the motherboard using the blue pry tool.

  4. Uniden UTAB71 Camera Replacement: шаг 4, изображение 1 из 3 Uniden UTAB71 Camera Replacement: шаг 4, изображение 2 из 3 Uniden UTAB71 Camera Replacement: шаг 4, изображение 3 из 3
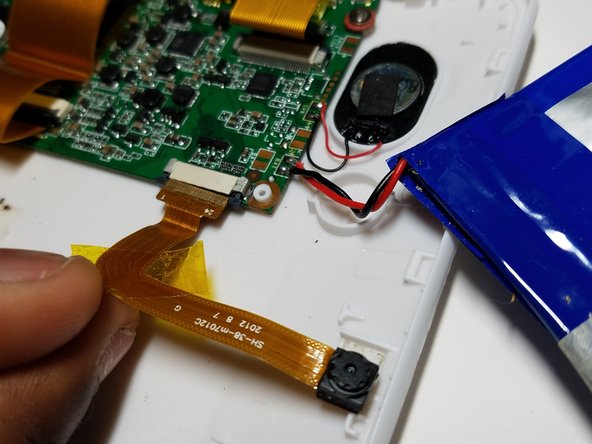
    • Use the pry tool to remove the yellow tape from the power ribbon connected to the camera.

    • Place the plastic pry tool under the camera component and lift it off the tablet.

Заключение

To reassemble your device, follow these instructions in reverse order.

Ryan Jewell

Участник с: 10/20/16

422 Репутация

Автор 4 руководств

Команда

UMass Dartmouth, Team 5-4, Martin Fall 2016 Участник UMass Dartmouth, Team 5-4, Martin Fall 2016

UMASSD-MARTIN-F16S5G4

3 членов

Автор 8 руководств

0 Комментариев

Добавить комментарий

Просмотр статистики:

За последние 24часов: 0

За последние 7 дней: 0

За последние 30 дней: 0

За всё время: 163