Введение
These are the instructions on how to replace a broken antenna in your Galaxy Ellipsis 8. The repair will require a Phillips #00 screwdriver and a plastic opening tool. We have described it as easy in terms of difficulty and expect that it will take the user only about 8 minutes to complete.
Выберете то, что вам нужно
-
-
Using a plastic opening tool, slowly pry along the seam running along the edge of the device until the back case snaps free.
-
Remove the back case.
-
-
-
Using a Phillips #00 screwdriver, remove the two 0.1 mm screws on the green bracket.
-
-
-
-
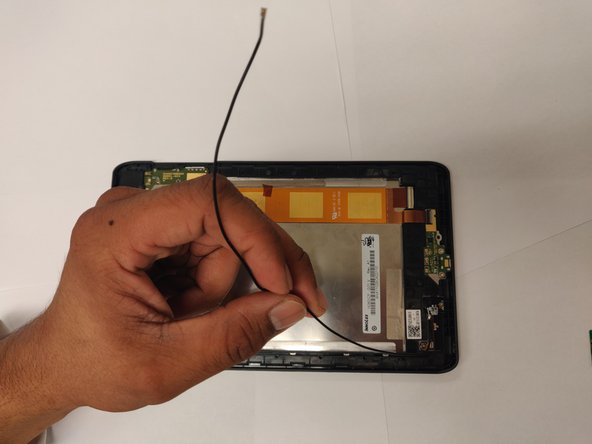
Once you remove the backing of the Verizon Ellipsis 8, gently use the spudger to lift one side of the tape. Once you have lifted the tape, slowly remove it until it is completely off the battery.
-
-
-
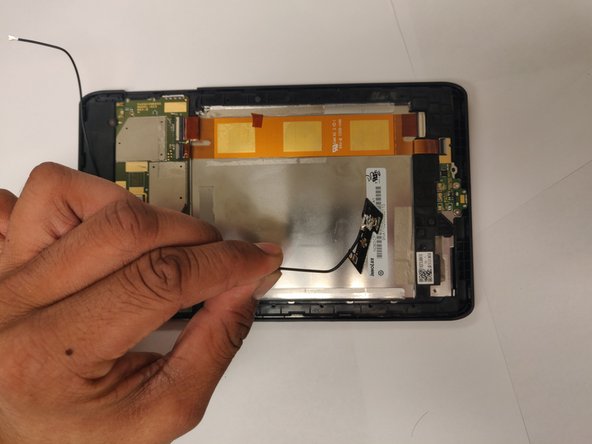
Using a plastic opening tool, lift the motherboard along the top right edge of the device.
-


To reassemble your device, follow these instructions in reverse order.
To reassemble your device, follow these instructions in reverse order.
Команда

UC Davis, Team S18-G6, Lore Winter 2019 Участник UC Davis, Team S18-G6, Lore Winter 2019
UCD-LORE-W19S18G6
3 членов
Автор 3 руководств