Введение
The capacitor is located on the circuit board. You will need to solder in order to replace the capacitor. For help with soldering techniques, click here.
Выберете то, что вам нужно
-
-
Insert the plastic-opening tool under the silver labeled casing.
-
Carefully pry at different intervals around the silver labeled casing to separate the silver casing from the top and bottom casing.
-
-
-
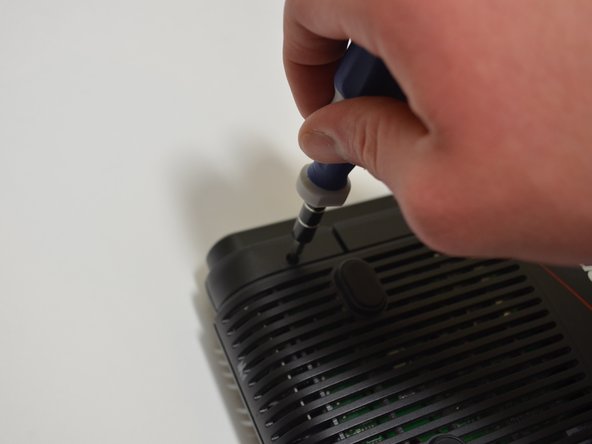
Unscrew the five 10-mm screws on the bottom of the router using a Phillips #0 screwdriver.
-
-
-
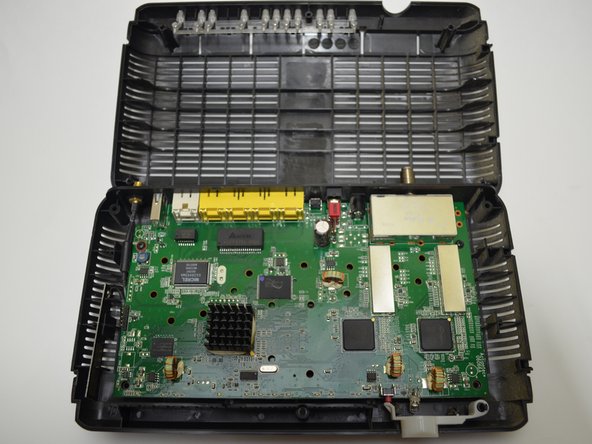
Use a plastic-opening tool and pry the top casing from the bottom casing to expose the circuit board in the bottom half of the device.
-
-
-
-
Locate the two 10-mm screws on either side of the circuit board.
-
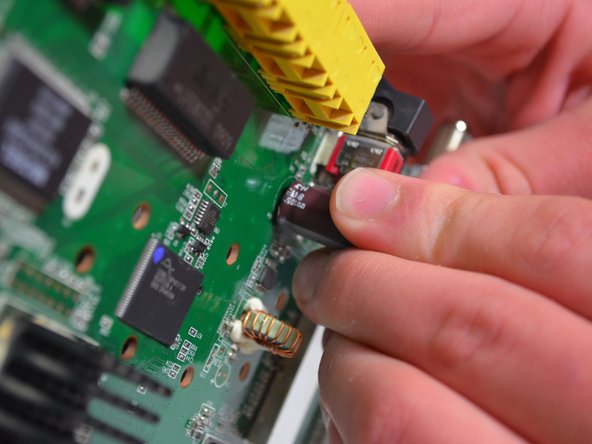
Unscrew the two 10-mm screws using a Phillips #0 screwdriver.
-
-
-
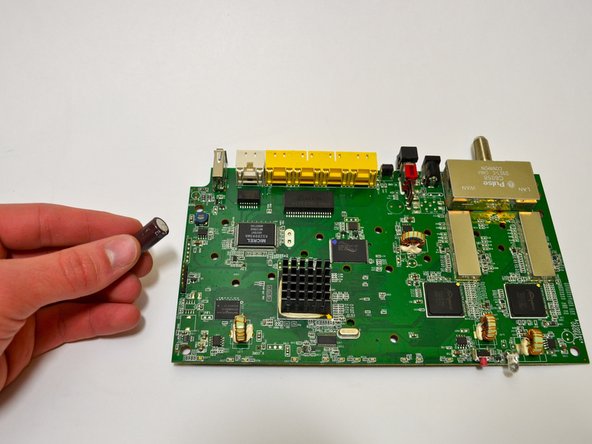
Flip the circuit board over.
-
Locate the two prongs on the flip side that are attached to the capacitor on the top side.
-
-
-
Touch the hot soldering iron to each prong in order to melt the solder around them.
-
Flip the circuit board and pull out the capacitor from its place while the solder is still hot.
-
-
-
Insert the new capacitor through the circuit board so that the prongs are exposed on the flip side.
-
Heat the prongs up with the soldering iron and touch a soldering wire to the hot prongs to attach the capacitor to the board.
-


To reassemble your device, follow Steps 1-7 in reverse order.
To reassemble your device, follow Steps 1-7 in reverse order.
Команда

University of Kentucky Louisville, Team 1-3, Mathis Fall 2014 Участник University of Kentucky Louisville, Team 1-3, Mathis Fall 2014
LOUISVILLE-MATHIS-F14S1G3
3 членов
Автор 8 руководств