Введение
The circuit board is home to many of the smaller parts of the Verizon M1424WR. These parts are soldered on to the circuit board, so in order to access them, you will need to remove the circuit board from the casing.
This router will have to be reauthenitcated with Verizon if you replace any WAN hardware or the whole board. Your new MAC address will not be approved.
Выберете то, что вам нужно
-
-
Insert the plastic-opening tool under the silver labeled casing.
-
Carefully pry at different intervals around the silver labeled casing to separate the silver casing from the top and bottom casing.
-
-
-
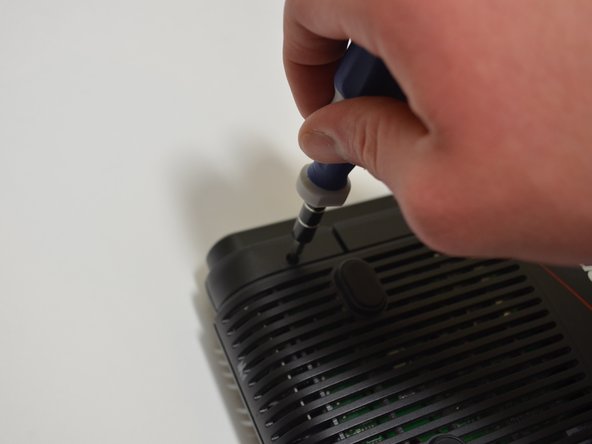
Unscrew the five 10-mm screws on the bottom of the router using a Phillips #0 screwdriver.
-
-
-
-
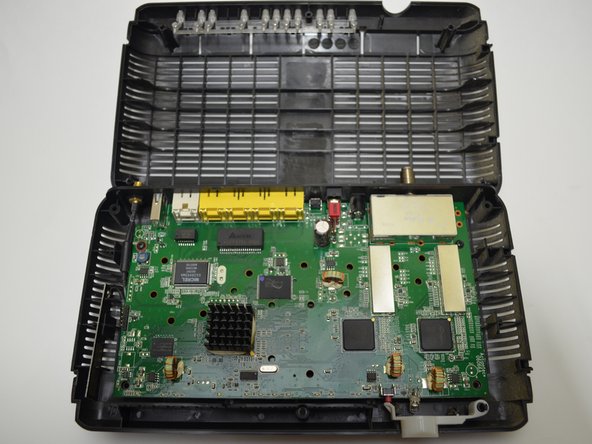
Use a plastic-opening tool and pry the top casing from the bottom casing to expose the circuit board in the bottom half of the device.
-
-
-
Locate the two 10-mm screws on either side of the circuit board.
-
Unscrew the two 10-mm screws using a Phillips #0 screwdriver.
-


To reassemble your device, follow these instructions in reverse order.
To reassemble your device, follow these instructions in reverse order.
Отменить: Я не выполнил это руководство.
2 участников успешно повторили данное руководство.
Команда

University of Kentucky Louisville, Team 1-3, Mathis Fall 2014 Участник University of Kentucky Louisville, Team 1-3, Mathis Fall 2014
LOUISVILLE-MATHIS-F14S1G3
3 членов
Автор 8 руководств