Введение
This guide is useful for replacing the rear case, but it's also the first steps necessary to take apart the device if you want to replace any other components inside. If you're looking to fix any hardware-based problems on your device, start here.
Выберете то, что вам нужно
-
-
Remove the two 8mm Phillips Head screws located at the bottom of your device.
-
-
-
-
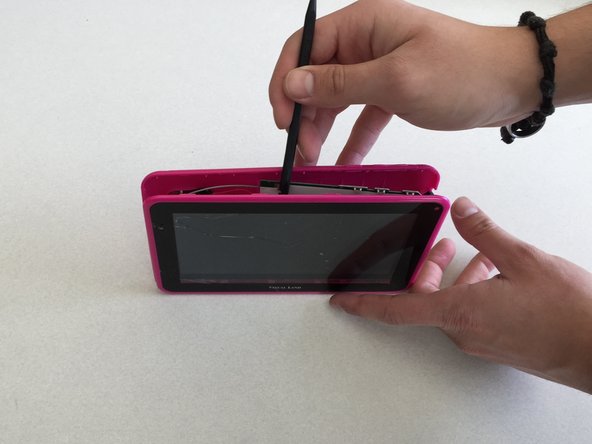
Insert the spudger between the two pieces of the case around the media ports and pry them apart.
-
Finish unsnapping each plastic piece holding the device together along the bottom.
-
-
-
Move the spudger down the rest of the case, separating each side, and finally the top.
-
Pull the back off and place it to the side.
-


To reassemble your device, follow these instructions in reverse order.
To reassemble your device, follow these instructions in reverse order.
Отменить: Я не выполнил это руководство.
Еще один человек закончил это руководство.
Команда

Penn State, Team 2-25, Kaschak Winter 2015 Участник Penn State, Team 2-25, Kaschak Winter 2015
PSU-KASCHAK-W15S2G25
4 членов
Автор 4 руководств