Перейти к основному содержанию

Vivitar XO 7 Battery Replacement

Выберете то, что вам нужно

  1. Vivitar XO 7 Battery Replacement, Back Cover: шаг 1, изображение 1 из 1
    • Remove the two 3mm Phillips #00 screws on the bottom of the tablet.

  2. Vivitar XO 7 Battery Replacement: шаг 2, изображение 1 из 1
    • With the plastic opening tools, pry open the back cover.

  3. Vivitar XO 7 Battery Replacement: шаг 3, изображение 1 из 1
    • Remove the back cover from the tablet.

  4. Vivitar XO 7 Battery Replacement, Battery: шаг 4, изображение 1 из 2 Vivitar XO 7 Battery Replacement, Battery: шаг 4, изображение 2 из 2
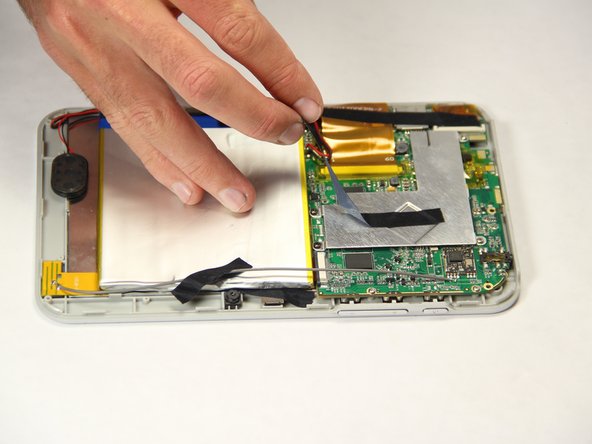
    • Peel off the black pieces of tape from the internal components.

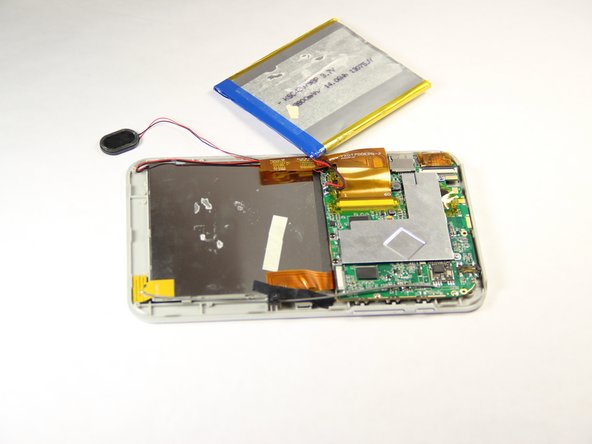
  5. Vivitar XO 7 Battery Replacement: шаг 5, изображение 1 из 2 Vivitar XO 7 Battery Replacement: шаг 5, изображение 2 из 2
    • Carefully remove the battery from the tablet.

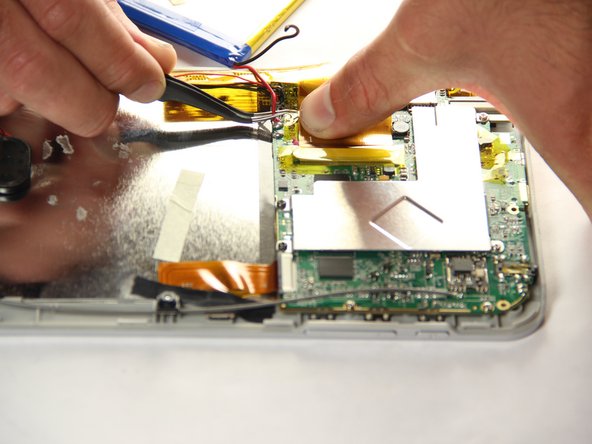
  6. Vivitar XO 7 Battery Replacement: шаг 6, изображение 1 из 2 Vivitar XO 7 Battery Replacement: шаг 6, изображение 2 из 2
    • With the tweezers, firmly grab the wire at the base and pull to disconnect the battery from the motherboard.

Заключение

To reassemble your device, follow these instructions in reverse order.

Еще один человек закончил это руководство.

Barron Dillman

Участник с: 01/20/15

227 Репутация

Автор 2 руководств

Команда

USF Tampa, Team 11-1, Blackwell Winter 2015 Участник USF Tampa, Team 11-1, Blackwell Winter 2015

USFT-BLACKWELL-W15S11G1

4 членов

Автор 10 руководств

Один комментарий

Great directions for replacing battery. However where do you get battery?

jay hamil - Ответить

Добавить комментарий

Просмотр статистики:

За последние 24часов: 0

За последние 7 дней: 1

За последние 30 дней: 4

За всё время: 1,567