Перейти к основному содержанию

Vixen 21 Oil Cooler Replacement

Выберете то, что вам нужно

  1. Vixen 21 Oil Cooler Replacement, Oil Cooler: шаг 1, изображение 1 из 1
    • After removing the side panel, it's clear that my oil cooler has been leaking for a while. Fortunately, AFAB sells a complete replacement kit including a new oil cooler and new hoses!

  2. Vixen 21 Oil Cooler Replacement: шаг 2, изображение 1 из 3 Vixen 21 Oil Cooler Replacement: шаг 2, изображение 2 из 3 Vixen 21 Oil Cooler Replacement: шаг 2, изображение 3 из 3
    • The tail light covers come off easy enough with 10 screws and a single connector.

    • The white housing beneath comes off with a bolt on the left and a screw on the right.

  3. Vixen 21 Oil Cooler Replacement: шаг 3, изображение 1 из 2 Vixen 21 Oil Cooler Replacement: шаг 3, изображение 2 из 2
    • On my Vixen there was a hex head bolt on the top right, and a on-its-way-to-being-stripped Phillips head bolt on the top left.

  4. Vixen 21 Oil Cooler Replacement: шаг 4, изображение 1 из 1
    • There were two Phillips screws in the bottom of the panel, but these weren't actually attached to anything.

    • My new side-routed exhaust definitely made it harder to get this panel out.

  5. Vixen 21 Oil Cooler Replacement: шаг 5, изображение 1 из 1
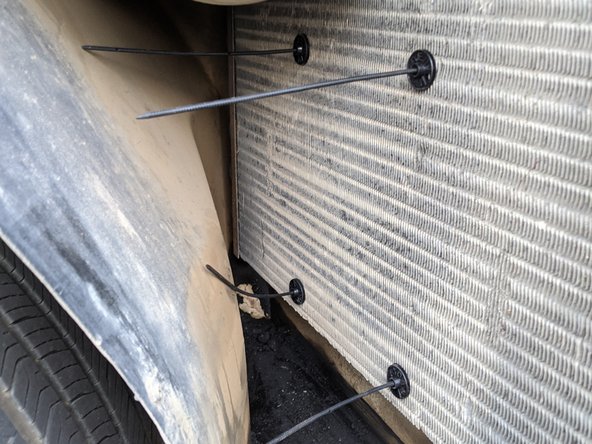
    • There's one electrical plug and 4 obvious hex bolts to remove the condenser fan.

  6. Vixen 21 Oil Cooler Replacement: шаг 6, изображение 1 из 2 Vixen 21 Oil Cooler Replacement: шаг 6, изображение 2 из 2
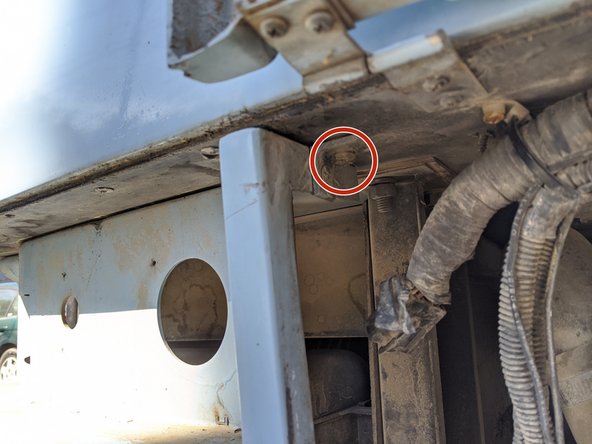
    • Once the condenser fan is removed we can get a good look at the oil cooler. The fittings are certainly leaking, but the cooler itself might actually be fine.

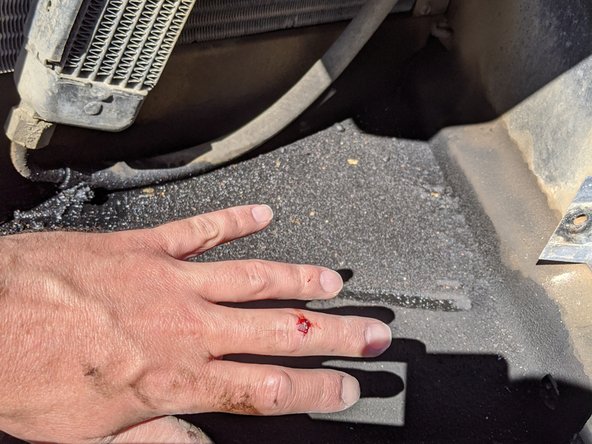
    • The Vixen bleeds black and I bleed red, whoops!

  7. Vixen 21 Oil Cooler Replacement: шаг 7, изображение 1 из 2 Vixen 21 Oil Cooler Replacement: шаг 7, изображение 2 из 2
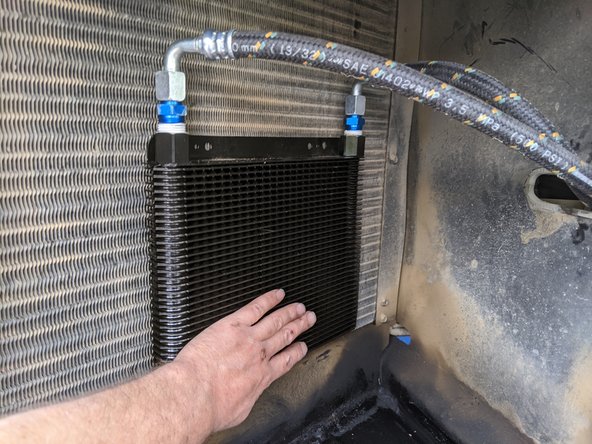
    • Here's all the shiny new replacement parts. You can buy the oil cooler kit from AFAB.

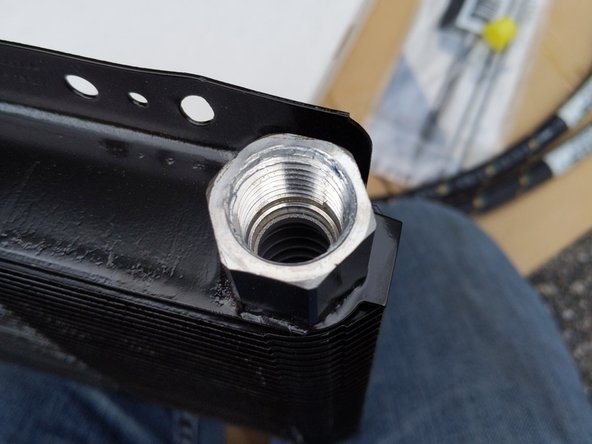
    • I made a mess of the threads putting one of the blue aluminum fittings in to the top of the new oil cooler. Thanks to a 1/2" NPT tap and die from Harbor Freight and a friend's help I was able to salvage it and I don't think it leaks, but time will tell...

  8. Vixen 21 Oil Cooler Replacement: шаг 8, изображение 1 из 3 Vixen 21 Oil Cooler Replacement: шаг 8, изображение 2 из 3 Vixen 21 Oil Cooler Replacement: шаг 8, изображение 3 из 3
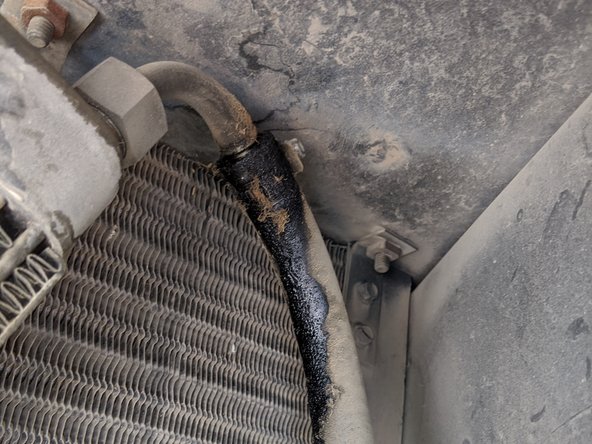
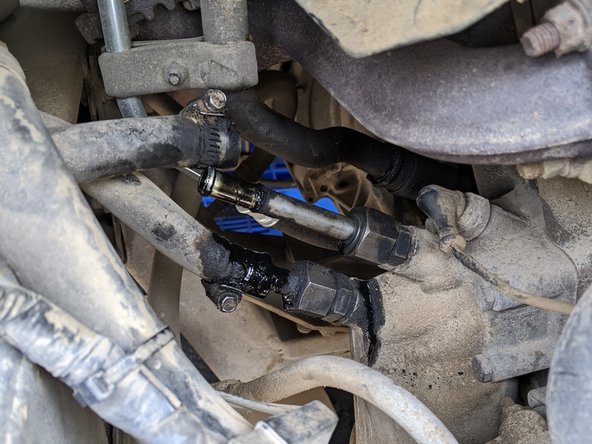
    • On a closer inspection, all my existing fittings are leaking, which at this point I suppose is a good sign.

  9. Vixen 21 Oil Cooler Replacement: шаг 9, изображение 1 из 1
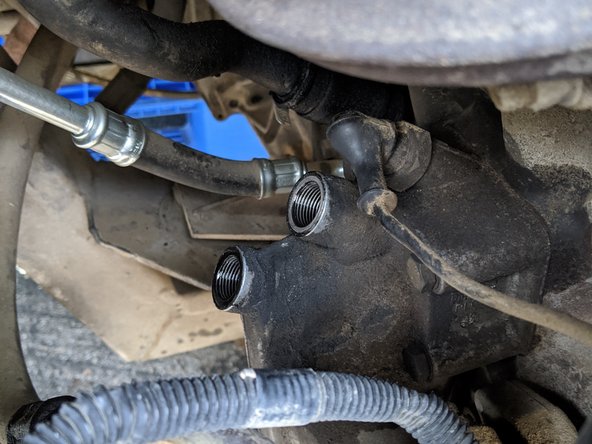
    • Getting the oil cooler off the condenser was easy, there's just two bolts. But it's still attached to the engine...

  10. Vixen 21 Oil Cooler Replacement: шаг 10, изображение 1 из 2 Vixen 21 Oil Cooler Replacement: шаг 10, изображение 2 из 2
    • It was easy enough to loosen the hose clamps and pop the hoses off.

    • This made a mess, because not surprisingly, there's oil in the lines.

  11. Vixen 21 Oil Cooler Replacement: шаг 11, изображение 1 из 1
    • The old oil cooler is out!

  12. Vixen 21 Oil Cooler Replacement: шаг 12, изображение 1 из 3 Vixen 21 Oil Cooler Replacement: шаг 12, изображение 2 из 3 Vixen 21 Oil Cooler Replacement: шаг 12, изображение 3 из 3
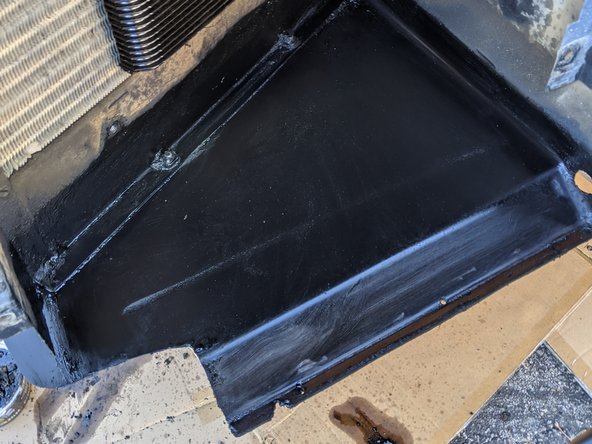
    • There was a lot of oil/dust sludge beneath the oil cooler, requiring a rather dirty cleanup.

  13. Vixen 21 Oil Cooler Replacement: шаг 13, изображение 1 из 3 Vixen 21 Oil Cooler Replacement: шаг 13, изображение 2 из 3 Vixen 21 Oil Cooler Replacement: шаг 13, изображение 3 из 3
    • Removing the remaining couplers was quite challenging.

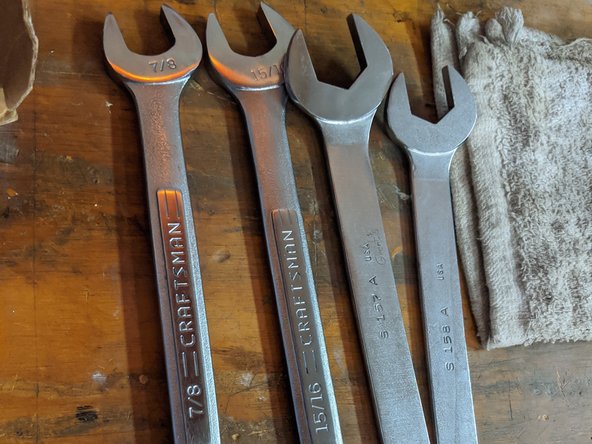
    • I was able to borrow some large metric wrenches (24 mm and 27 mm) from a friend to help with this step.

  14. Vixen 21 Oil Cooler Replacement: шаг 14, изображение 1 из 3 Vixen 21 Oil Cooler Replacement: шаг 14, изображение 2 из 3 Vixen 21 Oil Cooler Replacement: шаг 14, изображение 3 из 3
    • After the first fitting was off, I was able to get a 24 mm socket over the second one to remove the fitting.

  15. Vixen 21 Oil Cooler Replacement: шаг 15, изображение 1 из 2 Vixen 21 Oil Cooler Replacement: шаг 15, изображение 2 из 2
    • I routed the new lines the same as the old ones.

    • The plastic lining the hole the hoses go through is definitely decaying, but seems like it'll still protect the hoses ok.

  16. Vixen 21 Oil Cooler Replacement: шаг 16, изображение 1 из 2 Vixen 21 Oil Cooler Replacement: шаг 16, изображение 2 из 2
    • The lines are just barely long enough, but it reaches!

  17. Vixen 21 Oil Cooler Replacement: шаг 17, изображение 1 из 3 Vixen 21 Oil Cooler Replacement: шаг 17, изображение 2 из 3 Vixen 21 Oil Cooler Replacement: шаг 17, изображение 3 из 3
    • Mounting to the condenser is straightforward.

  18. Vixen 21 Oil Cooler Replacement: шаг 18, изображение 1 из 2 Vixen 21 Oil Cooler Replacement: шаг 18, изображение 2 из 2
    • Everything's in place!

    • I spent some more time cleaning the dirty panel below. Thus far I have no leaks from the new oil cooler!

Заключение

To reassemble your device, follow these instructions in reverse order.

Luke Soules

106 923 Репутация

Автор 21 руководств

Команда

iFixit Участник iFixit

Staff

135 членов

Автор 16 757 руководств

0 Комментариев

Добавить комментарий

Просмотр статистики:

За последние 24часов: 2

За последние 7 дней: 12

За последние 30 дней: 35

За всё время: 959