Этот документ имеет более свежие изменения. Перейти к последней непроверенной версии.
Введение
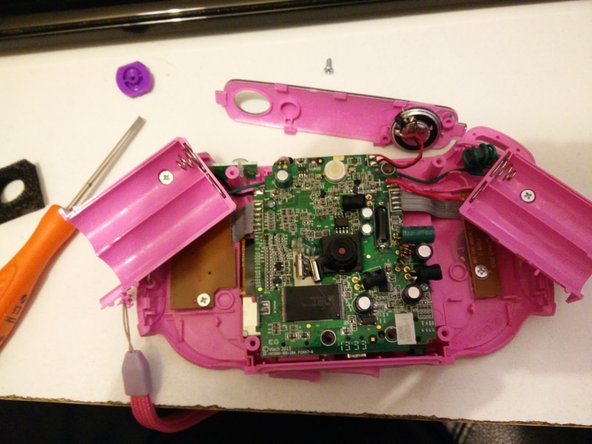
This guide explains how to disassemble the Vtech kidizoom camera.
Выберете то, что вам нужно


Pour réassembler votre appareil, suivez les instructions dans l'ordre inverse.
Pour réassembler votre appareil, suivez les instructions dans l'ordre inverse.
Отменить: Я не выполнил это руководство.
12 участников успешно повторили данное руководство.
2 Комментариев
In the very first step be aware that the you just need to remove the paper ring. In the photo above this is pink and on mine it was orange.
I made the mistake of thinking I had to use some force with a screwdriver, to remove the ring on the front, which resulted in me scratching the chrome ring.
Once you have removed the paper ring, you can see the screws (or they may be under the left over sticky backing to the paper but are easy to find).
These photos were extremely helpful and I was able to repair the camera.
The problem with mine, was that it would not switch on. We replaced the batteries, but still no good.
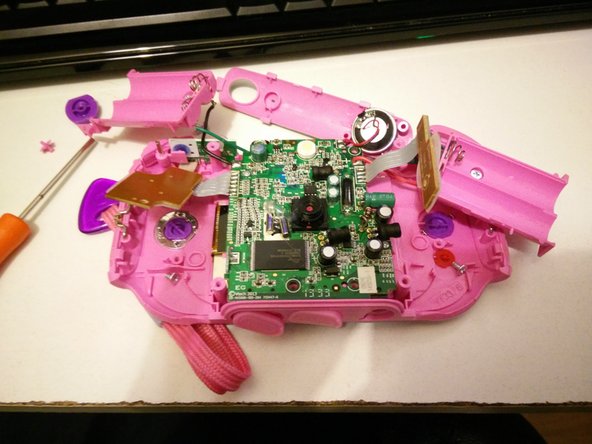
After using the above photos, I opened the camera and discovered that one of the two cables to one of the battery holders, had come loose.
In the process of resoldering the broken cable, the second battery cable also came off … mainly due to the use of VERY thin wire and minimum solder.
Anyway, the camera is now working again and my son is very happy.