Эта версия возможно содержит некорректные исправления. Переключить на последнюю проверенную версию.
Выберете то, что вам нужно
-
Этот шаг не переведен. Помогите перевести
-
Place your thumb and forefinger on the blood pressure (NIBP) hose connector. Squeeze the side tabs until the connector releases.
-
Pull the connector away from the connector port.
-
-
Этот шаг не переведен. Помогите перевести
-
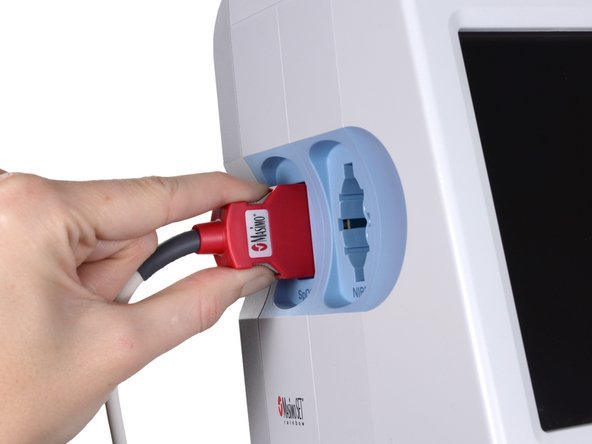
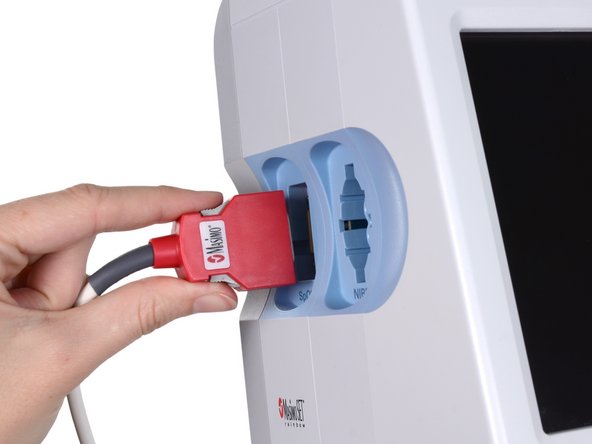
Place your thumb and forefinger on the Pulse oximetry (SpO2 or combined SpO2/SpHb) cable connector. Squeeze the side tabs until the connector releases.
-
Pull the connector away from the connector port.
-
-
Этот шаг не переведен. Помогите перевести
-
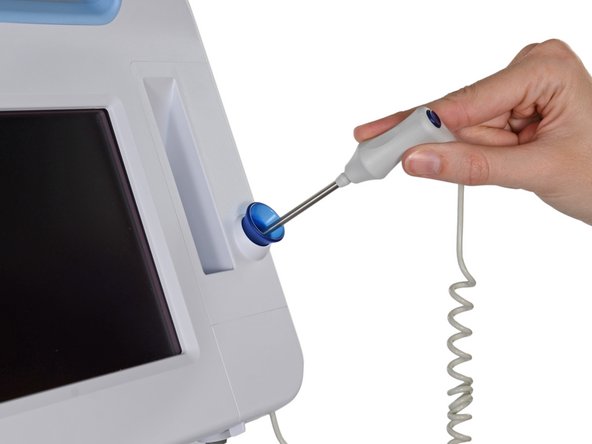
Grasp the temperature probe and pull it up to remove it from the monitor.
-
-
-
Этот шаг не переведен. Помогите перевести
-
Remove the cover of the temperature module by pressing the tab and sliding the cover to the right.
-
-
Этот шаг не переведен. Помогите перевести
-
Depress the spring tab on the temperature probe cable connector and withdraw it from the probe port.
-
-
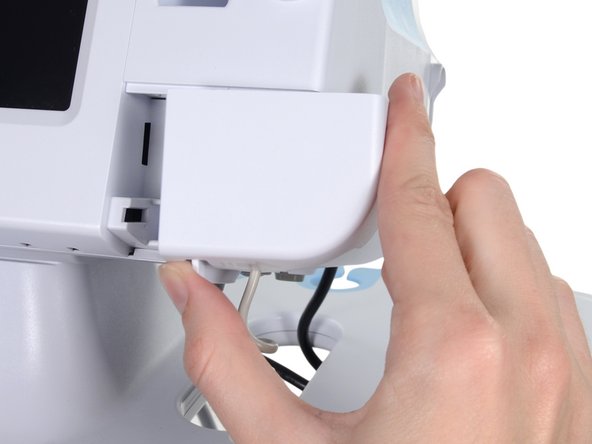
Этот шаг не переведен. Помогите перевести
-
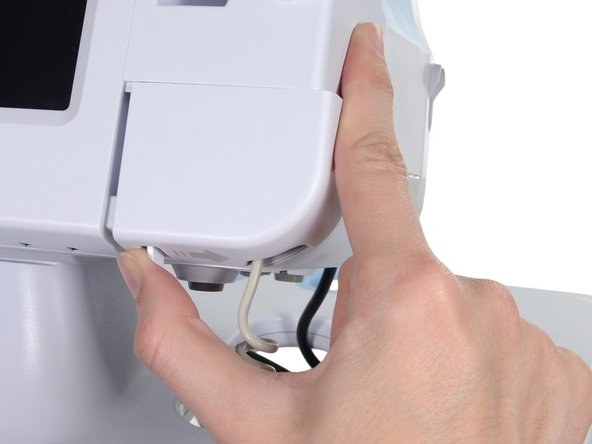
Remove the flathead screw on the USB networking door.
-
Loosen the captive Phillips #2 screw securing the monitor to the stand.
-
-
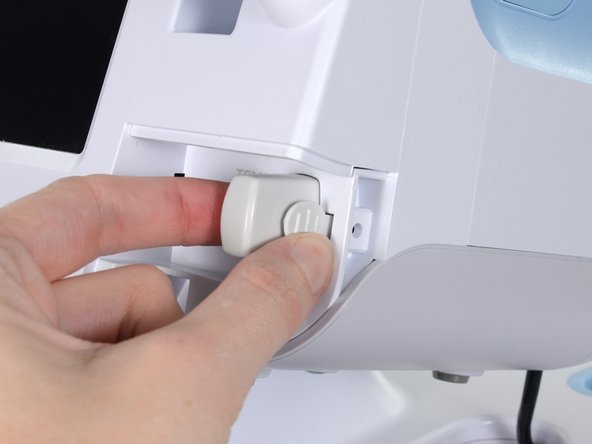
Этот шаг не переведен. Помогите перевести
-
Holding the monitor securely, open the USB networking door.
-
-
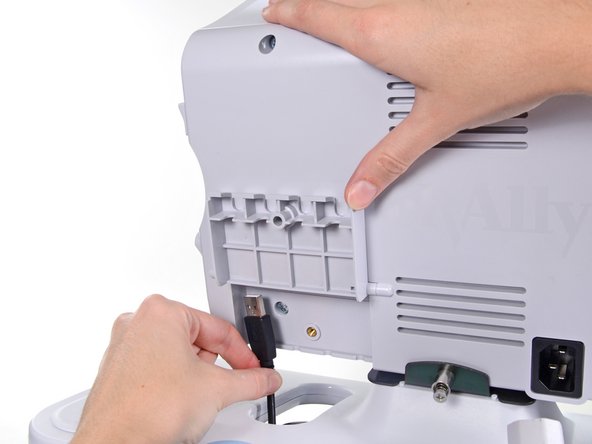
Этот шаг не переведен. Помогите перевести
-
Detach any accessory USB cables from USB ports on the monitor.
-