Введение
If the device is not changing speed it may be because of a broken speed adjuster.
Выберете то, что вам нужно
-
-
While pressing the spindle lock button, unscrew the collet nut and remove it along with the brass collet.
-
-
-
-
To remove the front panel, pry the device apart while holding the device with the other hand.
-
-
-
Identify the screws.
-
Unscrew the two 3mm phillips PH2.
-
Phillips PH2
-
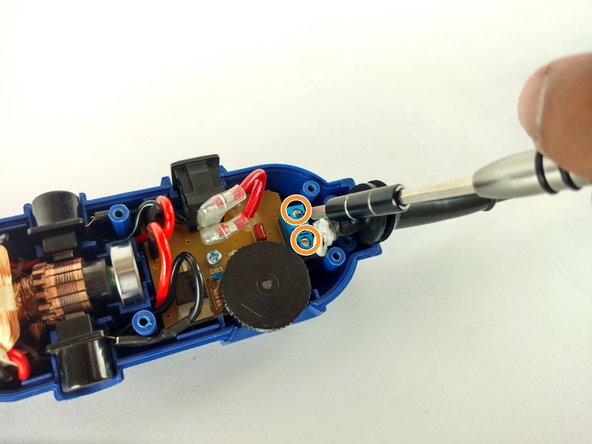
Flathead 2.5mm
-


To reassemble your device, follow these instructions in reverse order.
To reassemble your device, follow these instructions in reverse order.
Отменить: Я не выполнил это руководство.
2 участников успешно повторили данное руководство.

Команда

USF Tampa, Team 12-1, Eyestone Spring 2016 Участник USF Tampa, Team 12-1, Eyestone Spring 2016
USFT-EYESTONE-S16S12G1
4 членов
Автор 6 руководств