Перейти к основному содержанию

Whirlpool Duet Dryer WED9200SQ1 Main Board Replacement

Выберете то, что вам нужно

  1. Whirlpool Duet Dryer WED9200SQ1 Main Board Replacement, Main Board: шаг 1, изображение 1 из 3 Whirlpool Duet Dryer WED9200SQ1 Main Board Replacement, Main Board: шаг 1, изображение 2 из 3 Whirlpool Duet Dryer WED9200SQ1 Main Board Replacement, Main Board: шаг 1, изображение 3 из 3
    • Before attempting this repair, it is crucial to unplug your dryer to prevent electric shock.

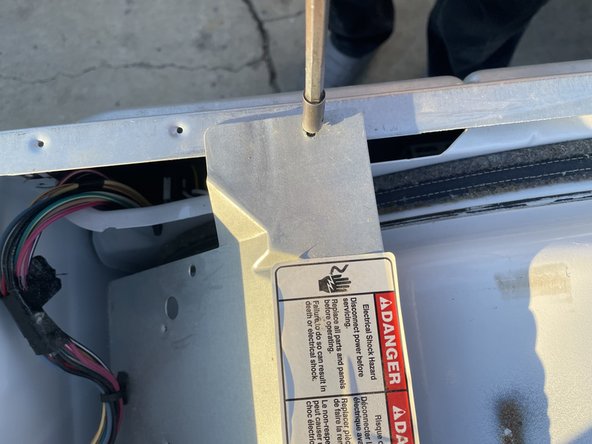
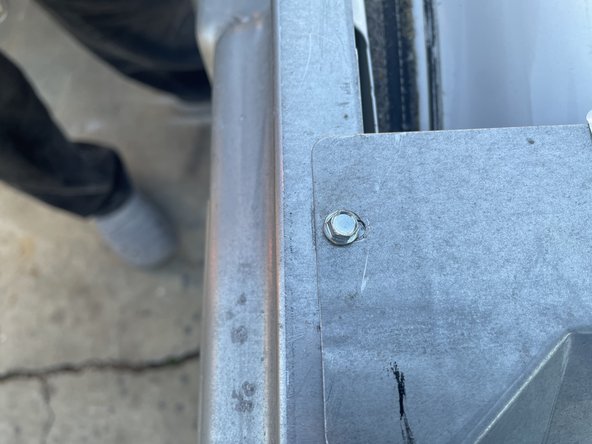
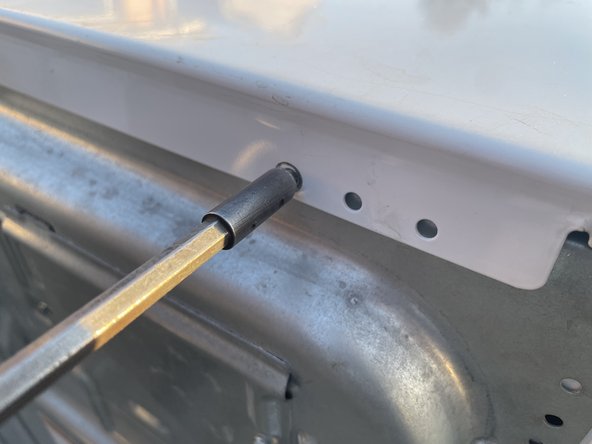
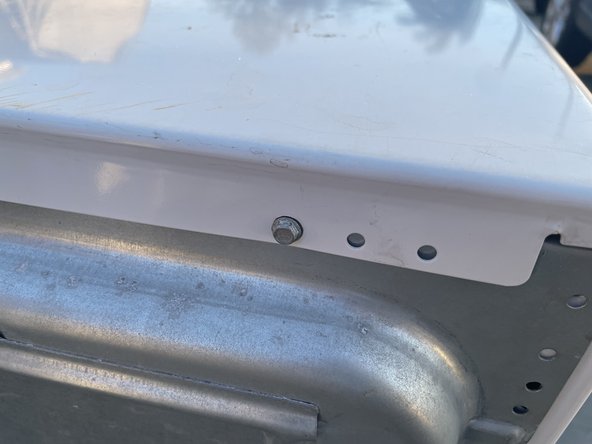
    • Use a T5 Torx screwdriver to remove two 6.3 mm screws. from the top back of the dryer.

  2. Whirlpool Duet Dryer WED9200SQ1 Main Board Replacement: шаг 2, изображение 1 из 3 Whirlpool Duet Dryer WED9200SQ1 Main Board Replacement: шаг 2, изображение 2 из 3 Whirlpool Duet Dryer WED9200SQ1 Main Board Replacement: шаг 2, изображение 3 из 3
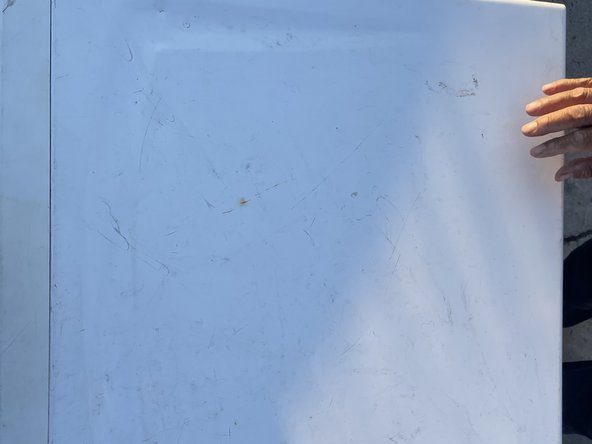
    • Slide the top of the dryer off to access the internal components.

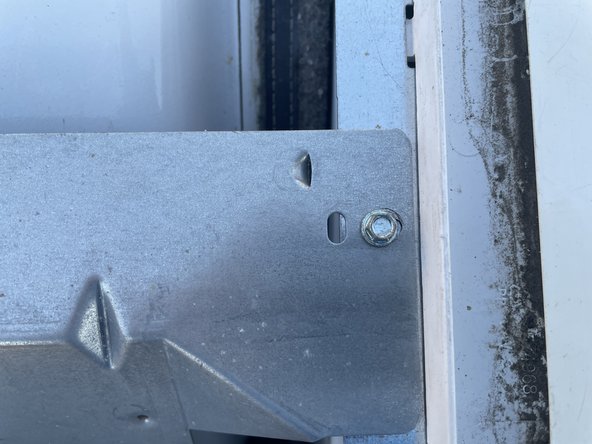
    • Use a T5 Torx screwdriver to remove two 6.3mm screws.

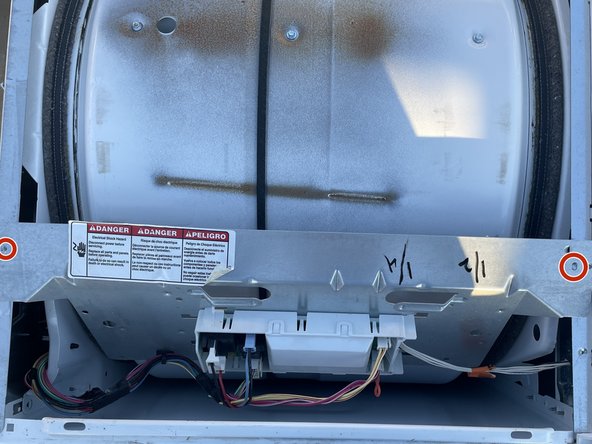
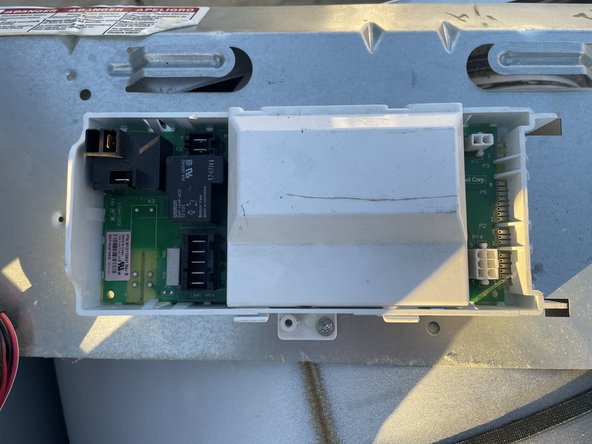
    • The circuit board is mounted on a metal rack..

  3. Whirlpool Duet Dryer WED9200SQ1 Main Board Replacement: шаг 3, изображение 1 из 3 Whirlpool Duet Dryer WED9200SQ1 Main Board Replacement: шаг 3, изображение 2 из 3 Whirlpool Duet Dryer WED9200SQ1 Main Board Replacement: шаг 3, изображение 3 из 3
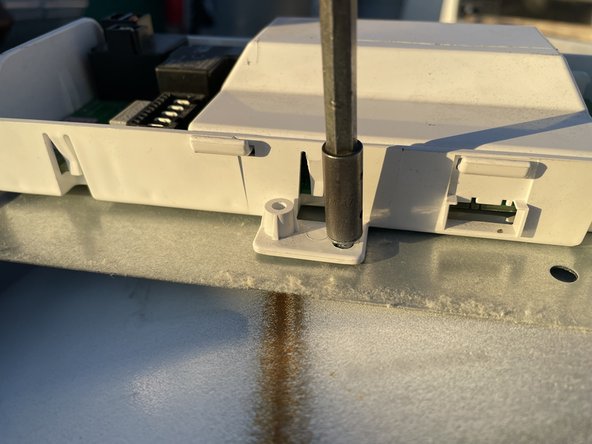
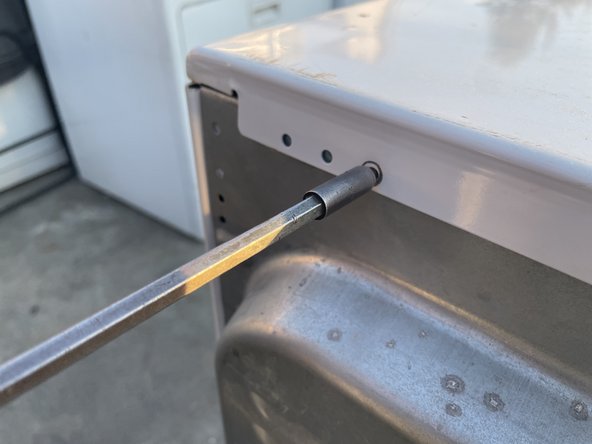
    • Use a T5 Torx screwdriver to remove the 6.3 mm screws on both ends of the metal shelve.

    • Slide the metal shelve out to access the main board.

  4. Whirlpool Duet Dryer WED9200SQ1 Main Board Replacement: шаг 4, изображение 1 из 3 Whirlpool Duet Dryer WED9200SQ1 Main Board Replacement: шаг 4, изображение 2 из 3 Whirlpool Duet Dryer WED9200SQ1 Main Board Replacement: шаг 4, изображение 3 из 3
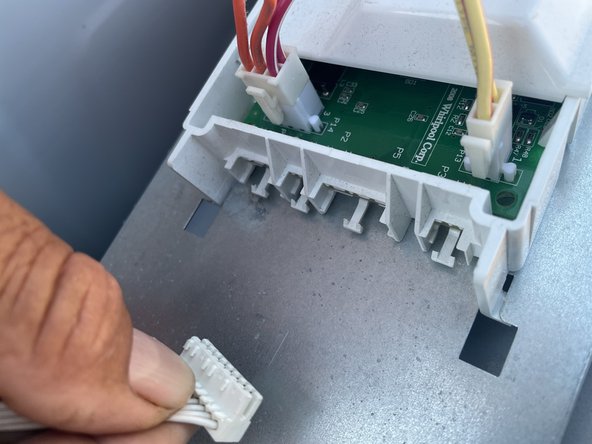
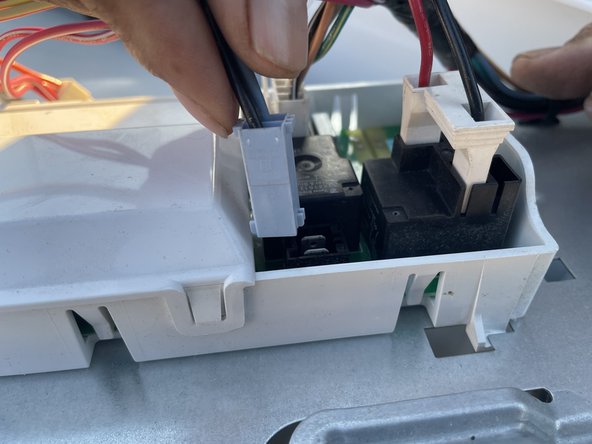
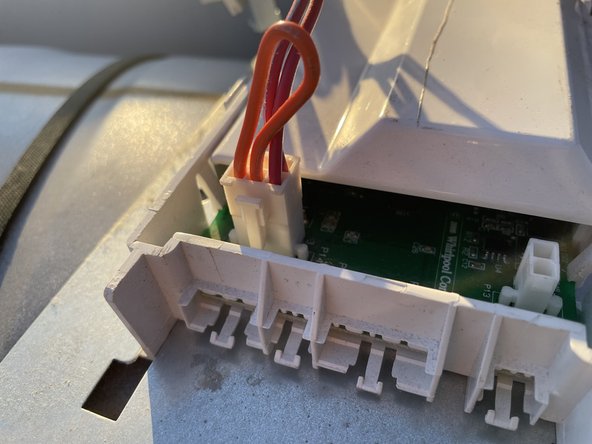
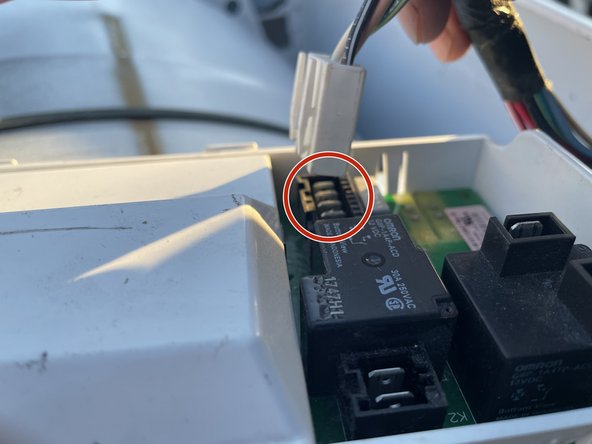
    • Remove all the circuit wires from the circuit board. Grab the wire that has the red circle to remove the wire.

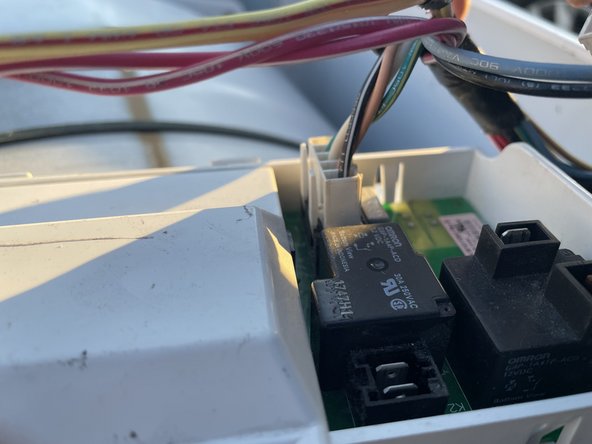
    • Remove the other wires.

    • Work at an angle with the metal mount still inside the dryer.

  5. Whirlpool Duet Dryer WED9200SQ1 Main Board Replacement: шаг 5, изображение 1 из 3 Whirlpool Duet Dryer WED9200SQ1 Main Board Replacement: шаг 5, изображение 2 из 3 Whirlpool Duet Dryer WED9200SQ1 Main Board Replacement: шаг 5, изображение 3 из 3
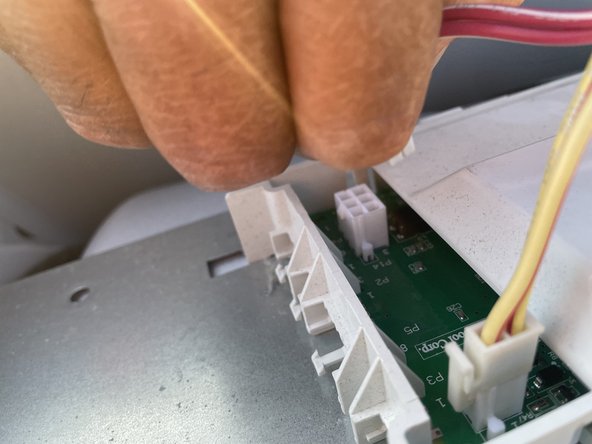
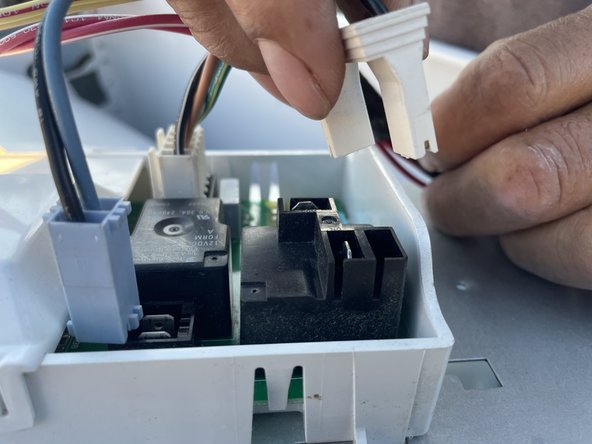
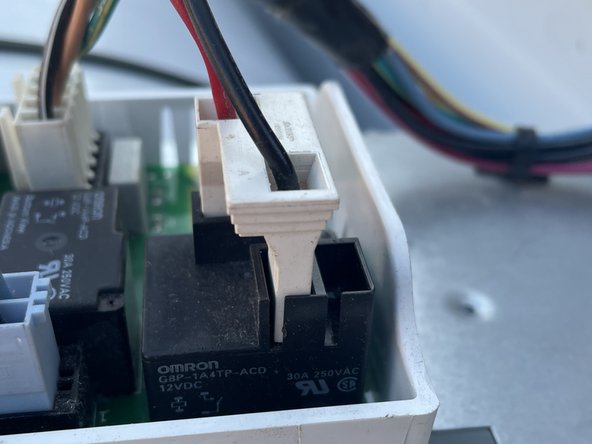
    • Keep on removing the wires until every wire is disconnected from the old circuit.

  6. Whirlpool Duet Dryer WED9200SQ1 Main Board Replacement: шаг 6, изображение 1 из 1
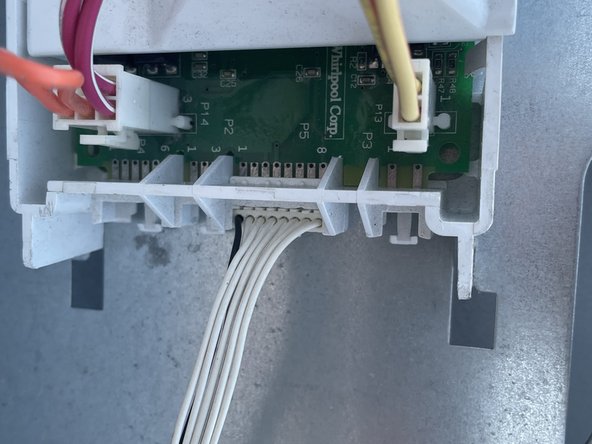
    • Once you've disconnected the wires, the wires should look like this in the image.

  7. Whirlpool Duet Dryer WED9200SQ1 Main Board Replacement: шаг 7, изображение 1 из 3 Whirlpool Duet Dryer WED9200SQ1 Main Board Replacement: шаг 7, изображение 2 из 3 Whirlpool Duet Dryer WED9200SQ1 Main Board Replacement: шаг 7, изображение 3 из 3
    • Use a T5 Torx screwdriver to remove the screw that has 6.3mm of the metal part. Same again, move to the left to get rid of the screw.

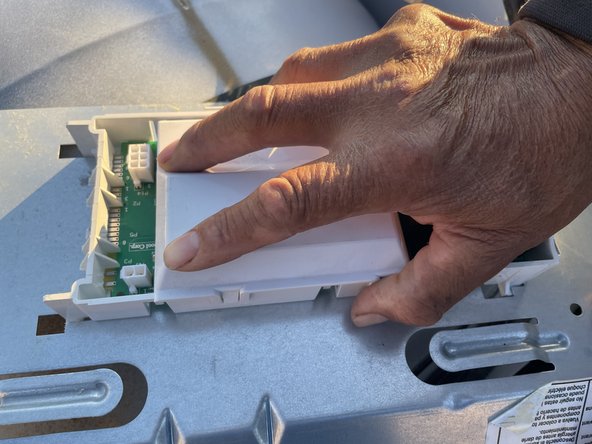
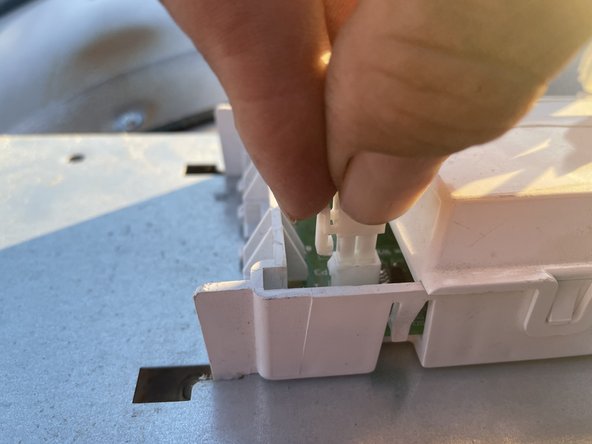
    • Use your hand to grab the old circuit and move it from the left to the right to get the circuit removed.

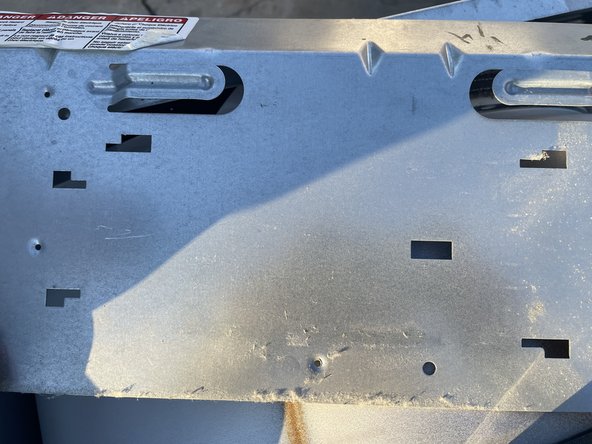
    • There should not be anything on the board.

  8. Whirlpool Duet Dryer WED9200SQ1 Main Board Replacement: шаг 8, изображение 1 из 3 Whirlpool Duet Dryer WED9200SQ1 Main Board Replacement: шаг 8, изображение 2 из 3 Whirlpool Duet Dryer WED9200SQ1 Main Board Replacement: шаг 8, изображение 3 из 3
    • Use the new circuit to put in the board. Ensure the two white hooks are connected to the metal part.

    • Use the T5 Torx screwdriver to screw the 6.3mm to the new circuit attached to the metal board. To do this part, move to the right that the screw should be tight.

    • The new circuit should be tight with the screw.

  9. Whirlpool Duet Dryer WED9200SQ1 Main Board Replacement: шаг 9, изображение 1 из 3 Whirlpool Duet Dryer WED9200SQ1 Main Board Replacement: шаг 9, изображение 2 из 3 Whirlpool Duet Dryer WED9200SQ1 Main Board Replacement: шаг 9, изображение 3 из 3
    • Reconnect the wires into the new circuit.

    • Put the orange and red wire into the circuit.

    • Do to the other wires shown in my image.

  10. Whirlpool Duet Dryer WED9200SQ1 Main Board Replacement: шаг 10, изображение 1 из 3 Whirlpool Duet Dryer WED9200SQ1 Main Board Replacement: шаг 10, изображение 2 из 3 Whirlpool Duet Dryer WED9200SQ1 Main Board Replacement: шаг 10, изображение 3 из 3
    • Insert the wire into the circuit.

  11. Whirlpool Duet Dryer WED9200SQ1 Main Board Replacement: шаг 11, изображение 1 из 3 Whirlpool Duet Dryer WED9200SQ1 Main Board Replacement: шаг 11, изображение 2 из 3 Whirlpool Duet Dryer WED9200SQ1 Main Board Replacement: шаг 11, изображение 3 из 3
    • Put the wires in the exact spot with the image provided to know where to put them.

  12. Whirlpool Duet Dryer WED9200SQ1 Main Board Replacement: шаг 12, изображение 1 из 2 Whirlpool Duet Dryer WED9200SQ1 Main Board Replacement: шаг 12, изображение 2 из 2
    • Attach the white wire to the circuit.

  13. Whirlpool Duet Dryer WED9200SQ1 Main Board Replacement: шаг 13, изображение 1 из 3 Whirlpool Duet Dryer WED9200SQ1 Main Board Replacement: шаг 13, изображение 2 из 3 Whirlpool Duet Dryer WED9200SQ1 Main Board Replacement: шаг 13, изображение 3 из 3
    • Use the T5 Torx screwdriver to screw 6.3mm at both sides of the metal board so it will not fall.

  14. Whirlpool Duet Dryer WED9200SQ1 Main Board Replacement: шаг 14, изображение 1 из 3 Whirlpool Duet Dryer WED9200SQ1 Main Board Replacement: шаг 14, изображение 2 из 3 Whirlpool Duet Dryer WED9200SQ1 Main Board Replacement: шаг 14, изображение 3 из 3
    • Put the board on top since the inside has been done.

    • Use a T5 Torx screwdriver to screw 6.3mm to the right to make it tight.

  15. Whirlpool Duet Dryer WED9200SQ1 Main Board Replacement: шаг 15, изображение 1 из 3 Whirlpool Duet Dryer WED9200SQ1 Main Board Replacement: шаг 15, изображение 2 из 3 Whirlpool Duet Dryer WED9200SQ1 Main Board Replacement: шаг 15, изображение 3 из 3
    • Once finished sewing to the left, use a T5 Torx screwdriver to screw the 6.3mm screw to the right.

  16. Whirlpool Duet Dryer WED9200SQ1 Main Board Replacement: шаг 16, изображение 1 из 1
    • Once you are done screwing the back, the dyer should be ready to use.

Заключение

To reassemble your device, follow these instructions in reverse order.

Cesar Vazquez

Участник с: 03/05/24

253 Репутация

1 руководство автора

Команду

CSU Los Angeles, Team 8-8, Grodsky Spring 2024 Участник CSU Los Angeles, Team 8-8, Grodsky Spring 2024

CSULA-GRODSKY-S24S8G8

1 член

Автор 1 руководств

0 Комментариев

Добавить комментарий

Статистика просмотров:

За последние 24 час(ов): 2

За последние 7 дней: 10

За последние 30 дней: 23

За всё время: 38