Этот перевод может не содержать последние обновления исходного руководства. Помогите обновить перевод или просмотреть исходное руководство.
Выберете то, что вам нужно
-
-
Remove the two screws holding the battery in place.
-
Slip your finger into the finger hole provided at the top of the battery.
-
...and lift to remove it
-
-
-
Remove the five Phillips screws securing the bottom to the case.
-
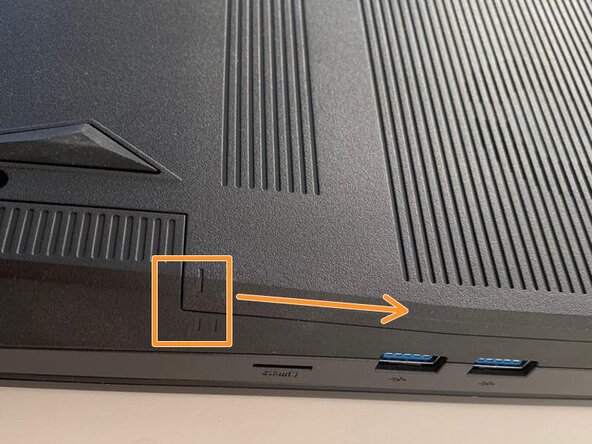
Slide the cover up slightly to release the clips holding it in place. This is the view on the right. The mark on the cover should now line up with the second mark on the case of the computer.
-
-
-
-
This is the view on the left before and after sliding the cover. The mark on the cover should now line up with the second mark on the case of the computer.
-
Slide the bottom cover to remove it.
-
-
-
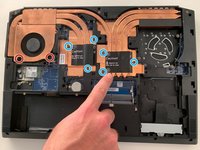
Remove the two Phillips screws securing the left hand fan.
-
Remove the six Phillips heatsink retaining screws .
-
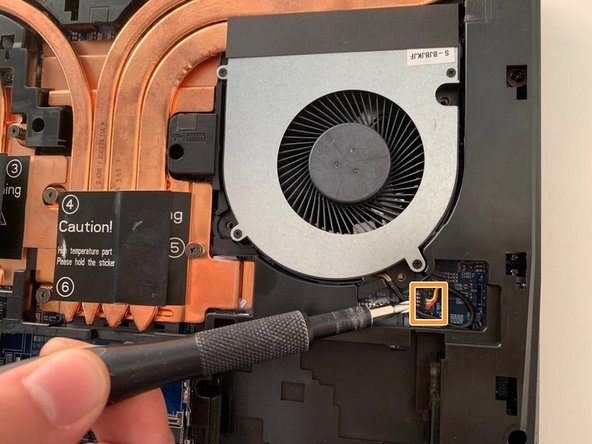
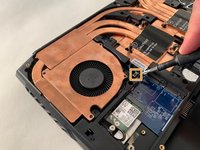
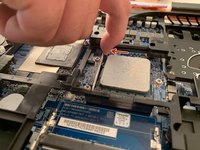
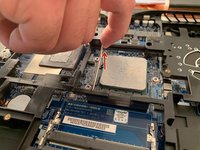
Carefully unplug the fan's power connector.
-
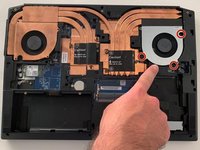
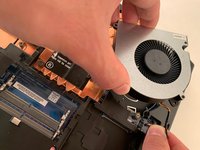
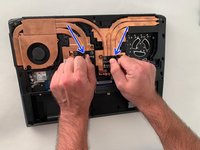
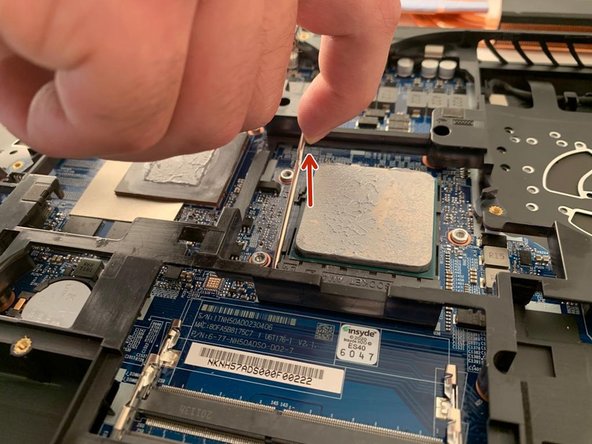
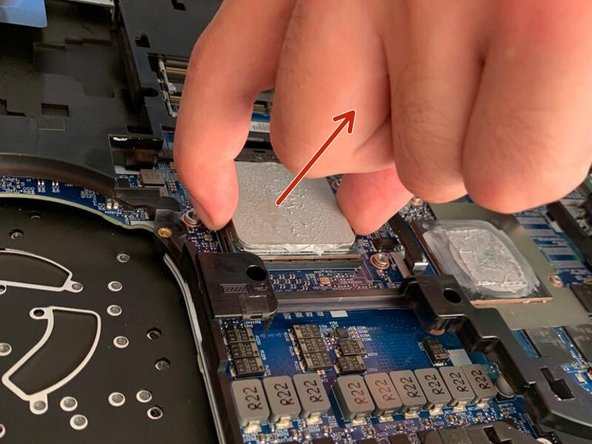
Using the two black tabs as handles, lift and remove the heatsink.
-


To reassemble your device, follow the instructions in reverse order.
Особая благодарность этим переводчикам:
75%


Эти переводчики помогают нам починить мир! Хотите внести свой вклад?
Начните переводить ›