Перейти к основному содержанию

Wiko Rainbow Jam 4G Display Replacement

Выберете то, что вам нужно

  1. Wiko Rainbow Jam 4G Display Replacement, Display: шаг 1, изображение 1 из 2 Wiko Rainbow Jam 4G Display Replacement, Display: шаг 1, изображение 2 из 2
    • Remove the back cover and the battery

  2. Wiko Rainbow Jam 4G Display Replacement: шаг 2, изображение 1 из 3 Wiko Rainbow Jam 4G Display Replacement: шаг 2, изображение 2 из 3 Wiko Rainbow Jam 4G Display Replacement: шаг 2, изображение 3 из 3
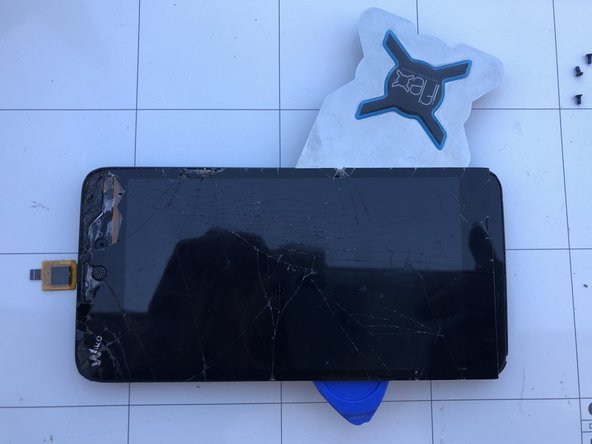
    • Using a Phillips scredriver, remove the screws

    • Using a thin tool or a blade detach the midframe from the the display assembly

  3. Wiko Rainbow Jam 4G Display Replacement: шаг 3, изображение 1 из 3 Wiko Rainbow Jam 4G Display Replacement: шаг 3, изображение 2 из 3 Wiko Rainbow Jam 4G Display Replacement: шаг 3, изображение 3 из 3
    • Remove the sticker with a heat source, for example using a hair dryer

    • Unplug the marked connector on the motherboard

    • Remove the stickers that holds the flat under the big sticker you removed earlier. Now remove the marked screw that keeps the motherboard in place

  4. Wiko Rainbow Jam 4G Display Replacement: шаг 4, изображение 1 из 3 Wiko Rainbow Jam 4G Display Replacement: шаг 4, изображение 2 из 3 Wiko Rainbow Jam 4G Display Replacement: шаг 4, изображение 3 из 3
    • Lift the motherboard and unplug the antenna cable

    • Using heat and a blade, remove the adesive holding the volume/power button

    • Remove the motherboard

  5. Wiko Rainbow Jam 4G Display Replacement: шаг 5, изображение 1 из 1
    • Remove the flat cable interconnecting the display and the motherboard. It's glued on the back of the frame.

  6. Wiko Rainbow Jam 4G Display Replacement: шаг 6, изображение 1 из 3 Wiko Rainbow Jam 4G Display Replacement: шаг 6, изображение 2 из 3 Wiko Rainbow Jam 4G Display Replacement: шаг 6, изображение 3 из 3
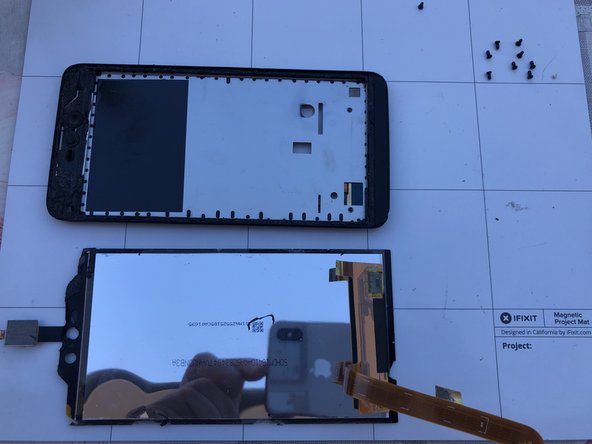
    • Heat the display edges to soften the glue. Gradually insert a thin blade to remove the faulty display.

    • Remove the old adhesive and clean carefully the surface before you apply the new adhesive.

  7. Wiko Rainbow Jam 4G Display Replacement: шаг 7, изображение 1 из 3 Wiko Rainbow Jam 4G Display Replacement: шаг 7, изображение 2 из 3 Wiko Rainbow Jam 4G Display Replacement: шаг 7, изображение 3 из 3
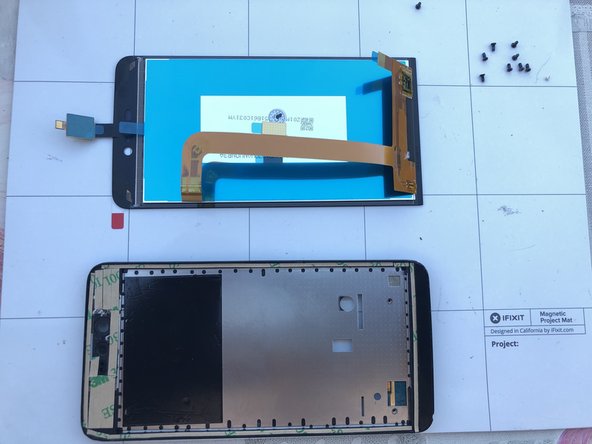
    • Apply the double sided tape on the edges of the frame so the enclosure is ready for a new display.

Заключение

To reassemble your device, follow these instructions in reverse order.

Особая благодарность этим переводчикам:

it en

100%

Эти переводчики помогают нам починить мир! Хотите внести свой вклад?
Начните переводить ›

Smilzo

Участник с: 11/09/13

11 294 Репутация

Автор 39 руководств

0 Комментариев

Добавить комментарий

Просмотр статистики:

За последние 24часов: 0

За последние 7 дней: 0

За последние 30 дней: 5

За всё время: 486