Введение
To complete this guide, you will need precision accuracy and some elbow grease.
-
-
Pry off the backplate by inserting a spudger or plastic opening tool into each corner and popping them open.
-
-
-
Un-stick the battery from the motherboard assembly with the plastic opening tool.
-
-
Инструмент, используемый на этом этапе:Tweezers$4.99
-
Desolder the battery wires from the motherboard.
-
-
-
-
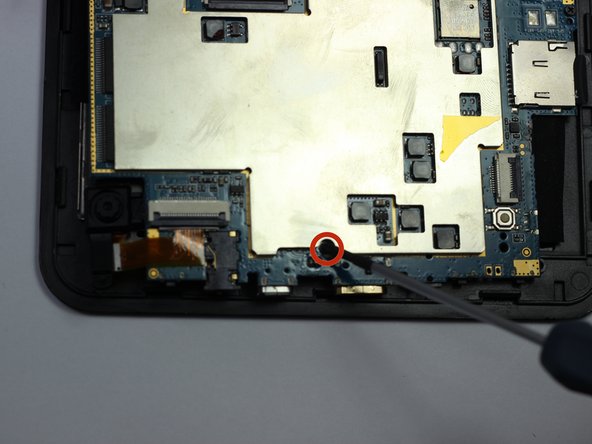
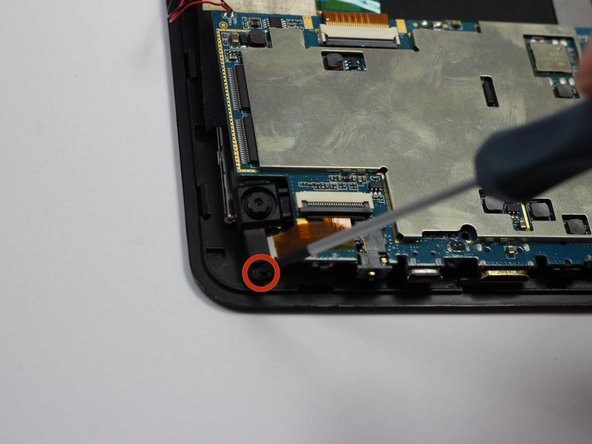
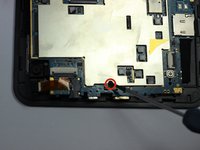
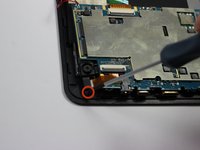
Remove each of the four 4 mm screws from the motherboard pictured to the left.
-
Use a Phillips #00 precision screwdriver.
-
-
-
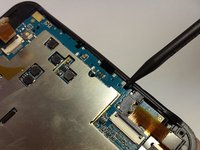
Use the spudger to pry the instrument array from its plastic housing.
-
-
-
Slowly slide the spudger underneath the adhesive tape to un-sitck it.
-
Be careful not to harm the array of wires leading to this tape.
-
-
Инструмент, используемый на этом этапе:Tweezers$4.99
-
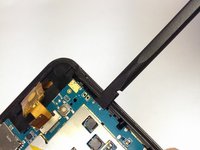
De-tatch the motherboard output wires from the screen using the tweezers.
-
-
Инструмент, используемый на этом этапе:Tweezers$4.99
-
Remove the charging pin holster.
-
Clamp on the end of the holster with the tweezers and twist until it becomes detached.
-
Repeat for the other side.
-


To reassemble your device, follow these instructions in reverse order. The charging pin holster needs to be soldered back into place.
Отменить: Я не выполнил это руководство.
Еще один человек закончил это руководство.

Команда

USF Tampa, Team 19-6, Blackwell Spring 2014 Участник USF Tampa, Team 19-6, Blackwell Spring 2014
USFT-BLACKWELL-S14S19G6
3 членов
Автор 11 руководств