Введение
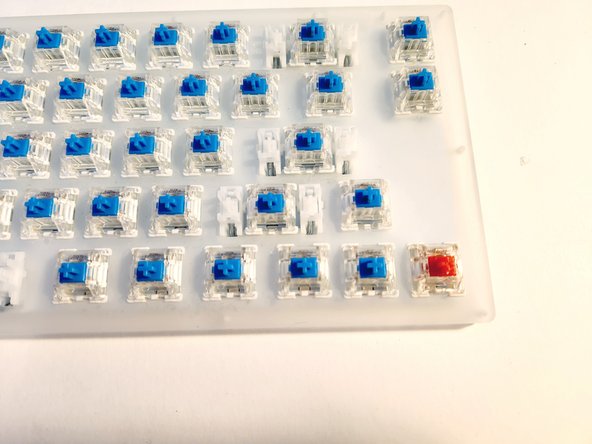
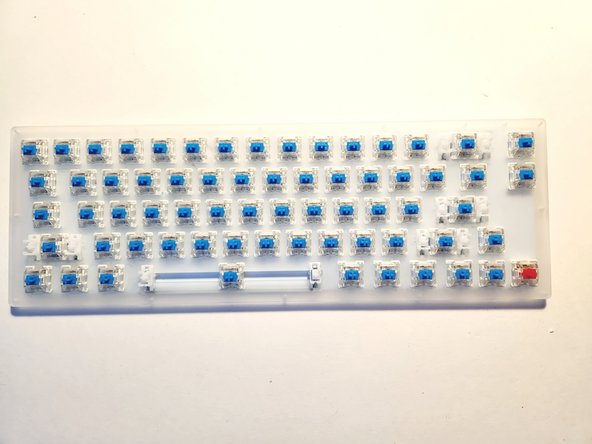
If your Womier K66 mechanical keyboard has any faulty or problematic key switches, use this guide to replace the key switches. The faulty key switch may not register your presses or may register multiple inputs from a single key press instead.
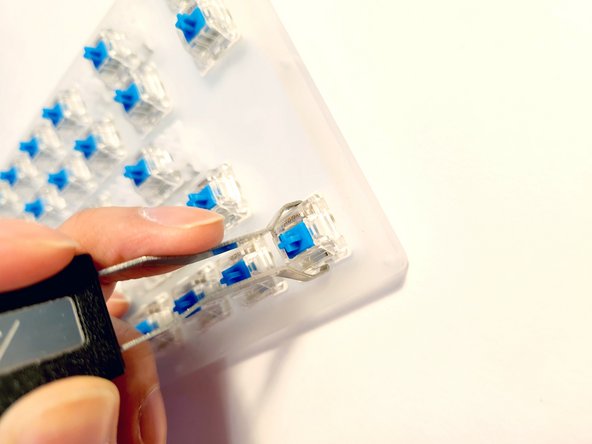
In steps 3 and 6 of the guide, it requires you to desolder and solder in key switches to the board.
Выберете то, что вам нужно
-
-
Flip the keyboard over so the backside is facing up.
-
Use the Phillips #0 screwdriver to remove the fourteen 1.52 mm screws.
-
Remove the back plate of the keyboard.
-
-
-
-
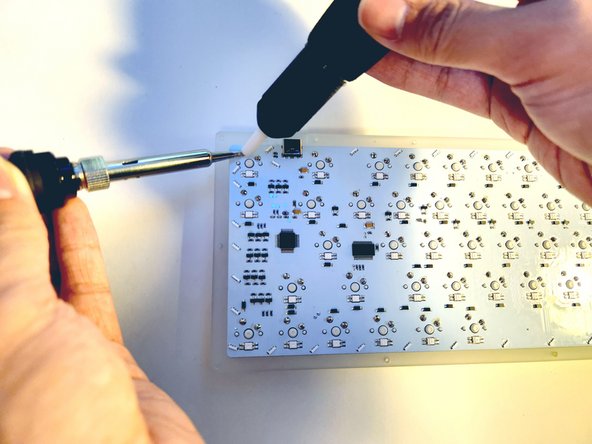
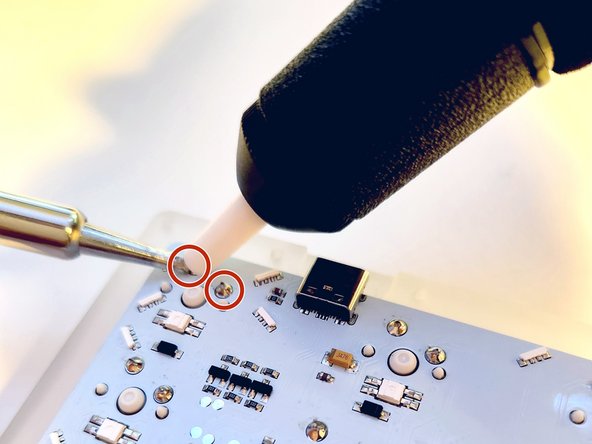
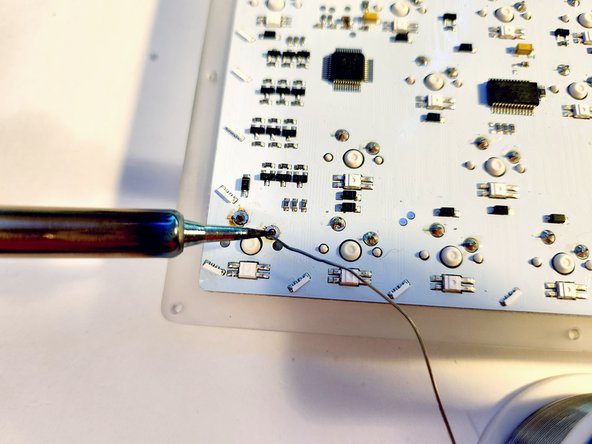
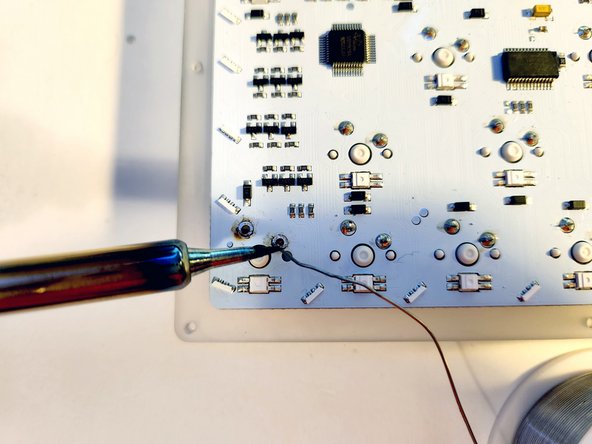
Set your soldering iron to 400 °C.
-
Apply the soldering iron to the solder joints and remove the solder with the desoldering pump.
-


To reassemble your device, follow these instructions in reverse order.
To reassemble your device, follow these instructions in reverse order.

Команда

York University, Team B-7, Allen Fall 2022 Участник York University, Team B-7, Allen Fall 2022
YORK-ALLEN-F22SBG7
3 членов
Автор 1 руководств