Введение
One of the most important parts of a wrought iron door is the handle. Like other types of doors, the handle is in place to help with the opening, closing, and depending on the type of handle, additional security. Unfortunately, these handles can malfunction due to breakage or worn-out parts. This guide will include some basic steps on how to replace a handle to a wrought iron security door.
Выберете то, что вам нужно
Видео обзор
-
-
First, open and then position the door to a desired width.
-
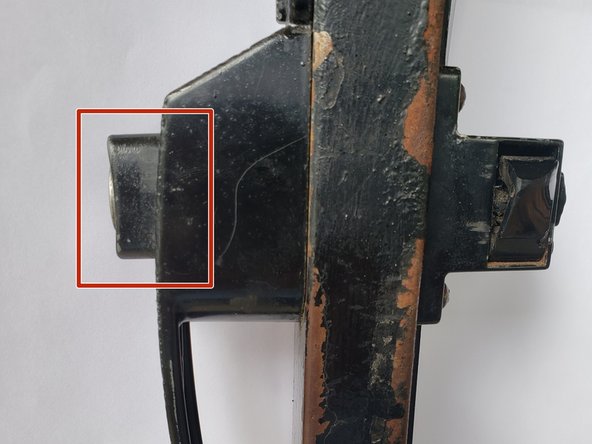
Secure the door by using the sliding latch of the cylinder or door prop.
-
Use a screwdriver to begin removing the screws from the handle.
-
-
-
Carefully begin to disassemble all parts of the handle by removing the handle from the door.
-
Continue to disassemble the interior handle by removing the top and bottom screws.
-
-
-
Once the handle is disassembled, make sure all of the parts from the handle that is being replaced are free of any type of debris, remaining parts, etc.
-
-
-
-
When installing the new handle to the wrought iron security door, begin by inserting the lock shaft in the middle of the exterior handle.
-
Insert the lock shaft, along with the exterior handle, through the center hole of the door to where the handle is being replaced.
-
-
-
Once the exterior handle is installed along with the lock shaft, align the new handle according to where the current holes are positioned.
-
Insert or thread the top and bottom screws by hand into the interior handle.
-
While holding the exterior handle in place, carefully insert the interior door handle along with the screws to connect with the exterior handle.
-
-
-
Once both handles and screws are inserted and in place, by holding the exterior handle, use the Philip screwdriver to finish installing the screws.
-
-
-
After completing the installation of the screws to the handle, make sure that all parts of the handle are functioning properly and securely.
-


To reassemble the handle, follow these instructions in reverse order.
To reassemble the handle, follow these instructions in reverse order.
Отменить: Я не выполнил это руководство.
Еще один человек закончил это руководство.

Команда

University of Memphis, Team 1-2, Lane Summer 2023 Участник University of Memphis, Team 1-2, Lane Summer 2023
UM-LANE-SU23S1G2
3 членов
Автор 1 руководств