Введение
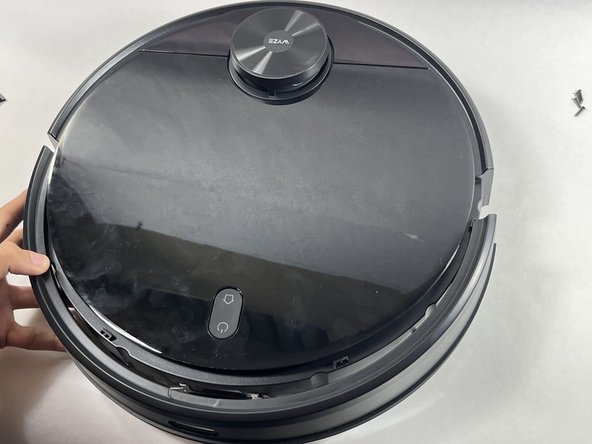
If you apply pressure to the bumpers of your Wyze WVCR200s robot vacuum and they do not move, then there is something wrong with the bumper. It is possible there may be a crack in the bumper or something may be lodged in the bumper.
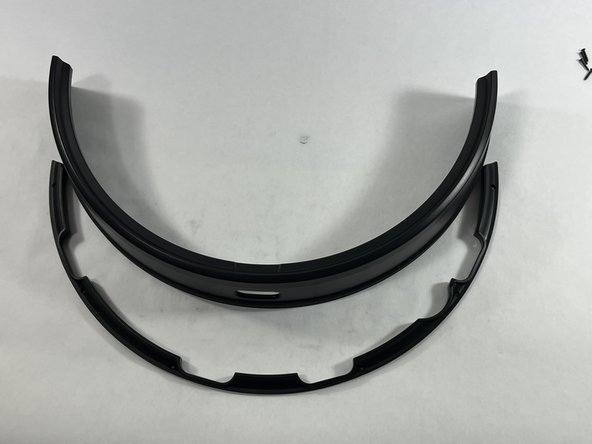
Check the bumper for any signs of physical damage or any debris that may have been causing the bumper to get stuck. The bumper may need to be removed and cleaned, or replaced.
Выберете то, что вам нужно
-
-
Flip the vacuum upside down so the underside of the device is facing up.
-
On the upper left of the device, you should see a spinning brush with three arms protruding out. This is the side brush.
-
-
-
To remove, grab the three arms of the brush and pull upwards. The arms should be tight, but should not require too much force to lift off.
-
-
-
-
Use a Phillips screwdriver to remove the six screws along the bottom edge of the bumper.
-


To reassemble your device, follow these instructions in reverse order.
To reassemble your device, follow these instructions in reverse order.
Команда

UMass Dartmouth, Team 5-5, Ramos Spring 2023 Участник UMass Dartmouth, Team 5-5, Ramos Spring 2023
UMASSD-RAMOS-S23S5G5
4 членов
Автор 5 руководств