Перейти к основному содержанию

Wyze WVCR200s Wheels Replacement

Выберете то, что вам нужно

  1. Wyze WVCR200s Wheels Replacement, Rotating Brush: шаг 1, изображение 1 из 1
    • Flip the vacuum upside down so the bottom is facing up.

    • In the center of the device, you should see the rotating brush that stretches from one wheel to the other.

  2. Wyze WVCR200s Wheels Replacement: шаг 2, изображение 1 из 2 Wyze WVCR200s Wheels Replacement: шаг 2, изображение 2 из 2
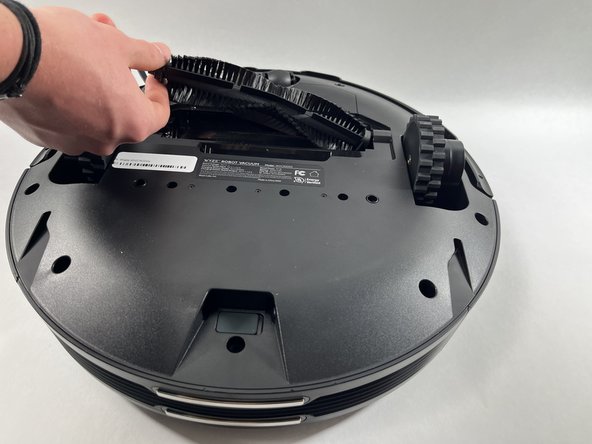
    • Pinch the blue tabs below the rotating brush towards each other.

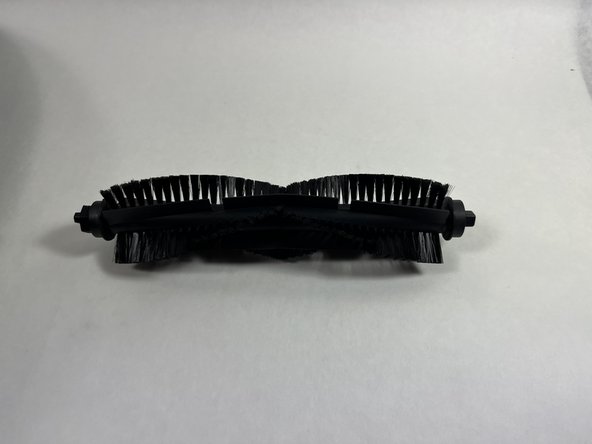
    • Lift the plastic housing surrounding the rotating brushing straight up, and the remove it from the vacuum.

  3. Wyze WVCR200s Wheels Replacement: шаг 3, изображение 1 из 3 Wyze WVCR200s Wheels Replacement: шаг 3, изображение 2 из 3 Wyze WVCR200s Wheels Replacement: шаг 3, изображение 3 из 3
    • To remove the rotating brush, lift one end of the brush upwards, and remove.

  4. Wyze WVCR200s Wheels Replacement, Battery: шаг 4, изображение 1 из 1
    • Use a screwdriver to remove four screws along the edge, just above where the brush was removed.

  5. Wyze WVCR200s Wheels Replacement: шаг 5, изображение 1 из 1
    • Lift the battery cover up and out of the vacuum.

  6. Wyze WVCR200s Wheels Replacement: шаг 6, изображение 1 из 2 Wyze WVCR200s Wheels Replacement: шаг 6, изображение 2 из 2
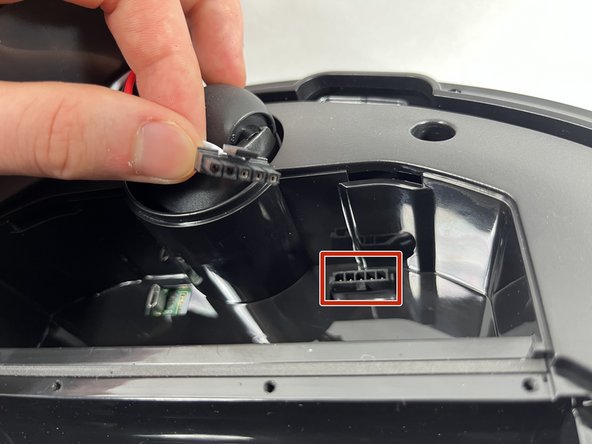
    • Lift the battery out from underneath the cover.

    • Be careful not to pull or yank the battery out, it is connected by wires to the vacuum port.

    • Carefully disconnect the battery from the vacuum port.

  7. Wyze WVCR200s Wheels Replacement, Side Brush: шаг 7, изображение 1 из 1
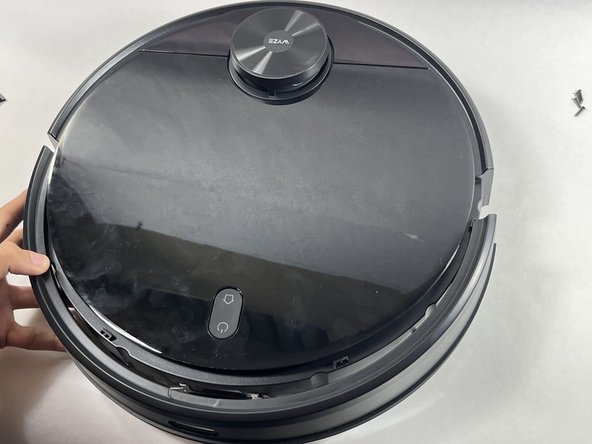
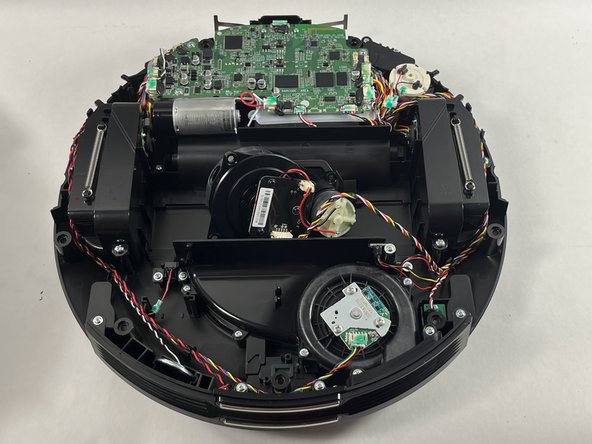
    • Flip the vacuum upside down so the underside of the device is facing up.

    • On the upper left of the device, you should see a spinning brush with three arms protruding out. This is the side brush.

  8. Wyze WVCR200s Wheels Replacement: шаг 8, изображение 1 из 1
    • To remove, grab the three arms of the brush and pull upwards. The arms should be tight, but should not require too much force to lift off.

    • Once the brush is off, a square peg that holds the brush should be visible.

    • Place the replacement brush on the square peg, and press down with moderate pressure.

  9. Wyze WVCR200s Wheels Replacement, Bumper: шаг 9, изображение 1 из 1
    • Flip the vacuum over.

  10. Wyze WVCR200s Wheels Replacement: шаг 10, изображение 1 из 1
    • Use a Phillips screwdriver to remove the six screws along the bottom edge of the bumper.

  11. Wyze WVCR200s Wheels Replacement: шаг 11, изображение 1 из 3 Wyze WVCR200s Wheels Replacement: шаг 11, изображение 2 из 3 Wyze WVCR200s Wheels Replacement: шаг 11, изображение 3 из 3
    • The small plastic connector holding the bumper in place should now be loose. Make sure it's disconnected.

    • Pull the bumper straight off of the vacuum.

  12. Wyze WVCR200s Wheels Replacement, Wheels: шаг 12, изображение 1 из 2 Wyze WVCR200s Wheels Replacement, Wheels: шаг 12, изображение 2 из 2
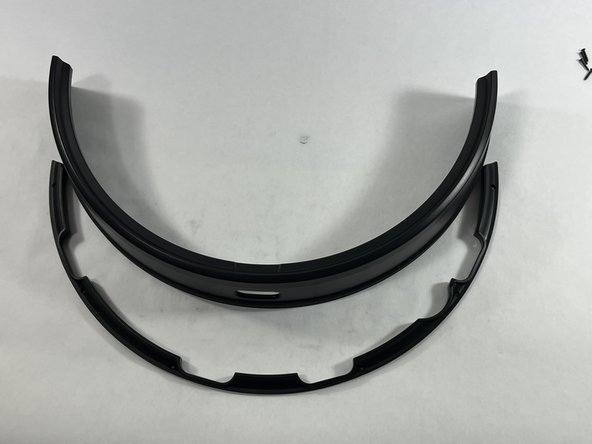
    • Use a spudger to pry the cover off that surrounds the vacuum mechanism.

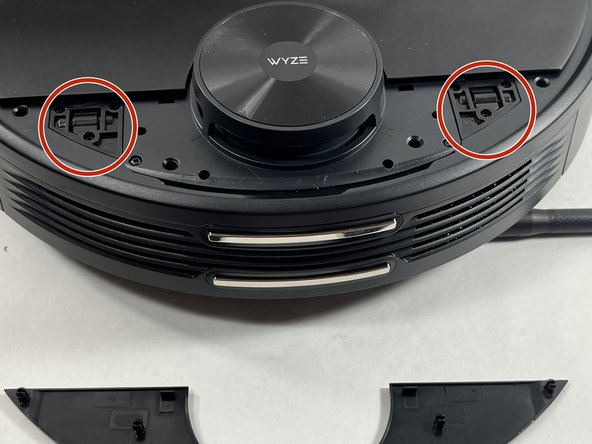
    • Remove the two screws securing the access cover.

    • Remove the cover.

  13. Wyze WVCR200s Wheels Replacement: шаг 13, изображение 1 из 2 Wyze WVCR200s Wheels Replacement: шаг 13, изображение 2 из 2
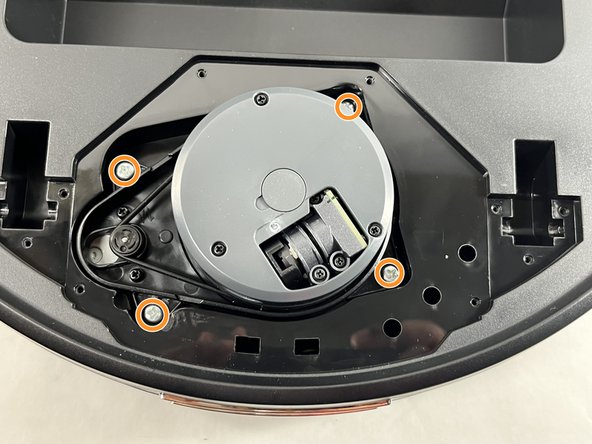
    • Use a screwdriver to remove the eight screws surrounding the vacuum mechanism cover.

    • Use a screwdriver to remove the four screws holding the mechanism itself.

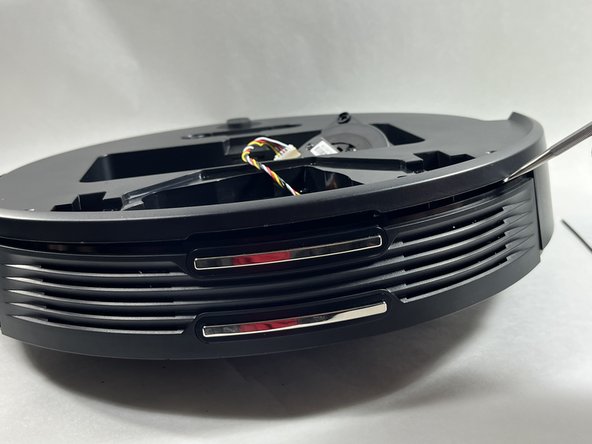
    • Lift the vacuum mechanism from the device.

    • It is connected to the vacuum by a cable so don't pull it out quickly or yank it out.

    • Disconnect the cable from the vacuum.

  14. Wyze WVCR200s Wheels Replacement: шаг 14, изображение 1 из 3 Wyze WVCR200s Wheels Replacement: шаг 14, изображение 2 из 3 Wyze WVCR200s Wheels Replacement: шаг 14, изображение 3 из 3
    • Use a screwdriver to remove the ten screws on the back side of the vacuum that hold the outer shell in place.

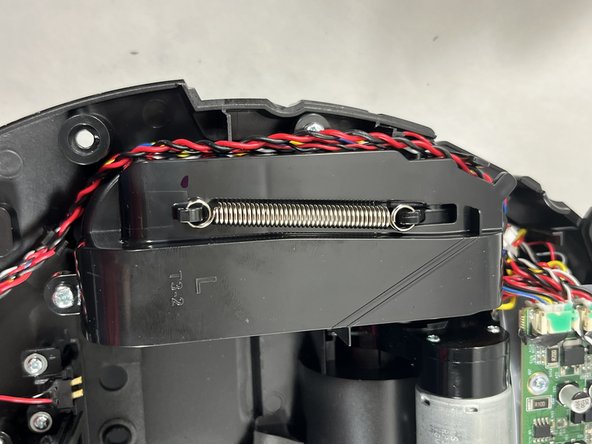
    • Use a spudger or opening tool to pry along the edges of the vacuum and separate the two parts.

  15. Wyze WVCR200s Wheels Replacement: шаг 15, изображение 1 из 3 Wyze WVCR200s Wheels Replacement: шаг 15, изображение 2 из 3 Wyze WVCR200s Wheels Replacement: шаг 15, изображение 3 из 3
    • The wheels are located on each side of the vacuum.

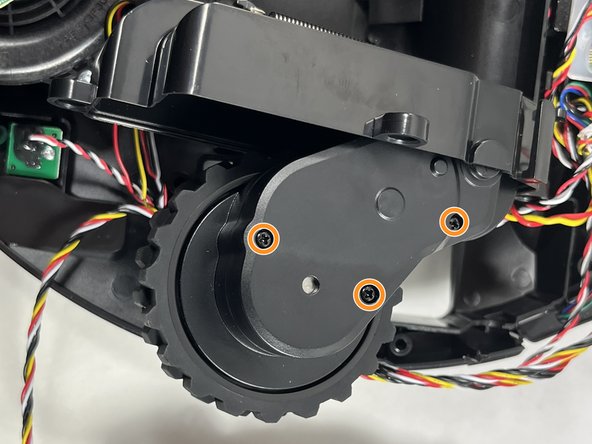
    • Use a screwdriver to remove three screws from each wheel holding them in place.

    • Remove the wheels.

Заключение

To reassemble your device, follow these instructions in reverse order.

2 участников успешно повторили данное руководство.

Steven Cabral

Участник с: 03/20/23

158 Репутация

1 руководство автора

Команда

UMass Dartmouth, Team 5-5, Ramos Spring 2023 Участник UMass Dartmouth, Team 5-5, Ramos Spring 2023

UMASSD-RAMOS-S23S5G5

4 членов

Автор 5 руководств

0 Комментариев

Добавить комментарий

Просмотр статистики:

За последние 24часов: 1

За последние 7 дней: 18

За последние 30 дней: 64

За всё время: 982