Введение
This instruction manual will teach the user how to replace the CD Tray Belt. At the end the of this guide, the user should be able to replace the belt and reassemble the console. It is strongly recommended that you have some knowledge of the console, and perform the replacement in a well lit area.
Выберете то, что вам нужно
-
-
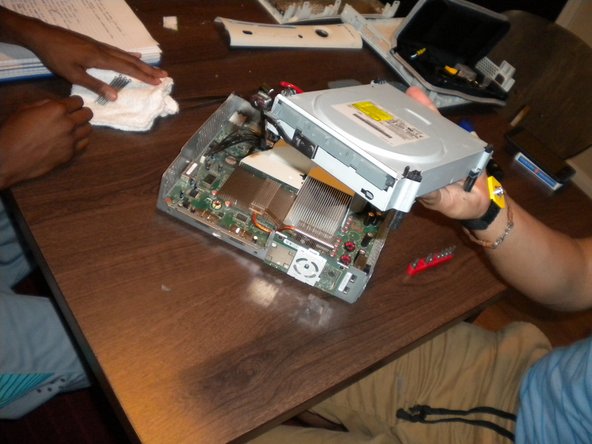
Remove the white plastic casing covering the Xbox.
-
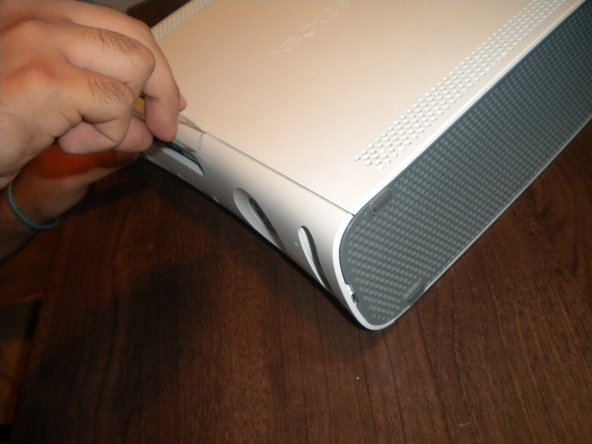
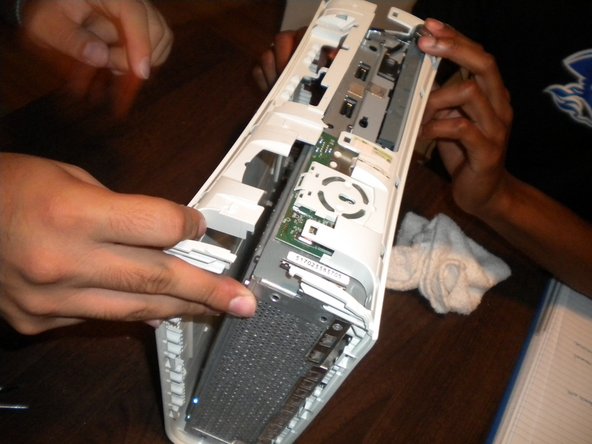
Place the Xbox with the front part of the console facing you. Use the flat surface of the tweezers to prop the top part of the casing to remove the front casing of the console.
-
-
-
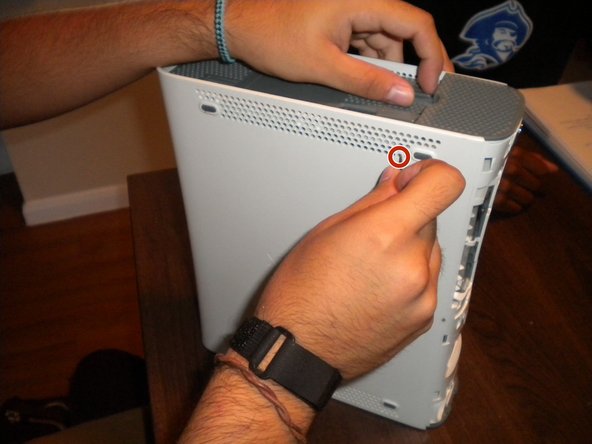
Stand the Xbox up so the bottom part is facing up. Use your nail and poke at the second hole on the second row on the side of the Xbox.
-
The next hole is the twenty-first hole on the third row.
-
The final hole is the second to last hole on the fourth row. Repeat on each side, top and bottom.
-
-
-
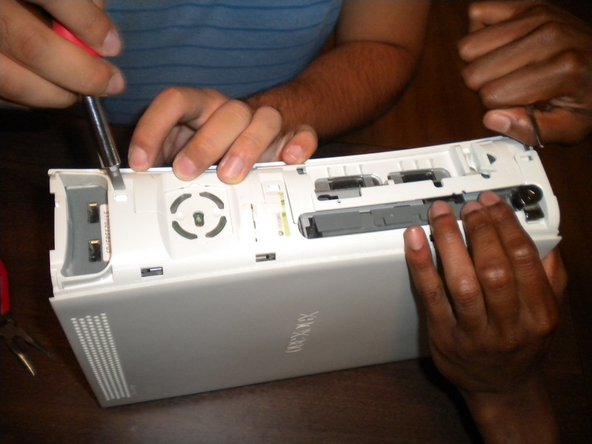
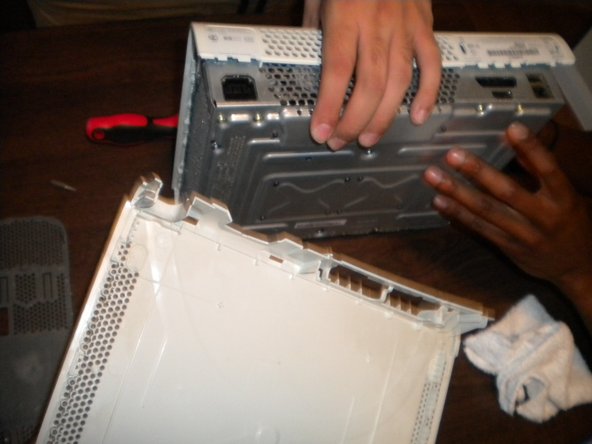
Remove grey plastic piece and place the console with the front facing you.
-
You will see four clips. Take a multi-screwdriver and use the flat screw or a plastic spudger to unhook the clips.
-
Once unhooked, flip Xbox so the bottom of the console is facing you.
-
-
-
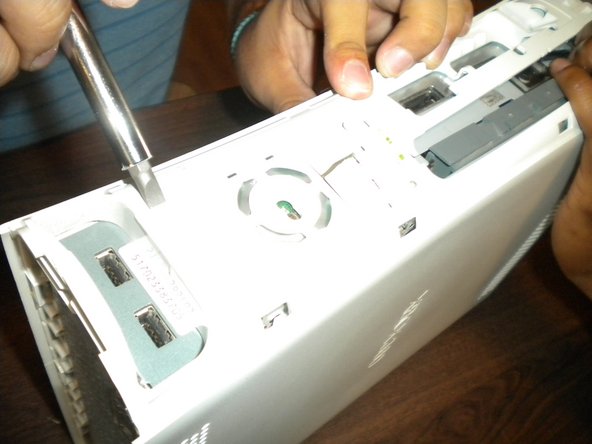
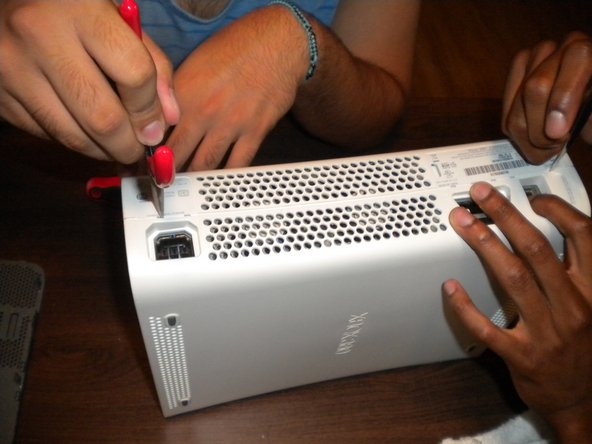
Take the tweezers, or pliers, and poke the seven holes that are visible to you. Remove the cover.
-
-
-
-
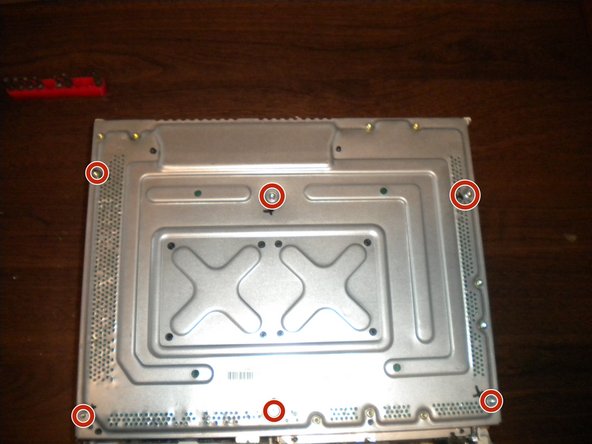
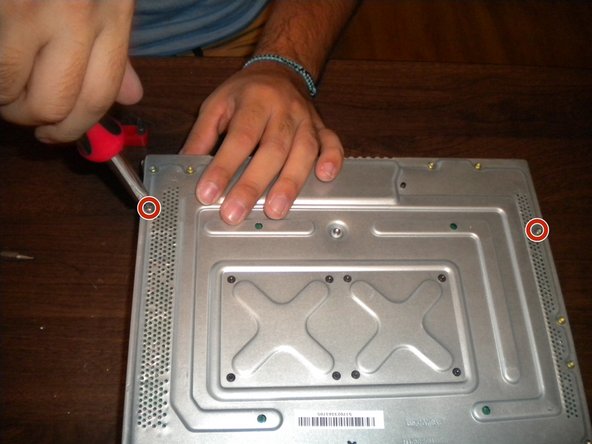
Place the console with the metal side facing you and take your multi-screwdriver (using the star head) and remove the six screws labeled in the picture below
-
-
-
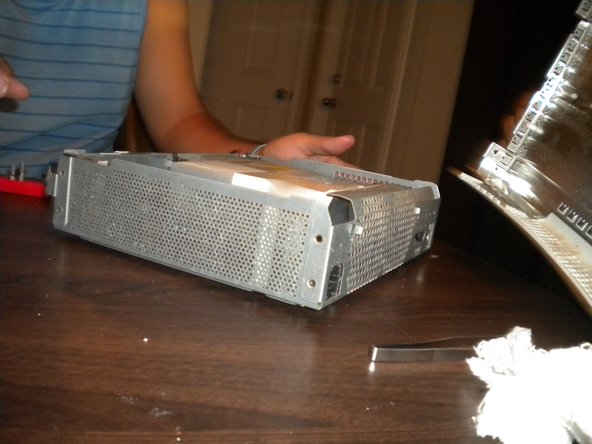
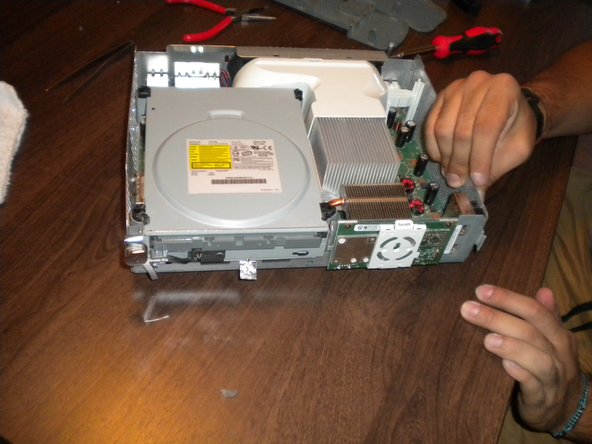
Flip the console with the hardware facing up. There will be a grey box that is connected to the console, with white and black wires exposed.
-
Disconnect both wires and remove half of the piece of silver electrical tape, careful to not remove the entire tape.
-
-
-
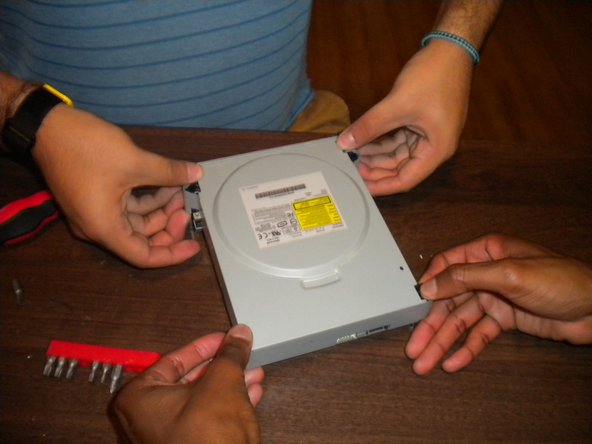
Place the box so the bottom is facing up. Remove the four screws labeled in the picture below with a multi-screwdriver with the five-point head.
-
-
-
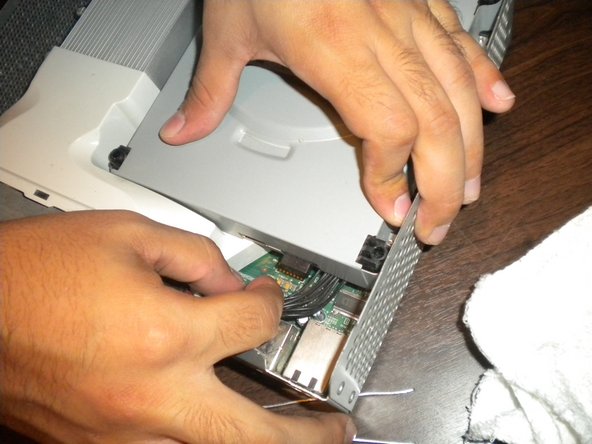
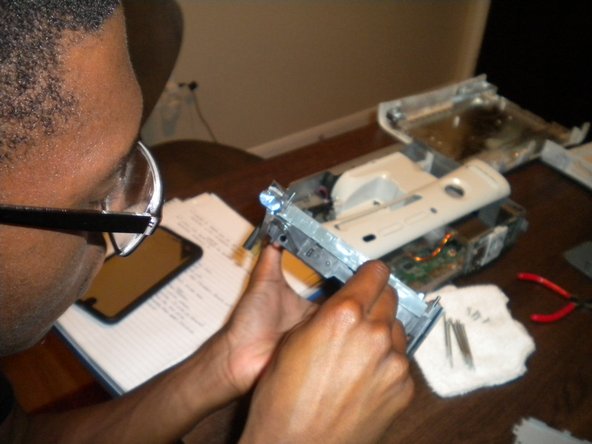
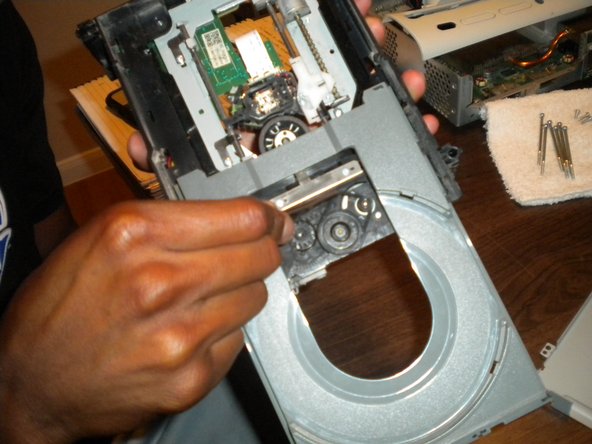
Place pressure on black rods to remove the top casing of the drive.
-
Place the drive facing you. This should expose a small hole.
-
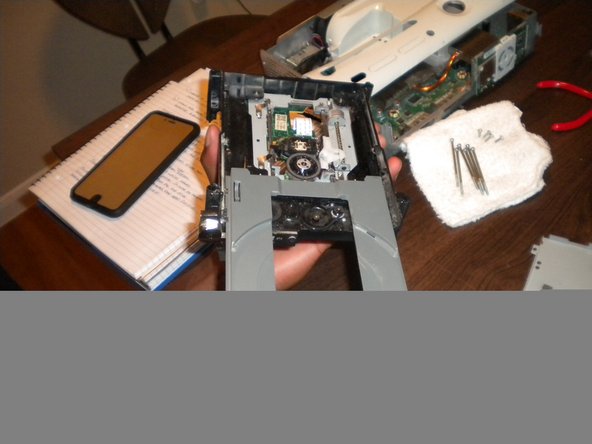
Take the nail and gently unwind the gear inside the hole. When finished, the tray should be out.
-
-
-
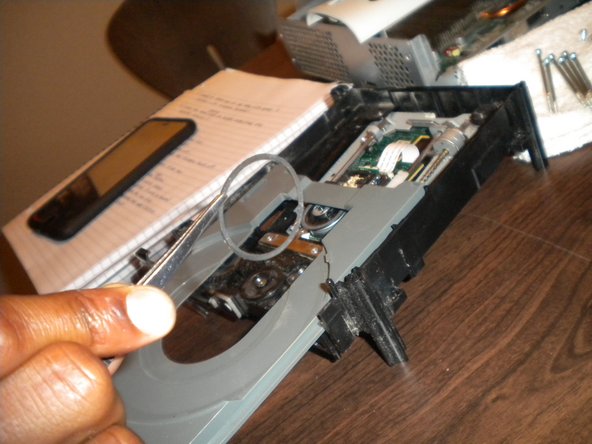
Replace old band with new.
-
To reassemble, complete these steps in reverse order.
-
You may hear clicking sounds when re-attaching the pieces held together by clips. This is normal, and expected.
-


To reassemble your device, follow these instructions in reverse order.
To reassemble your device, follow these instructions in reverse order.
Отменить: Я не выполнил это руководство.
2 участников успешно повторили данное руководство.
Команда

Sam Houston State, Team 15-3, Nardone Fall 2015 Участник Sam Houston State, Team 15-3, Nardone Fall 2015
SHSU-NARDONE-F15S15G3
4 членов
Автор 1 руководств
Один комментарий
Lol. Avoid drugs & alchohol or you could potentially make an err. Wow. Like the guide though! Thx.