Введение
This guide offers instructions on how to replace cracked or split trigger caps in the Xbox One Wireless Controller (model 1708).
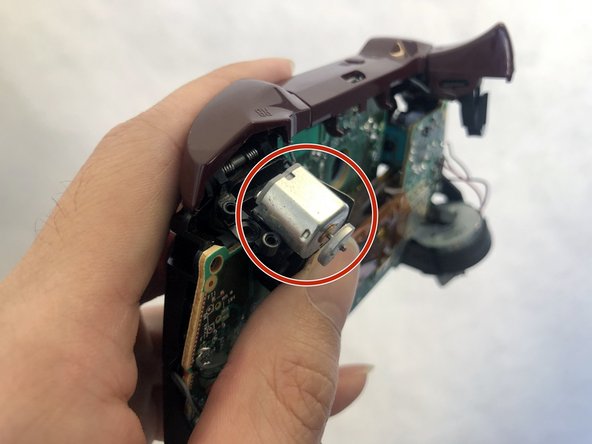
Trigger caps are pressable controls that often vibrate to provide feedback during gameplay. A cracked or split trigger cap will get jammed and will prevent the trigger motor from performing its intended function.
This guide is intended for trigger cap replacement only.
Before using this guide, examine the plastic trigger caps for any noticeable exterior damage. If you can see the trigger motors beneath the caps, this is the guide for you.
Make sure you have the proper tools and parts for this replacement and make sure your device is turned off before you begin.
Выберете то, что вам нужно
-
-
Slide the battery cover out and remove it.
-
Remove the battery pack.
-
-
-
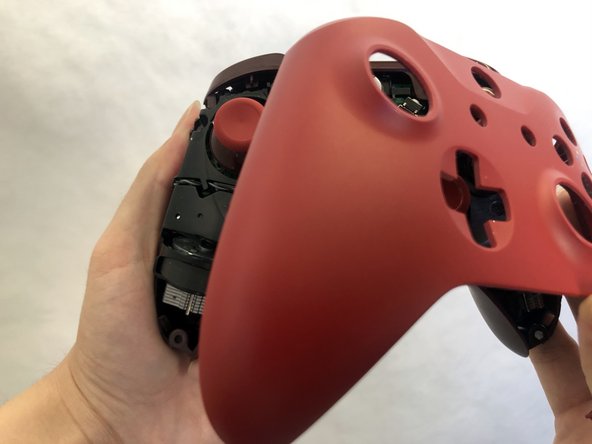
Insert a plastic opening tool between the handle and the plate.
-
Gently slide the opening tool from the top end to the bottom end of the seam to remove the plate from the handle.
-
Repeat the process with the other side plate.
-
-
-
Remove the five 2.3mm screws on the bottom plate with a T8 Torx security Screwdriver.
-
-
-
-
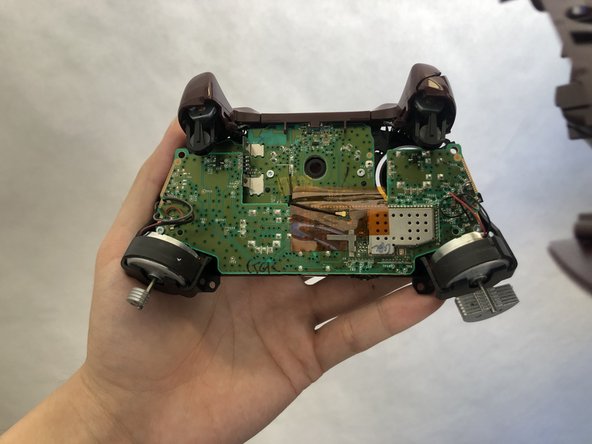
Carefully turn over the controller with the front plate facing you.
-
Remove the front plate.
-
-
-
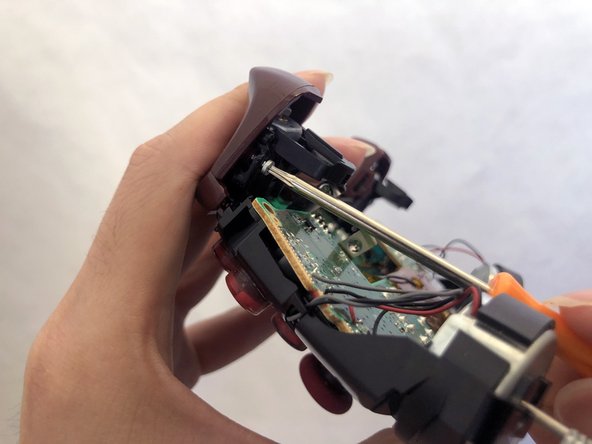
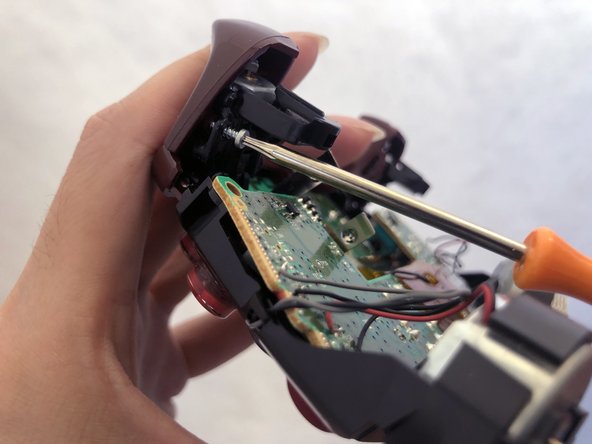
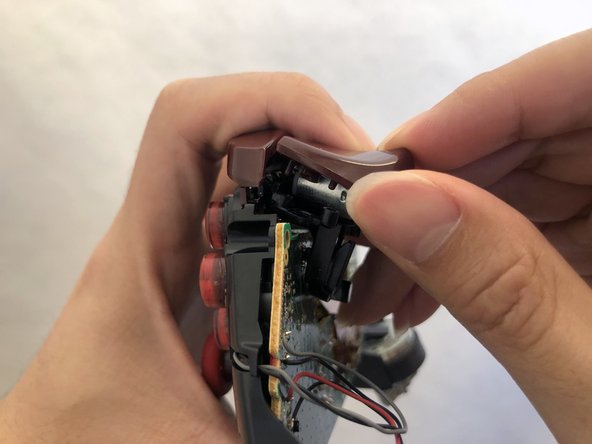
Remove the two 1.7mm screws from each of the triggers with a T6 Torx screwdriver.
-
-
-
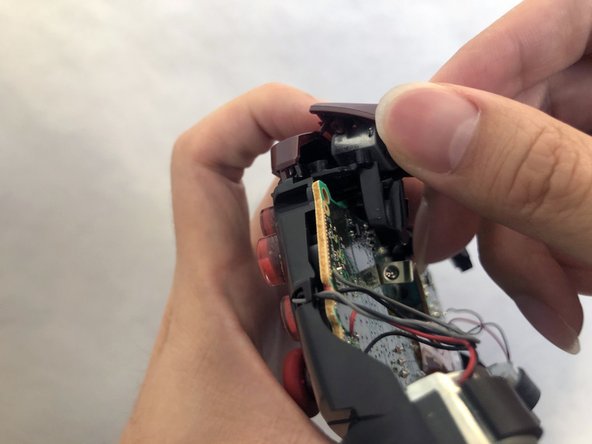
Place the new trigger cap on the trigger motor.
-
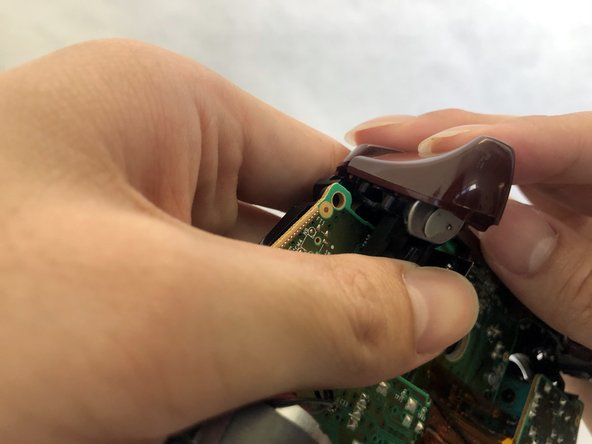
Push down the inside of the trigger cap until you hear a click.
-
Repeat step six to eight for the other trigger cap.
-


To reassemble your device, follow steps 1-5 in reverse order.
To reassemble your device, follow steps 1-5 in reverse order.
Отменить: Я не выполнил это руководство.
16 участников успешно повторили данное руководство.

Команда

UC Davis, Team S1-G6, Andersen Winter 2020 Участник UC Davis, Team S1-G6, Andersen Winter 2020
UCD-ANDERSEN-W20S1G6
3 членов
Автор 3 руководств