Введение
As the tablet ages, the battery pack’s charging ability degrades from constant discharging and recharging. Breakage of the battery pack will soon lead to a replacement. Replacing the battery pack is a straightforward task, but it is important to handle it carefully. The pack is made of a lithium-ion compound in a flexible mylar jacket, allowing internal battery components to come in contact with each other, causing a potentially dangerous chemical reaction. Also, the mylar jacket is vulnerable to damage. Failure to handle with care throughout these steps can cause internal chemicals to leak out.
With the motherboard exposed, take precautionary measures to prevent the battery’s power leads from short-circuiting or allowing static electricity to damage the motherboard. If available, use an antistatic mat.
Выберете то, что вам нужно
-
-
Remove the two 3 mm retaining screws from the side of the tablet with a Phillips #0 screwdriver.
-
-
-
Insert the plastic opening tool in between the shelf halves and lift the top shelf half to detach the securing tabs.
-
-
-
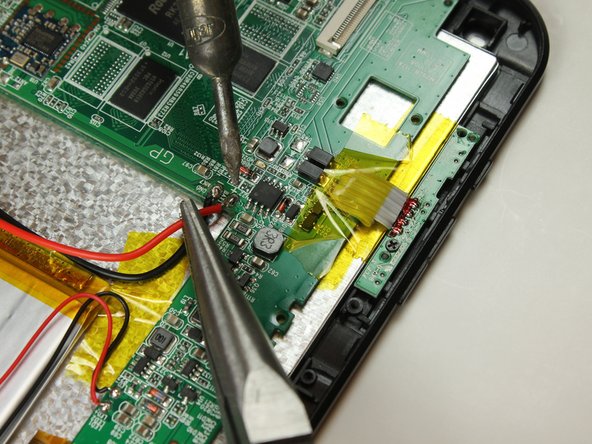
De-solder the two wires that connect the battery pack to the motherboard using a needle-nose plier and a soldering iron.
-
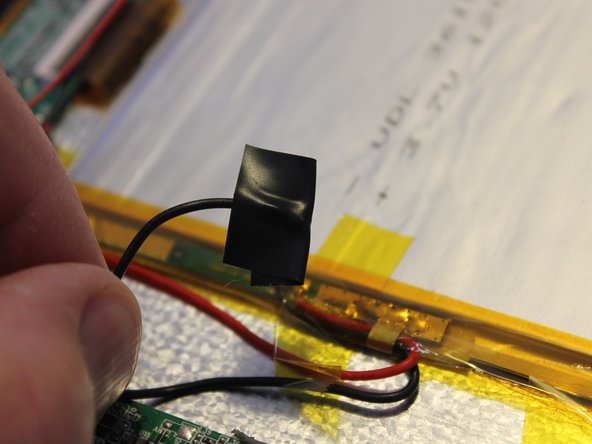
Wrap the exposed end of the black negative wire with electrical tape.
-
-
-
-
Trace the outline of the battery pack on the screen back shield with a black Sharpie marker.
-
-
-
Carefully slide a spudger under the adhesive pads in between the battery pack and the screen back shield.
-
Remove the battery pack.
-
-
-
Apply a small amount of silicon glue to the new battery on the side it will touch the screen back shield.
-
Place the battery pack on the screen back shield inside the outline.
-
-
-
Solder the red battery wire to the point labeled BATT +, and the black battery wire to the point BATT -.
-


To reassemble your device, follow these instructions in reverse order.
To reassemble your device, follow these instructions in reverse order.
Команда

Colorado Springs, Team 4-2, Panko Spring 2015 Участник Colorado Springs, Team 4-2, Panko Spring 2015
UCCS-PANKO-S15S4G2
3 членов
Автор 12 руководств