Введение
Teaching you how to replace a crack screen.
Выберете то, что вам нужно
-
-
Remove the two bottom screws.
-
The two bottom screws have a 2.44mm wide tops and are 5.44mm.
-
-
-
Slide the spludger between the screen's rolled edge and the back of the tablet and pry apart carefully. Expect the tablet screen to make a cracking sound.
-
Slide the spudger in the slit all the way around the perimeter of the tablet to fully separate the screen.
-
-
-
Once the screen has fully separated from the back of the tablet, gently lift up the edges to remove the screen.
-
-
-
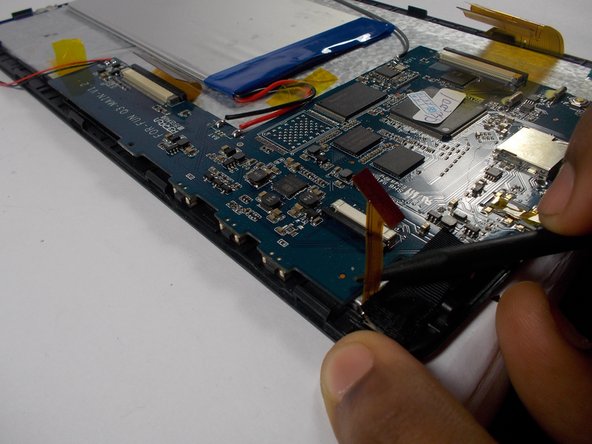
Next, disconnect the front facing camera ribbon (shown). The ribbon is held to the motherboard by a small bar.
-
Using the spudger to pry open the bar, pull the ribbon out to disconnect it.
-
-
-
-
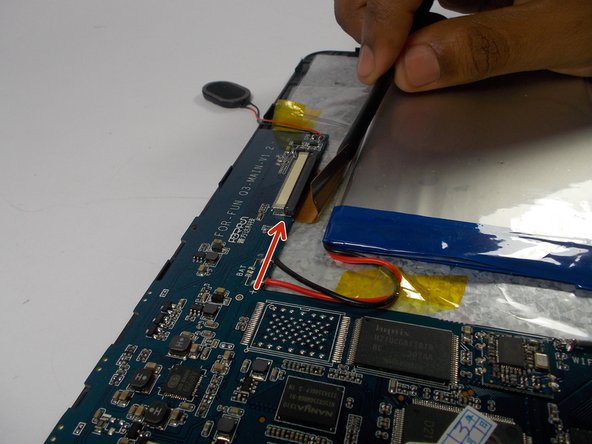
Next, work on disconnecting the ribbon for the touch screen.
-
The touch screen ribbon is larger than the camera ribbon and is located on the left side of motherboard.
-
Using the spudger, gently pry the ribbon out from under the bar. Pull the ribbon and disconnect it from the motherboard.
-
-
-
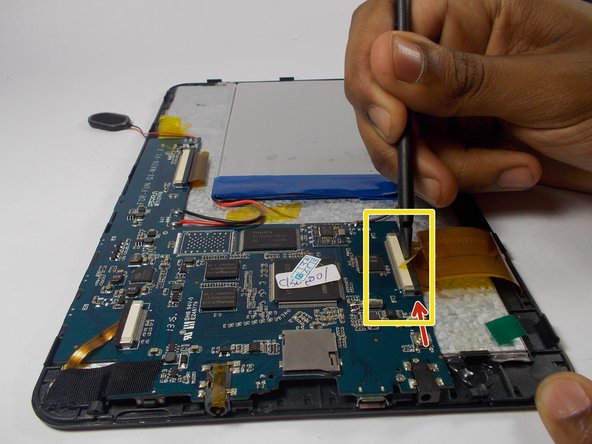
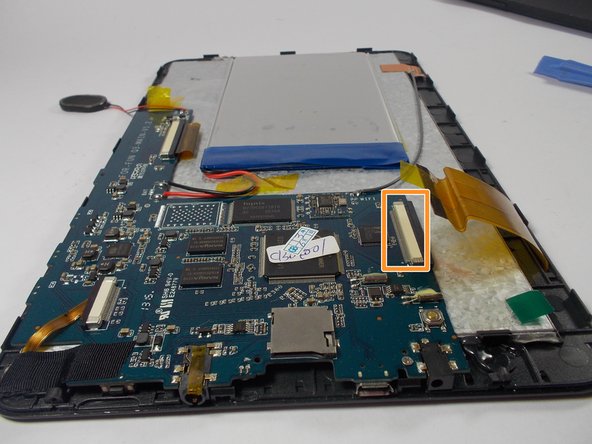
Next, work to disconnect the LCD screen ribbon.
-
This ribbon is located on the right side of the motherboard.
-
The ribbon is connected to the motherboard by a small bar. Using the spudger, pry the bar apart and slide the ribbon out.
-
-
-
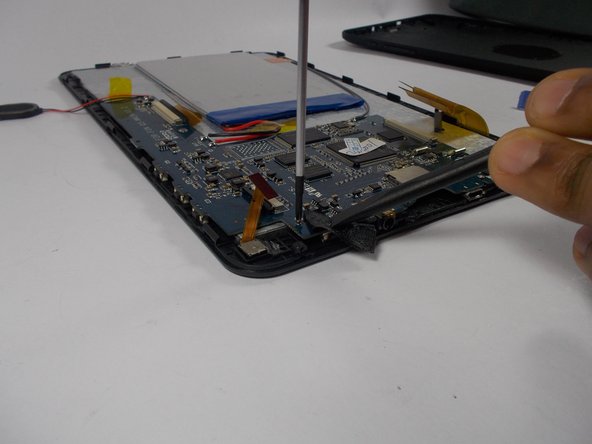
Remove the two motherboard screws.
-
To remove the first screw, expose the black strip. Then using a Philips head screwdriver, remove the first screw.
-
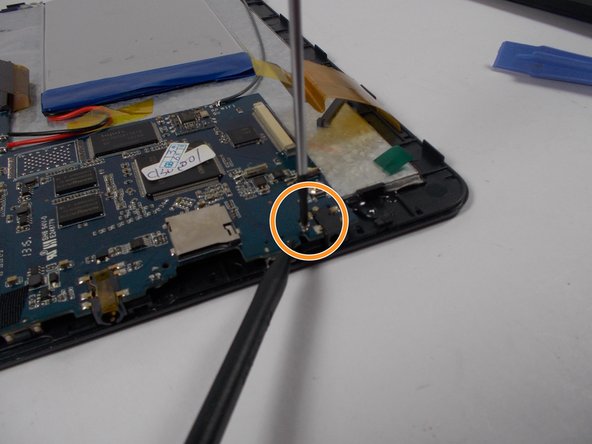
Locate the second screw by looking to the bottom right of the motherboard. Remove the second screw with the Philips head screwdriver.
-
-
-
Locate the last connection to the LCD in the top right section of the tablet.
-
The last connection is a ribbon connected to green wire, which is held down by tape.
-
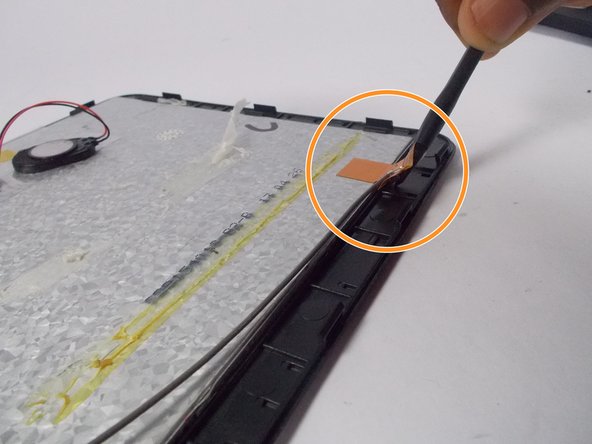
Disconnect the ribbon by removing the tape connecting it to the plastic frame of the tablet.
-
-
-
With the spudger, pry the LCD screen from the plastic screen holder.
-
Use gentle, but firm force to pry the LCD away from the holder.
-
-
-
Work the spudger all the way around until the LCD is free from the screen holder.
-
-
-
Finally, lift the LCD off, removing it from the screen holder and the motherboard.
-








To reassemble your device, follow these instructions in reverse order.
To reassemble your device, follow these instructions in reverse order.
Отменить: Я не выполнил это руководство.
Еще один человек закончил это руководство.



Команда

UMass Dartmouth, Team 7-6, Cichon Spring 2015 Участник UMass Dartmouth, Team 7-6, Cichon Spring 2015
UMASSD-CICHON-S15S7G6
3 членов
Автор 8 руководств
