Перейти к основному содержанию

ZTE Awe Screen Replacement

Выберете то, что вам нужно

  1. ZTE Awe Screen Replacement, Detach the mid frame: шаг 1, изображение 1 из 1
    • Use the Phillips Head 00 screw driver to unscrew the seven 0.1mm screws from the phone's mid frame.

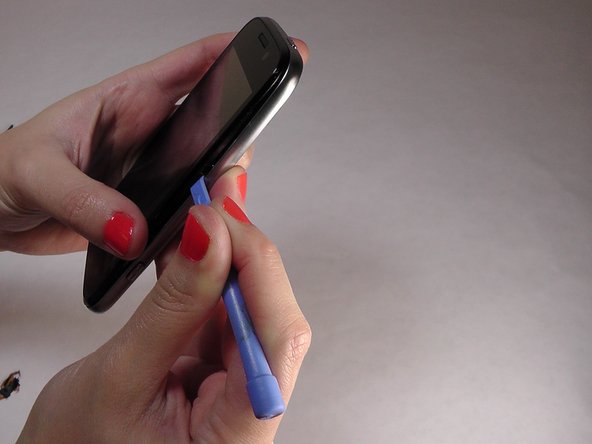
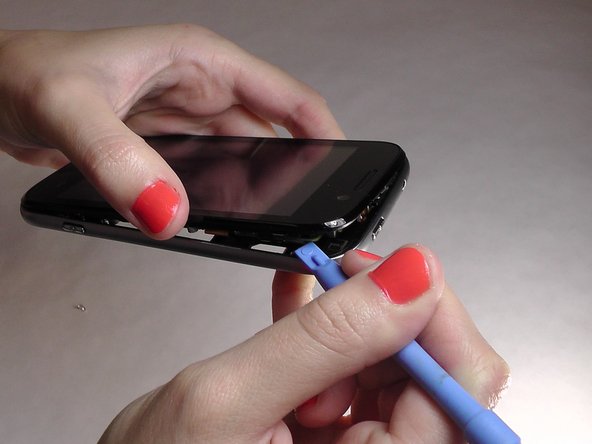
  2. ZTE Awe Screen Replacement, Separate the mid frame and the digitizer: шаг 2, изображение 1 из 3 ZTE Awe Screen Replacement, Separate the mid frame and the digitizer: шаг 2, изображение 2 из 3 ZTE Awe Screen Replacement, Separate the mid frame and the digitizer: шаг 2, изображение 3 из 3
    • Wedge the flat end of the spudger between the mid frame and the digitizer.

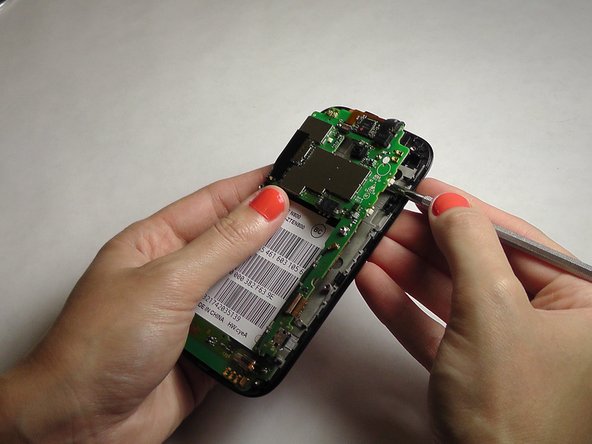
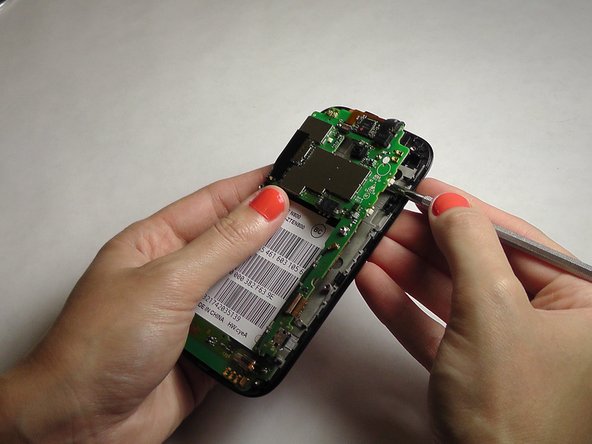
  3. ZTE Awe Screen Replacement, Expose the motherboard: шаг 3, изображение 1 из 2 ZTE Awe Screen Replacement, Expose the motherboard: шаг 3, изображение 2 из 2
    • Gently pry the mid frame away from the rest of the phone to expose the motherboard.

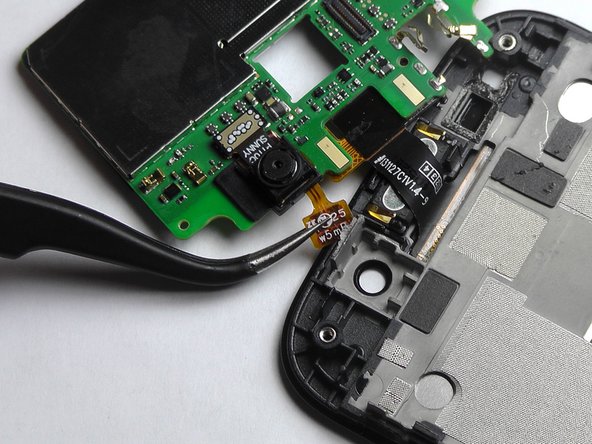
  4. ZTE Awe Screen Replacement, Remove the ribbon wires: шаг 4, изображение 1 из 3 ZTE Awe Screen Replacement, Remove the ribbon wires: шаг 4, изображение 2 из 3 ZTE Awe Screen Replacement, Remove the ribbon wires: шаг 4, изображение 3 из 3
    • Use the tweezers to remove the four ribbon wires on the sides of the device.

  5. ZTE Awe Screen Replacement, Orient the motherboard: шаг 5, изображение 1 из 1
    • Orient the motherboard to expose the mid frame.

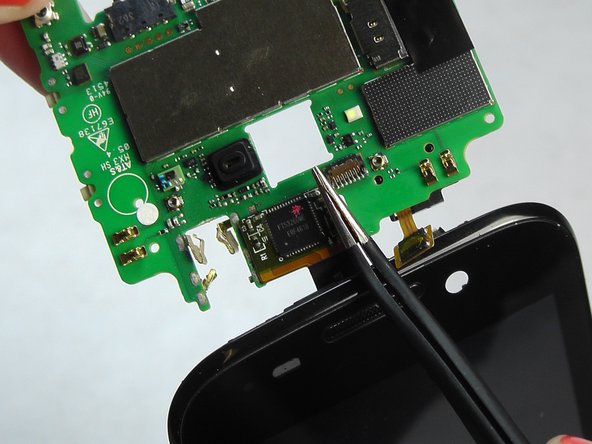
  6. ZTE Awe Screen Replacement, Remove the connector: шаг 6, изображение 1 из 3 ZTE Awe Screen Replacement, Remove the connector: шаг 6, изображение 2 из 3 ZTE Awe Screen Replacement, Remove the connector: шаг 6, изображение 3 из 3
    • Remove the connector to free the motherboard from the screen.

  7. ZTE Awe Screen Replacement, Remove the cover: шаг 7, изображение 1 из 1
    • Remove the back cover from the phone.

  8. ZTE Awe Screen Replacement, Remove battery: шаг 8, изображение 1 из 1
    • Pry the battery up and out of the phone.

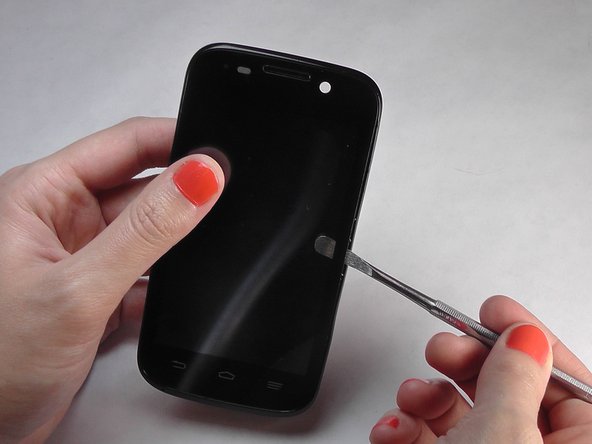
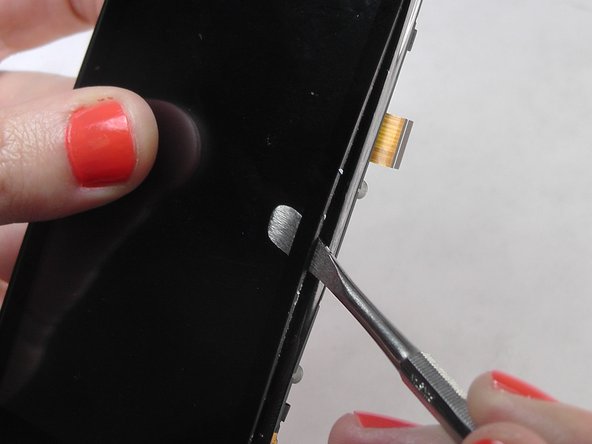
  9. ZTE Awe Screen Replacement: шаг 9, изображение 1 из 3 ZTE Awe Screen Replacement: шаг 9, изображение 2 из 3 ZTE Awe Screen Replacement: шаг 9, изображение 3 из 3
    • Gently wedge the spudger in between the glass screen and the mid frame.

  10. ZTE Awe Screen Replacement, Separate the motherboard from the screen: шаг 10, изображение 1 из 2 ZTE Awe Screen Replacement, Separate the motherboard from the screen: шаг 10, изображение 2 из 2
    • Carefully pry the screen away from the motherboard.

  11. ZTE Awe Screen Replacement, Remove the ribbons: шаг 11, изображение 1 из 3 ZTE Awe Screen Replacement, Remove the ribbons: шаг 11, изображение 2 из 3 ZTE Awe Screen Replacement, Remove the ribbons: шаг 11, изображение 3 из 3
    • Be careful when removing the ribbon wires. They are delicate.

  12. ZTE Awe Screen Replacement, Remove the remaining ribbons: шаг 12, изображение 1 из 3 ZTE Awe Screen Replacement, Remove the remaining ribbons: шаг 12, изображение 2 из 3 ZTE Awe Screen Replacement, Remove the remaining ribbons: шаг 12, изображение 3 из 3
    • Remove the remaining two ribbon wires from their connectors.

  13. ZTE Awe Screen Replacement, Expose the digitizer: шаг 13, изображение 1 из 3 ZTE Awe Screen Replacement, Expose the digitizer: шаг 13, изображение 2 из 3 ZTE Awe Screen Replacement, Expose the digitizer: шаг 13, изображение 3 из 3
    • Wedge the plastic spudger between the screen and the digitizer.

    • Gently pry apart the screen from the digitizer.

Заключение

To reassemble your device, follow these instructions in reverse order.

12 участников успешно повторили данное руководство.

Jennifer DeMeo

Участник с: 10/07/14

1 035 Репутация

Автор 5 руководств

Команда

USF Tampa, Team 1-2, Leahy Fall 2014 Участник USF Tampa, Team 1-2, Leahy Fall 2014

USFT-LEAHY-F14S1G2

4 членов

Автор 10 руководств

0 Комментариев

Добавить комментарий

Просмотр статистики:

За последние 24часов: 0

За последние 7 дней: 0

За последние 30 дней: 5

За всё время: 14,169