Перейти к основному содержанию

ZTE Blade X Max Midframe Replacement

Выберете то, что вам нужно

  1. ZTE Blade X Max Midframe Replacement, Back Cover: шаг 1, изображение 1 из 2 ZTE Blade X Max Midframe Replacement, Back Cover: шаг 1, изображение 2 из 2
    • Use the iOpener or heating pad to heat around the edges of the phone to melt the adhesive.

    • It will take about ten minutes for the adhesive to be heated enough to remove the backing.

    • You will have to reheat the iOpener or heating pad a few times.

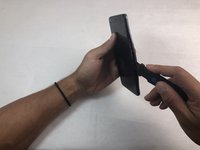
  2. ZTE Blade X Max Midframe Replacement: шаг 2, изображение 1 из 3 ZTE Blade X Max Midframe Replacement: шаг 2, изображение 2 из 3 ZTE Blade X Max Midframe Replacement: шаг 2, изображение 3 из 3
    • Slide the Jimmy along the under backing and lightly push the plastic up.

    • You will hear a snapping sound as you slide the Jimmy along the backing. This is from the closures releasing. There should be seven total closures on either side of the device, and three on the top and bottom.

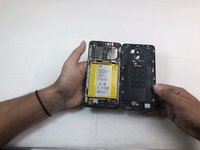
  3. ZTE Blade X Max Midframe Replacement: шаг 3, изображение 1 из 1
    • Carefully remove the backing from the phone once the closures are released.

    • If you do not open all of the closures on the backing do not attempt to pry it off.

    • Be careful when opening the back of the phone. The fingerprint scanner is connected by a thin film that will tear if pulled too roughly.

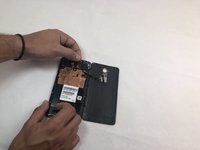
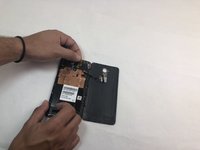
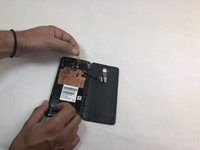
  4. ZTE Blade X Max Midframe Replacement: шаг 4, изображение 1 из 3 ZTE Blade X Max Midframe Replacement: шаг 4, изображение 2 из 3 ZTE Blade X Max Midframe Replacement: шаг 4, изображение 3 из 3
    • Remove the opaque yellow sticker that indicates where the fingerprint scanner is connected to the back of the device.

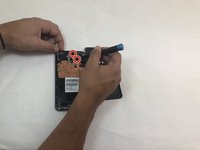
  5. ZTE Blade X Max Midframe Replacement: шаг 5, изображение 1 из 3 ZTE Blade X Max Midframe Replacement: шаг 5, изображение 2 из 3 ZTE Blade X Max Midframe Replacement: шаг 5, изображение 3 из 3
    • Remove the two 1mm Phillips #000 screws on the small panel that was underneath the sticker.

    • Use the tweezers to remove the panel.

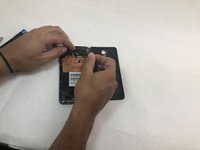
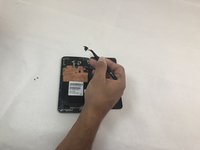
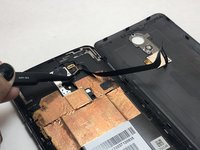
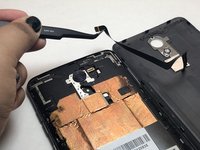
  6. ZTE Blade X Max Midframe Replacement: шаг 6, изображение 1 из 2 ZTE Blade X Max Midframe Replacement: шаг 6, изображение 2 из 2
    • Use the tweezers to pull at the base of the film to remove the fingerprint scanner.

  7. ZTE Blade X Max Midframe Replacement, Midframe: шаг 7, изображение 1 из 1
    • Remove the SD and SIM cards by pulling out the card tray from the slot on the right side of the device.

  8. ZTE Blade X Max Midframe Replacement: шаг 8, изображение 1 из 3 ZTE Blade X Max Midframe Replacement: шаг 8, изображение 2 из 3 ZTE Blade X Max Midframe Replacement: шаг 8, изображение 3 из 3
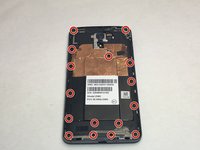
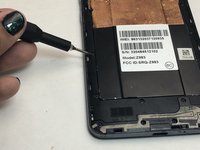
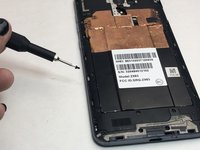
    • Remove the sixteen 1mm Phillips #000 screws from the midframe of the phone.

  9. ZTE Blade X Max Midframe Replacement: шаг 9, изображение 1 из 3 ZTE Blade X Max Midframe Replacement: шаг 9, изображение 2 из 3 ZTE Blade X Max Midframe Replacement: шаг 9, изображение 3 из 3
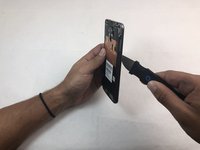
    • Use the Jimmy to remove the midframe from the device.

Заключение

To reassemble your device, follow these instructions in reverse order.

Kristen Gismondi

Участник с: 11/12/14

81 782 Репутация

Автор 200 руководств

Команда

iFixit Участник iFixit

Staff

135 членов

Автор 16 817 руководств

0 Комментариев

Добавить комментарий

Просмотр статистики:

За последние 24часов: 0

За последние 7 дней: 0

За последние 30 дней: 0

За всё время: 167